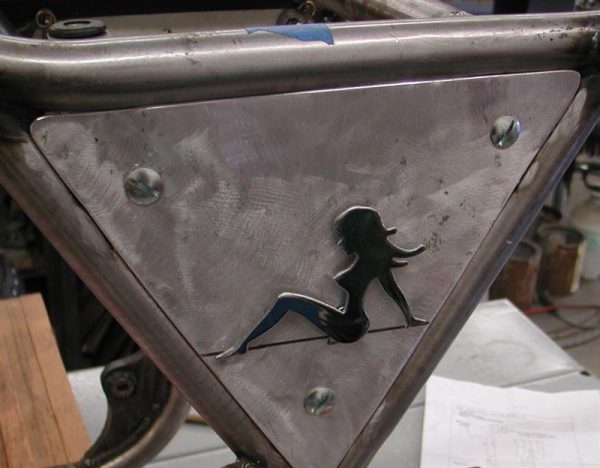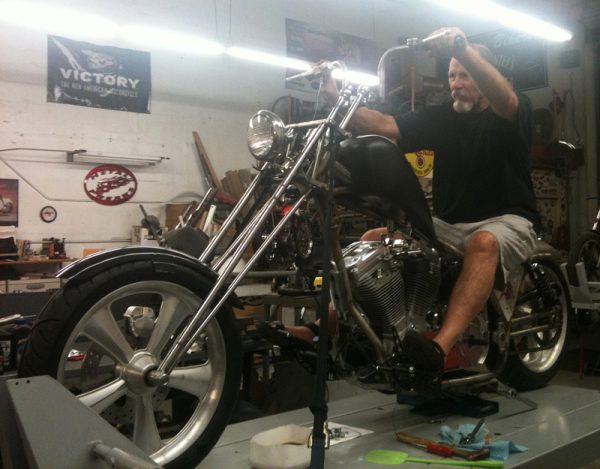
Mudflap Girl FXR, Part 5
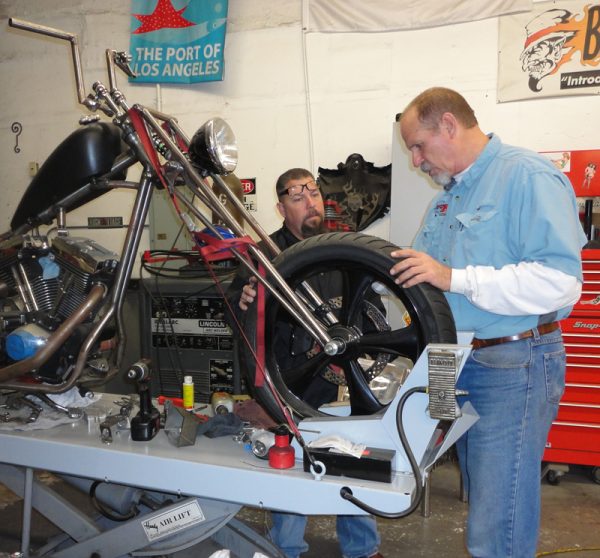
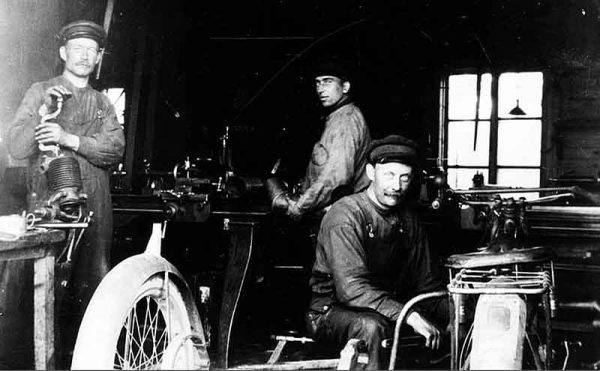
Click here for: Mudflap Girl Part 4, the Spitfire Frames to Roller Life is nuts, but we are scrambling on the Mudflap Girl FXRs, at least mine. Us old farts constantly have discussions about how unmotivated kids are. I want to work on my bike constantly. Every waking minute I’m thinking about it, about new ideas, innovations, and who I can reach out to for resources. My son just complains: “I’d have to drive over there…” I constantly come up with Plan B, another connection, or build it myself. We crawled out of the Sunday sack at 6:00 a.m. to haul ass to the Long Beach Swap Meet, just to scour rows of vendors for parts, to find a handful of pieces, and we scored. If it wasn’t for the Sunday Post, I’d comb the isles once a month, at least. Whatever, I’m about to wire and fire-up the first Mudflap Girl creation with Spitfire, H-D, and JIMS. But let’s back up to installing the Trock-modified CV carburetor. I ran over to Branch O’Keefe next to Bennett’s Performance on Signal Hill to discuss an intake manifold. I don’t have anything against most dealers, but I like to work with the talented independent shops, owned by guys with history, who go the extra mile for performance, quality, and their customers. I feel Bennett’s and Branch O’Keefe work hard to keep guys on the road, with high performance motorcycles. John O’Keefe dug around and came up with a very rare H.E.S./Branch Evo intake manifold. I helped Andy Hansen get Harley Engine Specialties off the ground in the ’70s. Andy passed, as did Trock a few years ago. He was a great guy with veins full of 60-weight. John told me he still has a few of these rare, tested, flowed performance […]
Mudflap Girl FXR, Part 5 Read More »