Click here to read the chapter 6: http://www.bikernet.com/pages/story_detail.aspx?id=10268

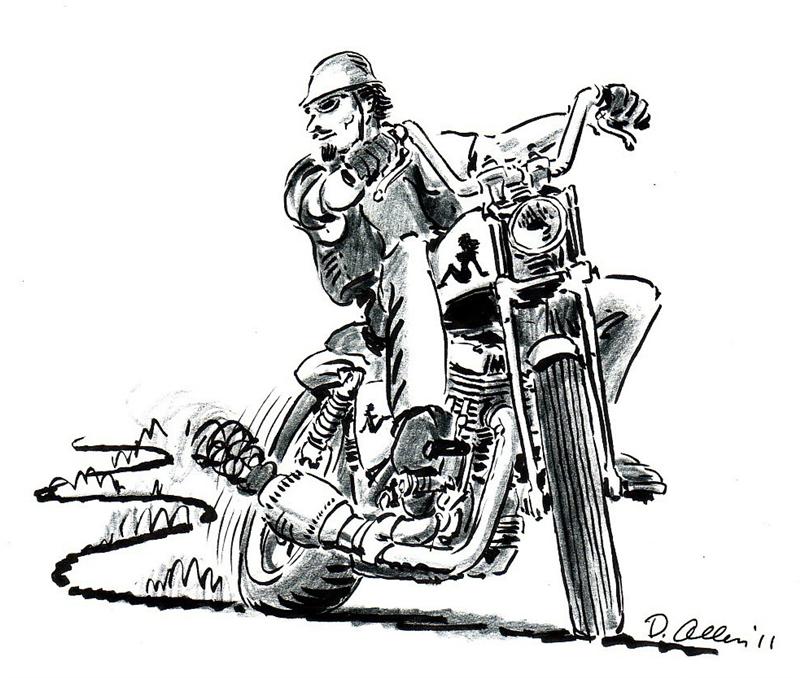
This is a blast. The year is just starting and shit is flying at us everyday. Gary and the gang from next door delivered enough steel I-beams and C-beams to build a deck, and in two days a gang from Long Beach will deliver a pool table into the Bikernet barracks and gym. And if we are lucky, (today is Wednesday the 3rd of January 2012) we will have all the elements in place to fire my son’s Mudflap girl bike on Tuesday, while IKustom films the event for his TV series. We may even have a live Mudflap Girl in the shop.
While my Mudflap baby is waiting on a custom Saddlemen seat, I hurriedly shifted back to my son’s version of the FXR. We needed to wrap up some minor elements, and hit the Ace Grip/Wire Plus wiring. Then we would be ready for another Saddlemen seat.

Before I could finalize the primary system, we needed to order a rear belt from Biker’s Choice. One of the major benefits of chains over belts is the mechanics. We had to pull the whole motorcycle apart to install the belt. It had better be the proper length–it was.

It took a while to clearance the outer primary around the Rivera Primo Inc. inner belt drive system. I needed to have the mid controls in place before I could install the weld-on Mr. Lucky kickstand that contoured the frame. All the appropriate elements needed to be in place. With the final linkage in position through a plastic tube that acts as a bushing, we moved forward, we installed the Primo Rivera belt and clutch system, but I still had to make a clutch pushrod. I removed the tranny pipe-side cover and checked the throw-out bearing type.

We finally made it, although my hard-working son was absent. At first, I grappled with the mentoring scenario. I shouldn’t lift a wrench without him on hand. Two elements pulled me from the tough-love fatherly position. Frank is struggling to support two ex-old ladies and three kids. This is a lesson to every young man. Beware.

You can imagine the tug-o’-war that goes on constantly. I’m not completely innocent. I was predominately an absentee father. A decade ago, I spent some time on the board of three group homes for abandoned kids. These kids had no folks and the effects were manifested in their lives like that tsunami in Japan. Kids need parents. Our society is all jacked up when it comes to sex and kids. I won’t go there, but the bottom line is simple: Kids need to be carefully planned and looked after. They need both folks and a stable family. So, I said, “Fuck it!” I’m moving forward to finish Frank’s bike, whether he’s on site or not.


Besides, we are rolling into 2012 and need to wrap up these bikes, road test them, break them in and prepare for the ride to Sturgis. Actually, I started to bug two of my grand kids who are 16 and 18, and very sharp, but ditched high school. Frankie or Frank Jr. is working as a tattoo artist, and I encouraged him to set some goals for 2012. He stepped up to take over the XS project, and came over to help with his dad’s bike. It was good to see him involved.

With the mid-controls in place, I could breakout Mr. Lucky’s weld on kickstand and begin the installation. I needed to make sure to assemble it is a safe location. Any time you have springs, ball bearings, and tiny setscrews, you need to be careful. It’s not a bad notion to perform assembly over a soft rag, so parts can’t vanish into a black hole.


This is actually a simple operation, but it takes 220 volts and a welder, either TIG or MIG. I slipped the supplied spring in the body of the kicker arm, then the ball bearing on top of the spring. Then the bare metal piece is carefully slipped into place. It’s easy to tell how to position the arm and the ball, since there are just two ball indents. So, the flat side of the bare chunk faces forward. Before final assembly, I will completely grease the ball, the spring, the mating surfaces of the weld-on portion, and the axle pin.


With the kickstand arm pushed and held against the spring and the ball, a second set of hands slipped the axle pin into place and started the fine threads. Again, upon final assembly I will blue Loctite the pin threads.


Then I faced the delicate, do, or die job: positioning the weld-on portion. We fitted it several times, then marked the position with a felt pen on the bottom frame rail. Then I loosened the lift clamp, strapped, and rolled the bike over toward the primary side with a strap, until I had it positioned at just the correct angle. This is always a trick. Too far adds dangerous weight to the kickstand and makes the bike awkward to maneuver. If the bike sets too upright, it’s iffy to park, and as with my Shovelhead, I can’t park it in many positions. It wants to pop over. Even the wind can push it over.


With all the touchy elements considered I positioned the Mr. Lucky kickstand against the frame, and folded it up to see how it fit in the running position. It ran smack into the mid controls system, so I adjusted, and we are thinking about running a piece of hose, or even shrink wrap up the kickstand arm to prevent vibration.

With the bike leaned and the arm in the extended position I made two guide marks on the weld-on portion and on the frame rail. Then I could straighten the bike for tacking. I tacked the weld-on bung on both ends, and then tested the position against the straps. Then I ran a bead along both sides with my MIG welder. I plan to double up on the welds with the TIG, once we pull the bike apart.


We were cranking along, but had to step back to my Mudflap girl bike, since the shocks faded and we needed 1-inch longer shocks. We had to pull them apart and add to the bumpers so that the fender would not hit the tire. Progressive has various bumper lengths. The key here is to dismantle the shock, install them, lower the bike until it hits the fender, and make a bumper measurement. Progressive makes hard plastic bumpers in various thicknesses. We made a special tool, used a drill press, and took the shocks apart several times, until we had them dialed in. The key when measuring for shock length is to consider about 1-inch of fade once the shock is installed. We shifted back from a 12-inch shock to 13-inch Progressives.

So, my Mudflap baby was hauled to Saddlemen for the gurus of seats to evaluate. I’ve toured many companies over the years, and the Saddlemen operation is impressive. I met guys who have been making seats for 25 years, and their sons are now working with them. It’s truly a family of operators. They’re very involved in an ongoing hunt for the perfect seat technology. First, they studied foams, and then gels, and now this new design that affords a buffer area to relieve pressure on the spine. We discussed styling and design. Then we peeled out to let the masters consider the options.

We faced an open warm, clear, SoCal day and jammed back into the shop. I started by installing the Biker’s Choice regulator bracket and the Spyke regulator into position. Ray turned to install the S&S carb, since we were faced with the opportunity to install and complete the Crane cam and lifter system. Most Crane products are manufactured by S&S, including their roller rockers for twin cams.


We discovered a crazy tough oil cooler system from Baker Precision, on Signal Hill, and I tacked studs into place on the front frame rails. It’s made in Canada for automotive power steering oil cooling applications. After we installed the belt, we discovered a problem with the rear fender and the belt slot. The fender needed to be removed and reshaped. I also needed to develop a rear brake anchor.


That was the day Buster came by and we decided to go for a ride. I crashed, returned to the shop bruised, but the Shovel kept running. I thought about kicking back and watching Sunday night football, but I needed to pause it, and jammed back to the shop to keep the program rolling on Frank’s bike. While Ray installed the S&S Super E carburetor, I removed the rear wheel, the rear fender, cut a new slot in it, and drilled a hole where the Choppers Inc. Mudflap Girl taillight stem hit the fender.


So here’s the snafu. It surfaced the last time Frank came over. “I didn’t want mid controls,” Frank said. “I wanted forward controls. It’s all your fault.”


In the next segment, we will deal with his changing desires–kids. Then we’ll fire his bike, with the ACE grip wiring system to lead the way.

Sources:
Spitfire
Biker’s Choice
JIMS Machine
MetalSport
BDL/GMA
Wire Plus
Branch O’Keefe![]()
Bennett’s Performance
Custom Cycle Engineering
Saddlemen
Bub
S&S
Mr. Lucky