Funky Panhead Part 4, New Frontend Installed
By Robin Technologies |

I spent a lot of money and time rebuilding an old 41mm wide glide for my 1969 Panhead build. It was one of those crazy builds, fulla twists and turns, but the glide haunted me.

It wasn’t long enough. I would have liked it to be 2-over for a better stance for a rider 6’5” tall. I squeaked another inch out of it with spacers over the springs. Of course, it rode like shit. I adjusted it, but it still rode badly. Maybe I’m getting old, but I don’t like that excuse. This bastard rode hard even with the wide, soft, cop solo seat.

Then the glide actually broke down. I lost the mechanical brake springs. They broke on the way to a Seal Beach car show. I limped home never daring to use the front brake for fear it would lock up and send me flying over the bars. I wanted to run a vintage mechanical brake set-up for the old look. In the past I was always able to make mechanical brakes work fine.
Finally, I started to notice how the lower aluminum leg jerked on the brake side. It needed new bushings. I reached out to Larry Settle, of Settle Motorcycle Repair in Harbor City. He knew of an old guy who rebuilt lower legs, but he might have retired. That was going to be my next move, tear the front end apart and ship it out, to have the lower legs rebuilt. Plus, they leaked. That also bothered me.

Then I got a call from the masterminds at Paughco. They recently developed a new springer configuration, because so many overseas manufactures stole their classic, flat side design. They came up with a solid, round-leg springer sort of in keeping with the early springers, before the VL or the big twin taper-leg springers. I love the Paughco taper-leg springers. They are classic. This one is distinctive in its simplicity.

There are several benefits of Pauchco’s 50-years of building springers. They are contained in the tree construction, the bends of the legs and the rockers. These front ends are meant to be ridden long and hard.

They also make a stock length front end and a 3-over, which I went for, when I made the deal to trade my glide for a new Early-styled round-leg Paughco springer. We made the clandestine swap at the recent David Mann Chopperfest, behind one of the old WWII buildings, so Dave Hansen wouldn’t see us and tax us for making deals without his approval.

I also attacked the rear of the bike with an old buddy seat, spring system to give the rear some suspension. It was a leap of faith that worked out like crazy, but I will get to that.

I requested the front end without chrome or powder, because of my patina effort. I painted the bare parts with a light coat of Rust-oleum primer and then a coat or two of Rust-oleum satin black. No matter how many times I’ve looked at that word in my long lifetime, I can never remember how to spell Rust-oleum.
Then I lashed the front end with some bicycle chain and smoothed and dinged the edges of the top triple tree. Paughco designed a new top tree to allow their risers, to be installed in the rear legs with1/2-fine thread studs or bolt common risers to the 3.5-inch center-to- center glide-like holes. I decided to go with the rear legs and cut the heads off ½-inch fine stainless bolts and made studs out of them.
I screwed 1-inch of the studs into the rear legs and had an inch for the Paughco classic brass risers. I used stud-green Loctite in the legs and ran a nut down to hold them firmly into place overnight. I removed the nut when I installed the brass risers.


I installed the bottom bearing over the small dust shield against the bottom tree. I found a piece of thick 1/8-inch wall, 1.25 O.D. tubing and used it as a tool to drive the Timken bearing over the raised bearing surface on the solid neck stem. I also fed as much grease into the bearing as possible. For some odd reason, I had to clearance the dust shields to make them fit over the solid Paughco stem.

Back to the grease. I’m still using a large tin can of military bearing grease. I’ve had it since the ‘60s. About five years ago, someone gave me a new full can. I’ll bet I never get to it in my lifetime.

I was recently given some cool CMD Extreme Pressure lube tubes. We used it on Frankie’s FXR neck bearings, but in the heat, it started to drip and run down the leg of the front end, annoying. The old Navy bearing grease is the shit.


Okay, so I slipped the neck shaft with the lower greased bearing into place against the greased race in the neck cup and spun on the crown nut against the top bearing and upper dust shield, after it was clearance. Here’s another benefit of classic Paughco construction. A lot of frontend manufacturers dodge using a threaded nut between the top tree and the neck bearing.

It comes in so handy while installing a front end. It holds it in place to allow you to position the top tree comfortably. It also allows you to adjust the bearing tension. Then you can install the top tree and the top nut and tightened the hell out of it without messing with your bearing adjustment.

The Paughco front end comes with the rockers mounted and in place. No adjustment necessary. They are lubed and ready to rock.

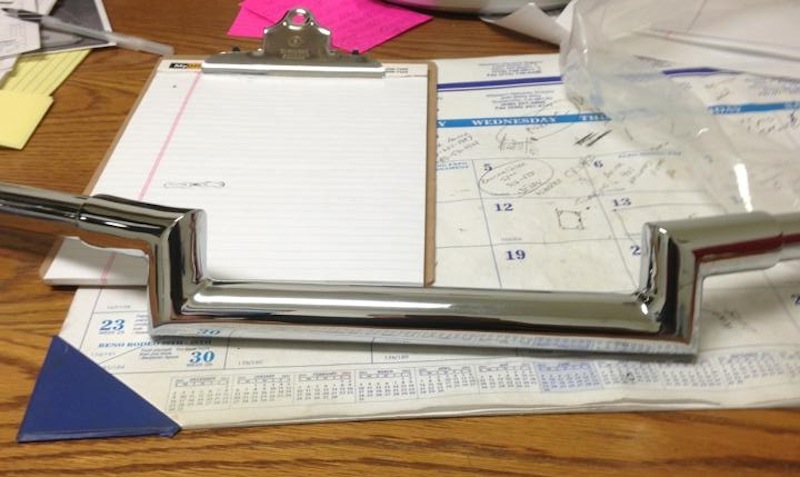
I removed the solid brass, 4-inch Paughco dogbone risers from my old stainless-steel bars and was careful to install them on the stainless studs watching for the studs to turn or not. I tightened them down and adjusted the rubber mounted dogbone to align with the bars. Then I installed the bars once more.

I grabbed one of James old Dyna front wheels and used it to mockup the front end. Steve Massicote from Paughco recommended a left ‘88- ‘99 single-piston H-D Softail caliper on an 11.5-inch rotor with a 2-inch center hole to fit a pre-’99 Harley hub. He shipped a solid aluminum hub to Black Bike wheels.

Black Bike Wheels has helped me out a couple of times. I remember taking a dinged steel rim spoked, 21-inch wheel to them. The technician popped the unit in a vice, smacked it with a soft hammer and it was golden. They also built the 23-inch wheels on my flat-sided tank, factory racer. Amazing wheels.
They expanded and moved to Van Nuys, California. They now manufacture any-sized spoked wheels for any make or model motorcycle. They build their own hubs, rims, and spokes. They can lace and true anything and powder, polish or chrome any of their products.

In this case, we are going with a used, dull, aluminum, 19-inch rim and unpolished stainless rim, for the patina look. So, there’s some old and some new to this beast. I will add an old pre-’99 factory rotor to a Paughco aluminum hub, which we might black out, or Paughco was going to send me a hub cap, I could flat black and add a little rust.
We’re getting close, but I had to take it out on the road and see how it handled with the sprung seat. I took the seat bar out, because it was going to smack the fender. I added a straight piece of steel to the center and it gave me an additional 2 inches of travel. I’m still going to do something to protect the fender.

Okay, so this puppy hasn’t run in a couple of months but fired right to life. I maneuvered around the shop and into the street for a test run. What an amazing difference. The turning radius was way better and it blasted around the rough streets without an issue. What an amazing difference in ride and handling.

Hang on for the wheel and disc brake install.
–Bandit
Funky Panhead Sources:
S&S
Biker’s Choice
STD
www.STD.com
JIMS Machine
Lowbrow

Mallory
www.mallory.com
Accurate Engineering
www.accuratengineering.com
Bennett’s Performance
Paughco
Departure Bike Works
www.departurebikeworks.com
Spectro Oils
Chopper Dave
www.chopperdave.com
Black Bike Wheels
www.blackbikewheels.com
THE CHOPPER OF CHOPPERS FOR SALE, Part 2
By Robin Technologies |

The story of Hugh King and his grand television career spanning four decades has been told over and over. In fact he just completed another adventure for the History Channel in the cold snowy north, but the series is a secret.


The master builders included Arlen and Cory Ness, Matt Hotch, Chica, Eddie Trotta, Hank Young, Kendall Johnson, Mitch Bergeron, Russell Mitchell and Joe Martin. Just up the dusty road roared the 2004 Laughlin River Run with all the temptations of Casino action including amazing food, entertainment, whiskey and girls. But the brothers stayed focused, almost.


Just 72 hours out they gathered at Dan Jackson’s Fort Mojave, Arizona, Desert Powder coat shop. Arlen Ness was assigned the shop foreman title, while Kendall Johnson, engine and trans builder. Mitch Bergeron handled frame and billet down tube construction. Russell Mitchell dialed in the handlebars and controls.


Matt Hotch hand built the fenders and the wild gusset under the frame neck. Cory Ness was responsible for paint and accessories procurement. Chica hand fabbed the gas tank, “but Johnny Chop helped,” said Hugh, and Eddie Trotta worked over the forks and front-end trees. Hank Young built the oil bag, Joe Martin the nasty pipes and pinstriping. And a late arrival Danny Gray supplied the hand made manta ray-covered custom seat—amazing.


The show had a design, but the King was only part of the scheme. “I wanted to depict the torment of the artists under extreme conditions.” Little did he know the bike would be turned over to him after he tortured the builders in the desert with hot iron pokers.


As the executive producer sat overlooking the mayhem of the final assembly while fanned by Vegas hookers and sipping long Island Iced teas he wondered if the concept would work.

“It didn’t at first,” Hugh said. “There was a lot of tension, people went off in different directions. All of a sudden, it just coalesced. You could feel the energy in the room. Everybody was suddenly working together, headed in the right direction. I think Arlen had a tremendous impact as the shop leader and guiding light in a dark tunnel of torment. It was touch and go for a while. If one of them had walked, they would have all walked, but they didn’t. The rebels held together.”

See the next episode for more details about the Chopper King’s Chopper, which is now for sale to the highest bidder. “My one burning desire now, however, is to buy the X Bike back from myself,” said the King with a tear in his eye.

Doug Coffey’s RetroMod Panhead Part 5
By Robin Technologies |
Risers
THE CHOPPER OF CHOPPERS FOR SALE
By Robin Technologies |

This bike represents an upbeat era when choppers were kings and the Discovery Channel made it so.
We are going to attempt to tell the story of the bike, the shows, and the esteemed owner, Hugh “The Chopper” King, the producer/director.

Hugh actually worked for Easyriders, as the video editor/director, while I watched over the magazines. But he moved on to Original Productions. Motorcycle Mania was the first motorcycle show and I got a call. “Who should I recommend?” Dave Nichols asked. I said Jesse James, and the rest is history.
“Tom Beers, the boss of Original Productions, came to me,” Hugh said. “He asked me if I knew anything about motorcycles, and I said I knew everything about motorcycles, which of course I didn’t.”

“I had worked for one year at Easyriders, “Hugh continued, “doing Easyriders home videos, back when Keith Ball was the editor. These videos really captured the hard core, get down, biker lifestyle. So when Discovery came to us about a custom Harley show, I was all over it.”
The industry started flying and the ratings for these shows went through the roof. During filming at an Easyriders granddaddy bike show in Columbus, the Discovery Channel guys interviewed me and they asked what sorta chopper show I would suggest.


“Roger built his beautiful machine in honor of his daughter,” said Hugh, “who was killed on a motorcycle on the previous New Year’s Eve. It was very moving. His bikes are mean, man, and they run. The guys rode like bats out of hell, at over 100 mph a lot of the time, from Florida to North Carolina. At one point, Billy hit a big pothole, and flew so high into the air I thought we were going to lose him. That episode was really well received, which was enough for Discovery to order four more, and then seven after that, and 11 after that. There were a total of 44 Biker Build-offs.”

Hugh and I talked from time to time during the seasons. The flurry of action was high and the drive-by builders to be celebrities flew over the top. I remember riding my 2003 Road King to the Laughlin River Run. Hugh invited me to, I believe, the unveiling of this bike, but as usual, I got lost with a girl in the desert and never made it. While at Hot Bike, I attended with my crew one of the season finales to celebrate the builders and their accomplishment. The King presided over the festivities.


This chopper may end up on eBay, but if you’re seriously interested reach out to Hugh King at: hughk16@gmail.com.

Biker’s Choice TWIN-POWER Ignition Tech
By Robin Technologies |

I recently rambled about never giving up. This tech is an example in not giving up, and looking for opportunities for success. James Simonelli recently went to work for Biker’s Choice and it’s a company constantly looking for opportunities to succeed. They continue to expand and James is working hard on the Twin Power line of products.
I built this bike a few years ago and enjoyed each element of the build. It was my first opportunity to work with Black Bike Wheels and installed the new 23s at the time. I also worked with Rick Krost and the Paughco team, who were building his US Choppers frames and several components. I also worked with Chica for the first time to build my rear fender. This bike slipped together like a dream.

I was digging the old board track notion from the ‘20s, although I wasn’t the first. Arlen Ness built vintage-styled bikes with sidecars around Sportster drivetrains. The master, Don Hotop build a Silent Gray Fellow more refined than any the Davidson and Harley team built — it was beautiful. The Shadley brothers built another example with a sidecar, which I proudly featured recently.
I was just one in a long line of masterful Hamster builders to take on the challenge. When the bike was completed and I slipped the key into Phil’s Speed Shop ignition box and fired it to life, it purred like a kitten. It was a beautiful thing and I appreciated all the help and guidance slipped my way to see this project through to fruition, including the hand-tooled seat by Glen Priddle in Australia. Some of my welds were not handsome, but I was proud to see this puppy finished, and then I went for a ride.
My first challenge was the handling and the two, seemingly giant Black Bike spoked 23-inch wheels and Avon Tyres. It felt odd, but then it popped and coughed at just about 30 mph and I thought it had to be jetting. I carefully tuned and ran an S&S super E for the classic styling and shorter reach sticking out the left side of the bike.
That’s one of the distinct reasons for a Crazy Horse, now American V-Plus engine. It fit in the realm of making a bike look truly old, especially with the carb leaning out between the cylinders on the left, like old flatheads. No matter how I jetted it, it wouldn’t run past 30 mph. Ultimately, I changed the carb for a Mikuni, and I switched out the original Crazy Horse Ignition for a reliable Compu-Fire. I switched coils. I changed the exhaust by removing the muffler. Nothing changed how it ran, and I moved on to the next project.

But obviously it bugged me and recently, when James pointed out the new Twin Power ignition product from Biker’s Choice and suggested an install, I jumped at one more chance to make this beauty come to life. James suggested I install it with Primo-Rivera advance weights, although Twin Power sells a kit.

“Try it in the dual fire mode,” James suggested. “You’ll like the exhaust note and the old school thumping idle.”
Back to the initial problem, I heard strange rumors regarding Crazy Horse engines, and struggles to make them run. John White bought a bunch of the Bottlecap engines when the Indian effort failed in Morgan Hill, California. With the engines in hand, he started Crazy Horse Engines. He was a big construction guy and hoped to build something from the stylized engines, and I agreed with his philosophy. The engines were magnificent, classic, 100-inch, and different.
The company is now American V-Plus and Irma Martin, out of Auburn, Washington, owns it. She is working with Frank Aliano to reintroduce these puppies to the aftermarket and custom world.
As a rider, Frank spent over ten years racing motorcycles in all types of environments, including motorcross, cross-country, scrambles, enduro, hill climb, TT, flat track, ice, and drag racing. As a builder, Frank’s custom and high power creations continue to be trophy winners around the country, with several featured in national magazines.
As a designer, Frank spent decades in engineering, fabrication, machining and product development for Indian Motorcycles, American Quantum Cycles, Big Dog Motorcycles, A&A Performance, Double Services, and more.

Frank designed the billet system to plug more tuneable and flexible Evo ignition systems onto a Crazy Horse and now V-Plus engine. I reached out to Frank, because my investigation steered me to Micah McCloskey and then to Keith Ruxton, who designed the Worlds Fastest motorcycle engines in 1990, two Shovelheads built by Micah. They took the Easyriders streamliner to 321 mph and the record for 16 years. I was a member of the team.
Keith suggested, since I have switched out the carb and ignition, that the breather gear was out of time. “It could be flooding the engine with oil and causing it to fail,” Keith said. And so I dug in during the process of switching out the ignition system to Biker’s Choice Twin Power.

The Twin Power electronic ignition from Biker’s Choice fits ‘70 – ‘99 Big Twin models and ‘71 – ‘03. The unit is entirely self-contained and fits under the original points cover. It can be wired single- or dual-fire, and the built-in timing light allows for easy timing.
Front to rear timing is accurate to 1-2 degrees. It is delivered with a one-year manufacturer’s limited warranty, and they are made in the USA.

Twin Power coils are high-quality direct fit with at least 20% more voltage than stock.
These coils improve starting, stop high-speed misfires, and increase mileage and overall performance.
They are available in black or chrome and carry a one-year manufacturer’s warranty.

I went to work digging into the cam cover of the V-Plus 100-inch engine. I removed the point cover, hand-engraved by Heather New in Canada, with the 5-Ball Racing mascot, and then I removed the Compu-Fire ignition system, the ignition cap and the first level of cam cover. Frank coached me on removing the final billet aluminum cover.


“You may not need to back off the pushrods,” Frank said, but I ended up backing them off for a couple of reasons, including ease of replacing the cap. It can be a bastard if you don’t.

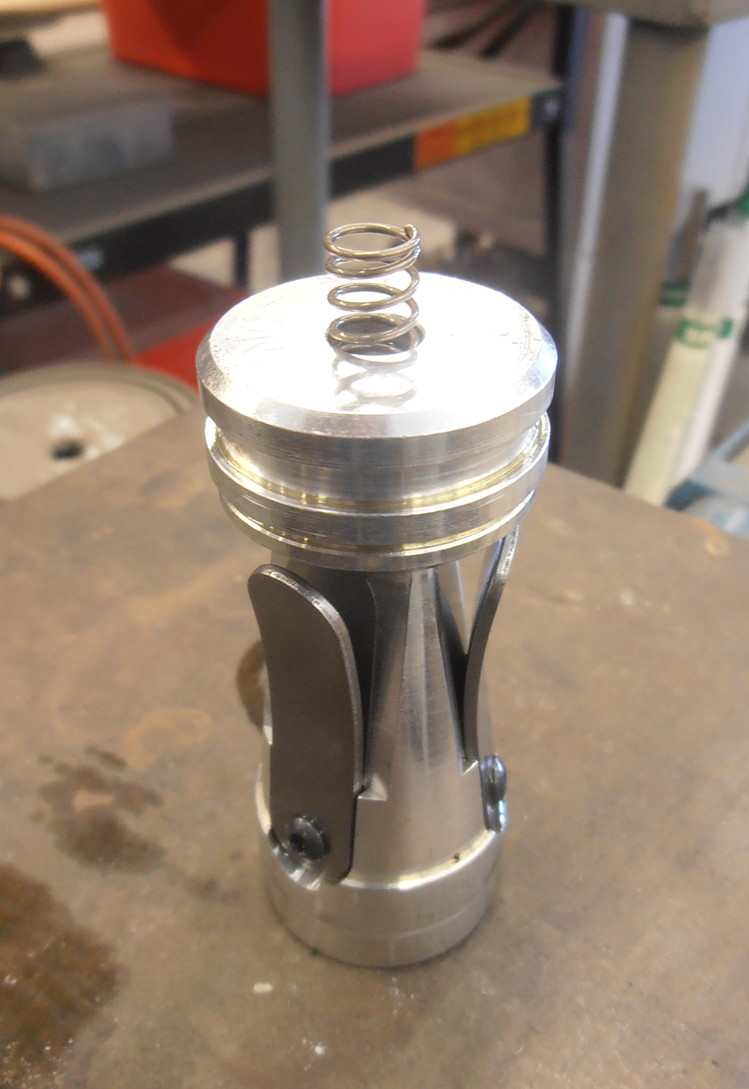
“This plate has a gasket and is held in place with steel dowel pins,” Frank said and he was right. “Take a claw hammer and install a quarter/20 bolt with a couple of washers into the plate. Use the threaded hole closest to the cam. With the claw hammer, leverage against the cam and hook the bolt.”


I readjusted the valves and looked for top dead center on the front cylinder with a massive tie-wrap. The tie-wrap cannot damage the sparkplug threads or any internal parts. Dominick, another master builder here in LA, suggested the tie-wrap.

“Once you have it at TDC, back it down 7/16-inch for about 30 degrees before top dead center, and your timing mark should show in the timing hole,” Dominick said. He was dead right. Worked like a champ. I grabbed a silver felt pen and was able to make marks to indicate TDC and 7/16-inch down. The timing mark popped right into the hole and I centered it by jacking up the bike and using the massive Black Bike wheel to move the engine in 4th gear.


Here are the Twin Power T/R #21-6500 ignition guidelines. They wanted me to rotate the motor until the front cylinder showed the fully advanced mark in the center of the timing hole, during the front cylinder compression stroke. Note: The compression stroke is evident when the both front valves are closed and you can rotate the pushrods with your fingers.
I installed the new ignition, keeping the rotor index hole in line with the light on the ignition, basically at 9:00. This system automatically runs in the single- or dual-fire mode, depending on how you wire the coil or coils. If it’s not in the 9:00 position, you’re on the wrong compression stroke. Rotate the engine again.

James recommended the dual-fire mode so I wired the Twin Power mini coil with the red wire heading to one lead and the black and white wires going to the other lead (it doesn’t matter which lead you chose on these coils). For single-fire coils, you need to run your hot wire and the red wire from the ignition system to the positive side of the coil, the white wire to one coil and finally, the black wire to the other coil.

This mini coil will afford more cooling space around it while it’s stashed between the heads. This coil doesn’t indicate a positive or negative lead position.

I ran the gray tube insulated wires out of the bottom of the cone cover and basically around the engine and up to the coil between the heads where many coils are located. I wish the insulation was black, and in hindsight I would have run shrink tubing over the gray sleeve for additional protection. I ended up extending the wires about a foot.
I also soldered a length of 14- or 16-gauge wire to pull the new wires through my existing loom. It worked like a champ to hide the new wires. I extended the wires, soldered them in place, using the Frank Kaisler soldering tool and his system for connecting wires, which can be a pain in the ass. He basically cuts and strips his wires and feeds one into the other for a direct connection, which also does not cause a lump in the wiring. It’s almost like shoving a key into a lock and it sometimes takes some maneuvering. That’s where his handy-dandy tool comes in.

Don’t forget to install the hot wire from your ignition switch to the hot side of the coil. You will need that power. I installed a new Twin Power Lithium Ion Battery while I was at it. What an amazing puppy.

This battery fit like it was meant to be. Most of these Twin Power Lithium Ion batteries were designed for stock applications, but we found just the right one for my situation.
Note: Use this ignition system with 3 to 5-Ohm coils.


After the coil was wired and actually before I completely installed the Twin Power ignition system, I installed the magnificent Rivera/Primo mechanical advance weights. I lubed the weight axles with some engine oil and slipped them into place over the cam and then slipped the billet aluminum rotor in place with timing magnets embedded into the cylinder. Be careful, the rotor only fits over the stem in one way. Note the position of the flat.


I repositioned the ignition plate and turned on the ignition switch. The red LED light lit up, and with a right angle punch I was able to push the rotor into the advanced position. It only moved about 20 degrees, if that. The light came on, indicating power to the coil and the ignition system. The key is to rotate the rotor counter-clockwise to the fully advanced position and have the light go out. As soon as you release the rotor, the light should come back on.
I always shoot for the exact link. I want it to light up at the exact point that the rotor moves. The coil and the spark plug fires the moment the LED light shuts off.
The timing procedure is exactly the same for both single- and dual-fire operations. The front and rear cylinders are internally timed and accurate to 1 degree.

That’s when life got interesting. The Redhead loaded up my 5-gallon gas can with premium and I poured a couple of cups in the tank and turned on the petcock. Nothing. I monkeyed with the carb. Nothing. Sometimes there can be a vacuum. I almost filled the tanks; still, nothing passed through the clear glass filter. I started at the carb and removed the line. Still nothing. I removed the line to the brass, inline petcock. No joy.
I could even looked down the mouth of the petcock and saw the large ball valve. I could see it turn and open. Nothing. If it had worked, my face would have been covered in gas. Then I attempted to remove the petcock.

I moved a large crescent wrench into position to back up turning the brass petcock and was immediately sprayed with gas. It was one of those strange moments in the life of a mechanic. Sure, it was a pain in the ass, but it always seems that stuff shows up at just the right time. The trick was to get all the fuel out of the tank so I could replace the split line, plus the petcock was clogged.

With the Redhead wearing protective purple gloves, we maneuvered large old fuel lines, funnels and the gas can to carefully remove all the fuel. I replace the split line (I have never, ever seen a line split like that). We removed the petcock and discovered what appeared to be a glazed layer above the ball valve. The redhead cleared it out with a short piece of brass rod and the fuel delivery system was replaced and fuel added. The 5-Ball factory racer fired right to life.
I spoke to Keith Ruxton the day before, and he told me that top end breathing engines, especially high performance engines don’t need breather valves, or even reed valves. I started looking at fuel delivery from the gas tank, which makes a lot of sense. I need to check to see that my fuel line will deliver 16 ounces of fuel in one minute, according to Dr. Ruxton. I removed the fuel line from the carb, stuck it in a measuring cup, checked my watch and turned on the petcock. It filled it to the 16-ounce mark in about 20 seconds. It wasn’t fuel delivery. So, I’m still not sure if my sputtering problem is solved.

I noticed one more item that needed to be addressed. When tightening the advance bolt, the rotator rubbed against the ignition plate, which would mess with the advance weight mechanism. First I took out the plate, because this cone was removable and if the Allens were loose it shifted around. I loosened them, shifted the system and retightened them. It was substantially better, but not perfect. This wouldn’t happen with a stock cone motor.
“The weights and the rotor have to be completely free to be able to advance,” said Ben Kudon, the Executive Director of Rivera-Primo

I reached out to James. “Here’s what you can do to Auto Advance units. Put a drop of blue Loctite on the advancer bolt and do not over-tighten. Spin the motor without the ignition in place and watch the rotation. If it is eccentric, take a small punch and give a tap on the flat of the hex head screw that will shift it to best center it, until it runs true. Please let me know, nothing should need to be modified. Occasionally, a shim is needed between the advance unit and the cam to shift the mechanism outward.”

“I am not familiar with the Indian cam cover, might be a little different from H-D. Does the plate fit nicely and rotate easily in the recess or is it tight? If this is tight, you may have to slightly sand or file the plate O.D.” That’s what I did until the rotor was centered. I also noticed the hex rubbing on the gasket. Again, this wouldn’t happen in stock applications. I cut a hole in the gasket and rotated the gasket to allow the 5-Ball Racing cap to set out slightly more. Done deal. James also suggest thin washers under the stand-outs, which would accomplish the same thing.

I took the bike for a ride. Over and over it fired right to life and hummed, but again is sputtered. I called Phil at Phil’s Speed shop late at night. He was still working. “It could be the cam timing,” said Phil. “They may have switched the gear for a better pinion shaft mesh and since there is no direct key-way to align the cam, it could have shifted.”
I’ll pull the cam today and take it to Bennitt’s Performance or Branch Flowmetrics to have it checked. Never give up!

Biker’s Choice
Paughco
Rivera/Primo
Black Bike Wheels
Chica
US Choppers
Rick@USChoppers.com
Phil’s Speed Shop
941 West Collins, Orange CA 92867
Appointment (714) 771-6727
Avon Tyres
New Line Engraving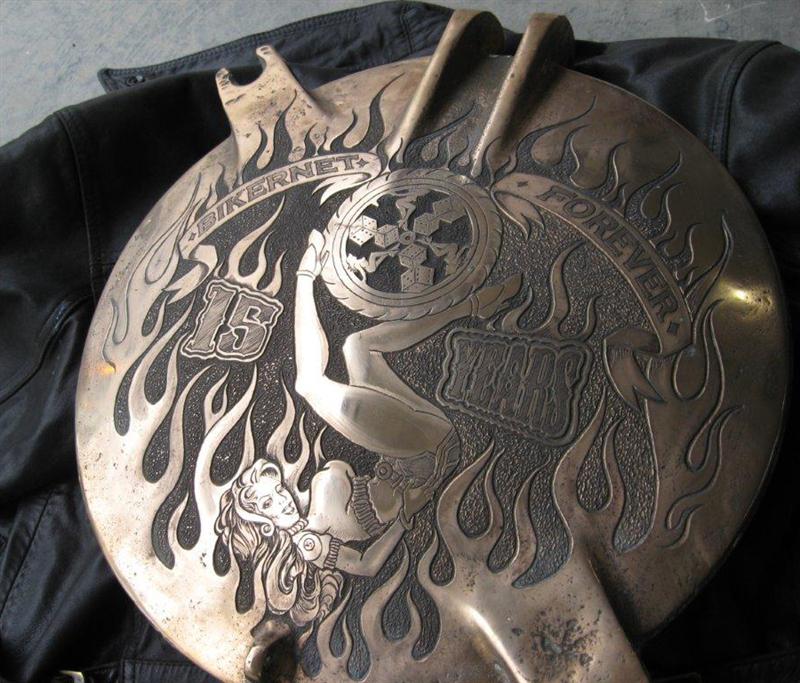
Timbo’s ’64 FL Restoration (Part Five)
By Robin Technologies |
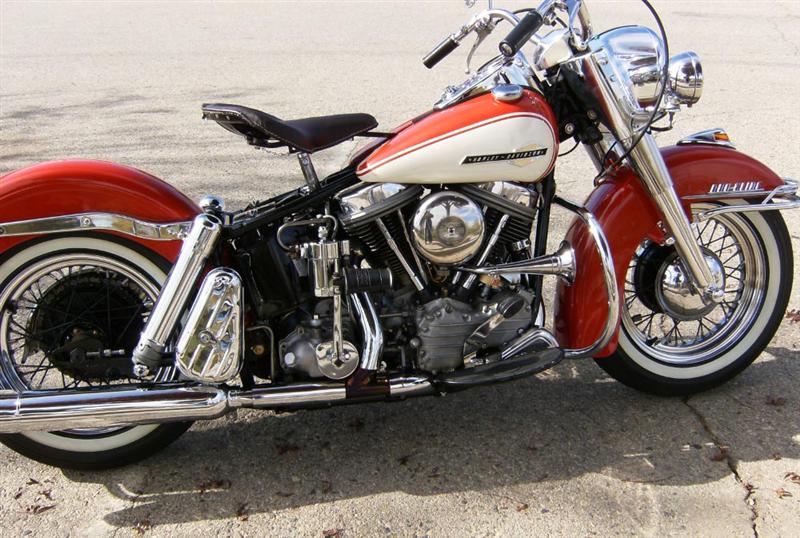
Well here she is, finally complete and out for her last shake down run. We stopped at a scenic area and shot a few pictures before I have to hand her over to the owner, Tim. 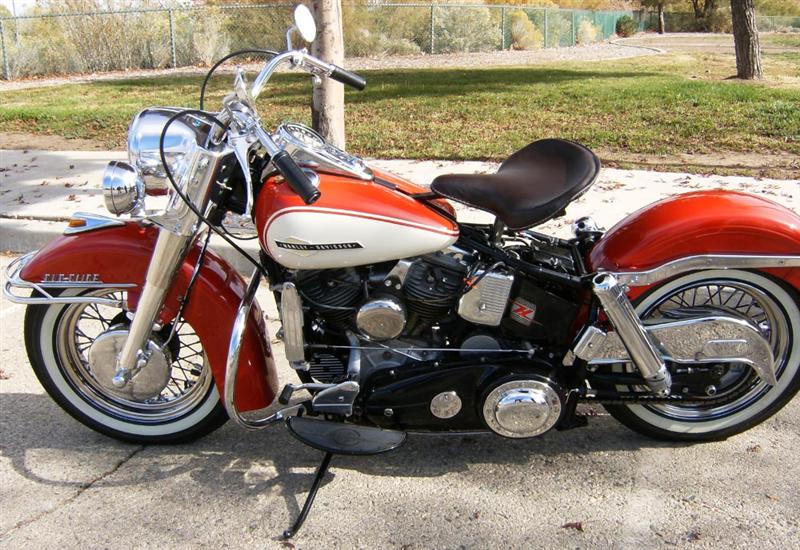
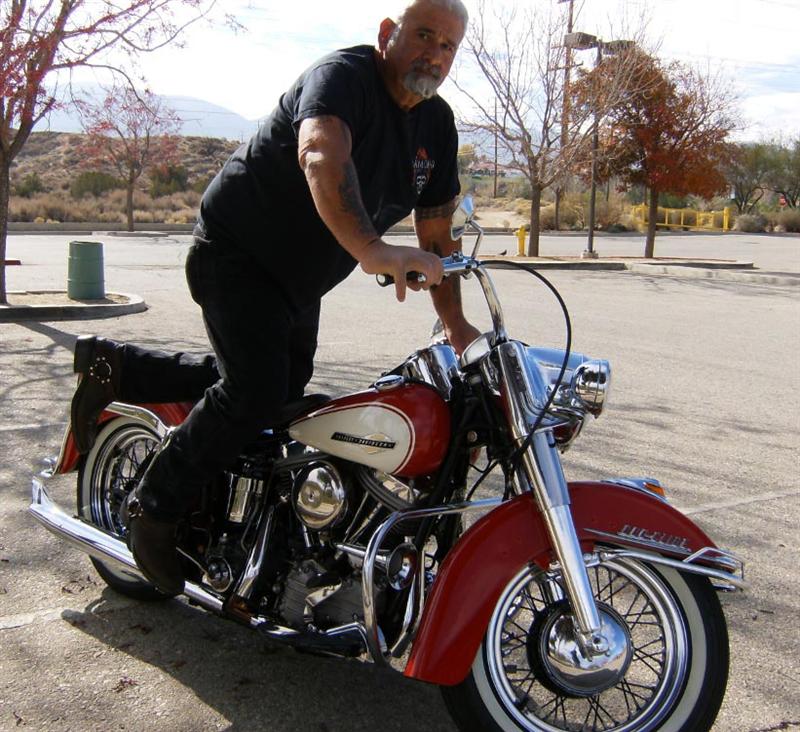
Riding the Pan is an art form in itself. The steering is spot on; it will turn on a dime! The suspension is wonderful for the age of the bike. It floats along better than most modern Harleys. The only thing I can’t get use to yet is the pogo seat, feels like it wants to buck you off sometimes.
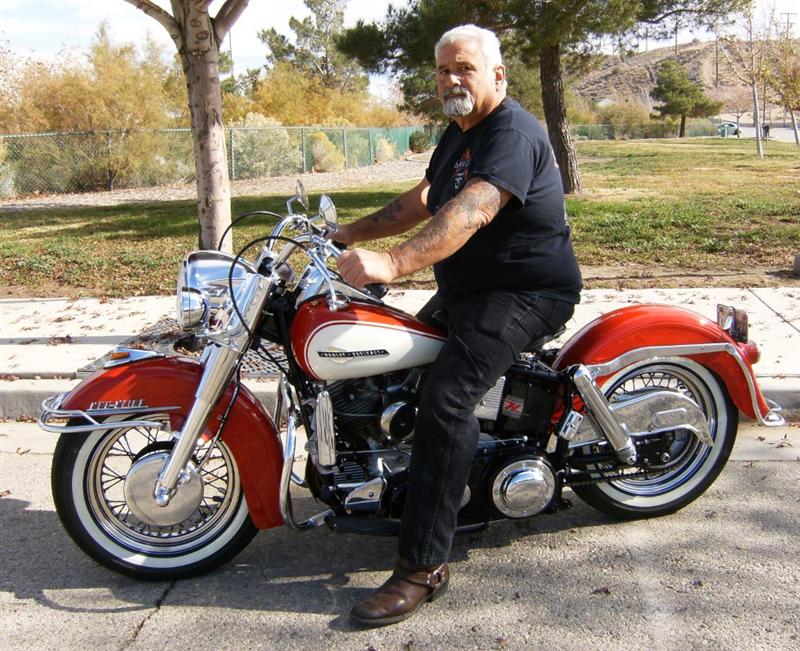
On the way back from our ride, I noticed a loud noise as I pulled to the stoplight. It’s Sal, yelling at me to slow down, YOUR DOING 85!!
If you followed the articles from the past year and a half, you know that hundreds of man-hours and a little mega money went into this restoration. And I loved every minute of it!
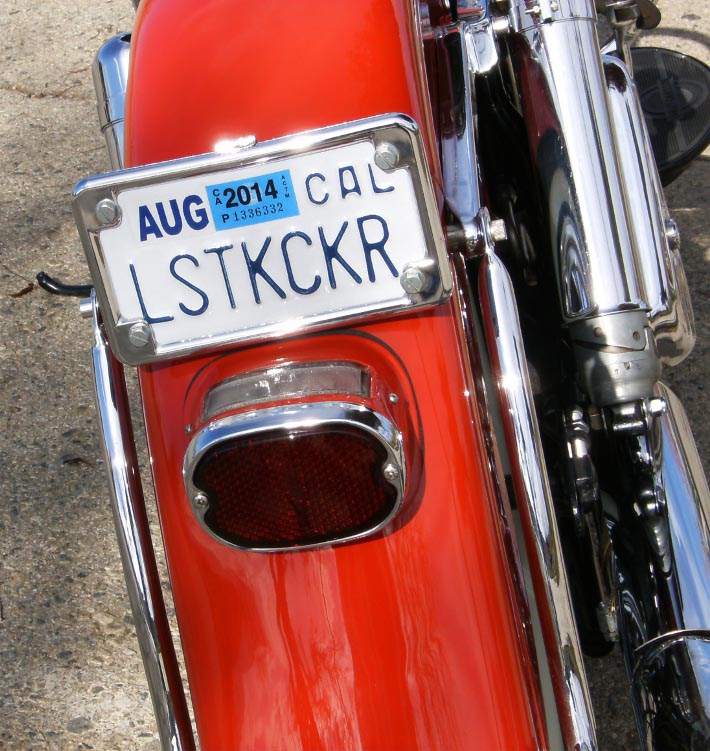
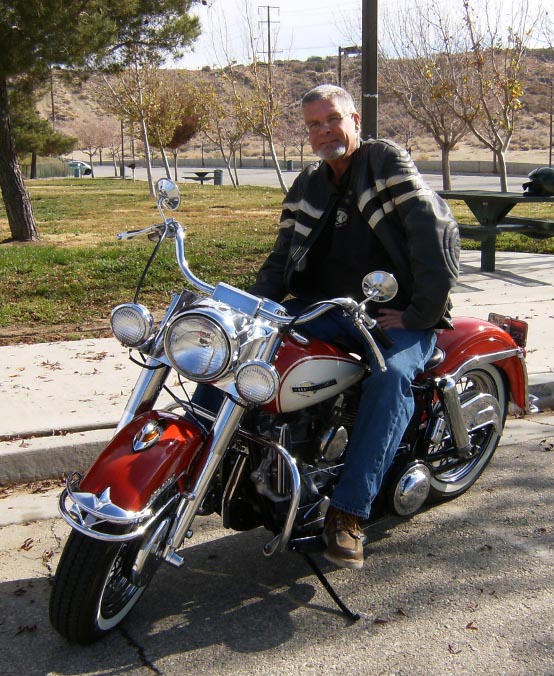
Enjoy the photos, and stay tuned next month when I start another restoration. This time a 1966 Shovelhead, Police special. Here’s a sneak peak!
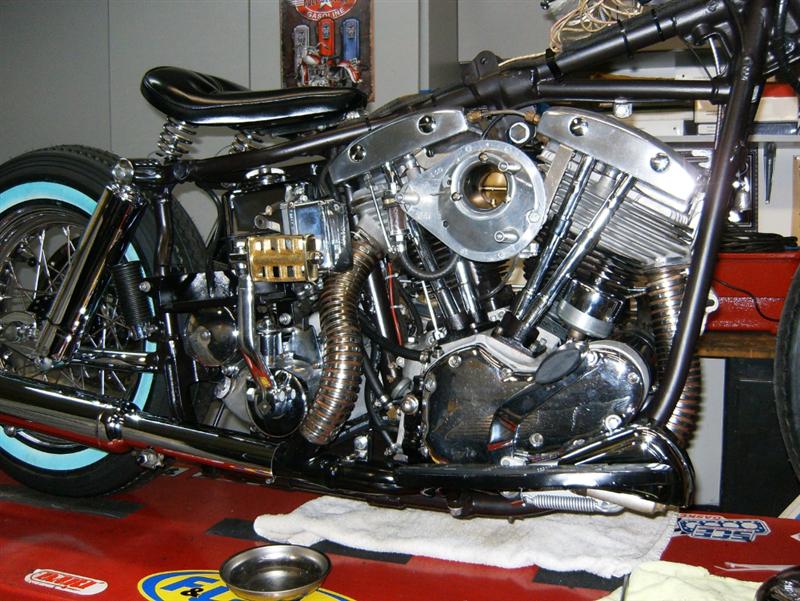
–Tail Gunner out till next month.
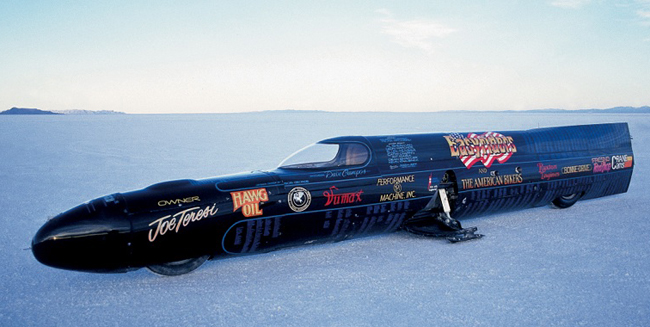
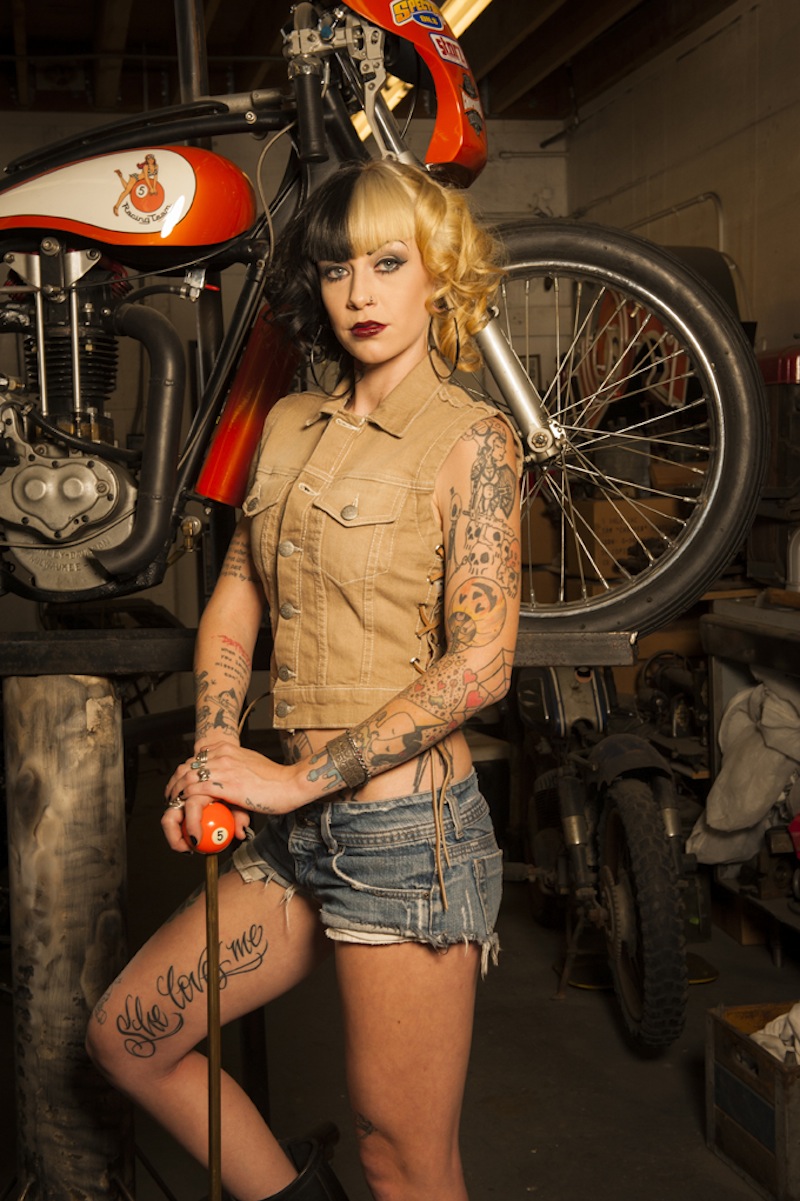
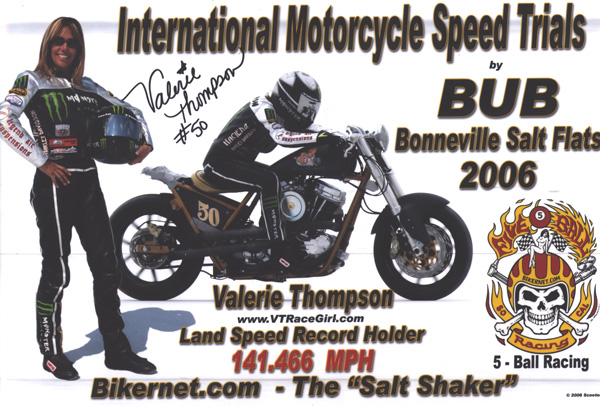
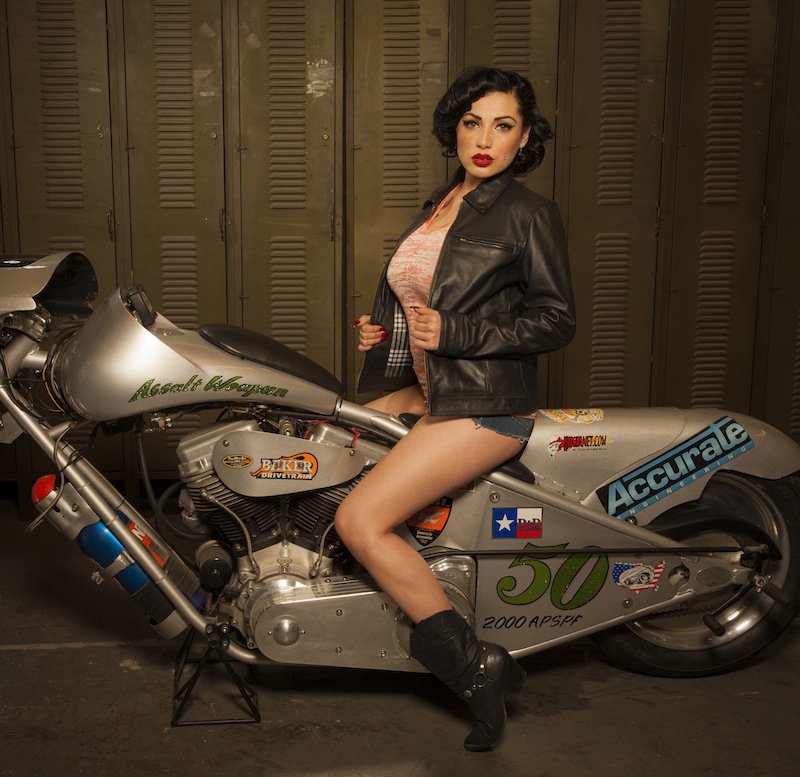
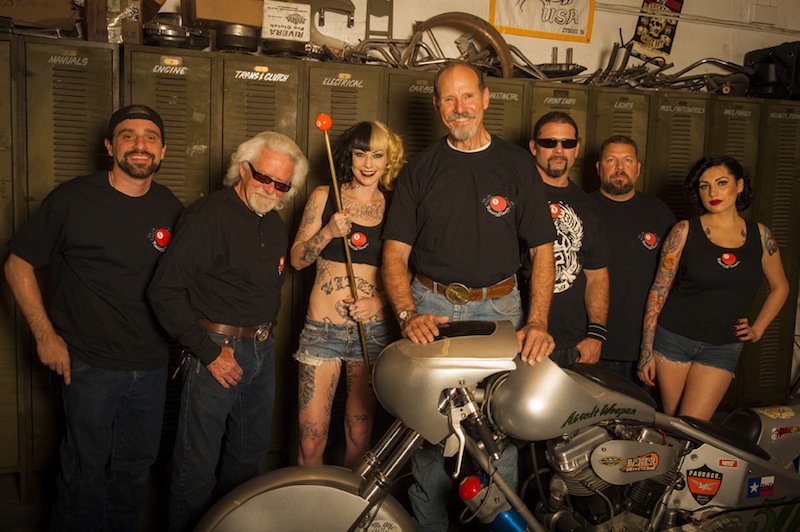
What the Hell is 5-Ball Racing?
By Robin Technologies |






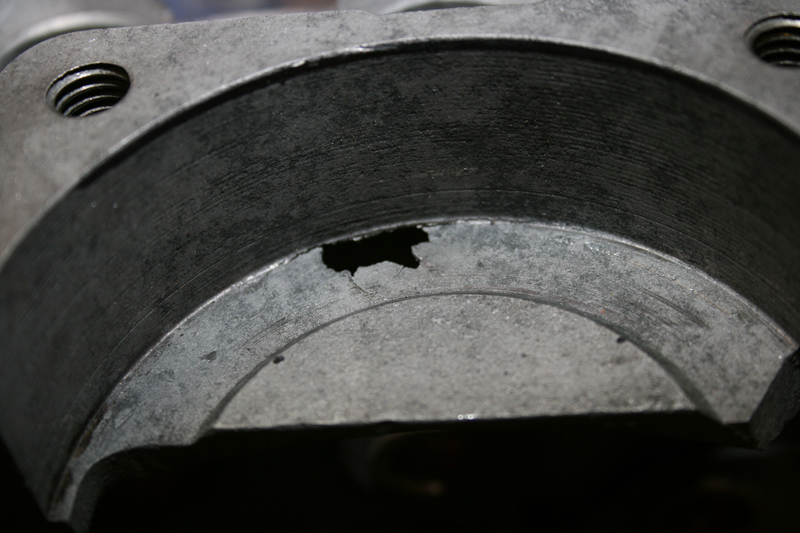
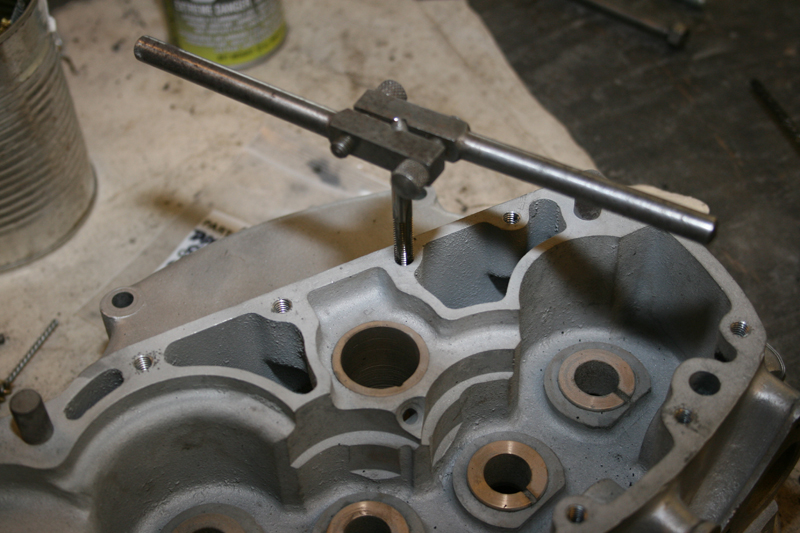
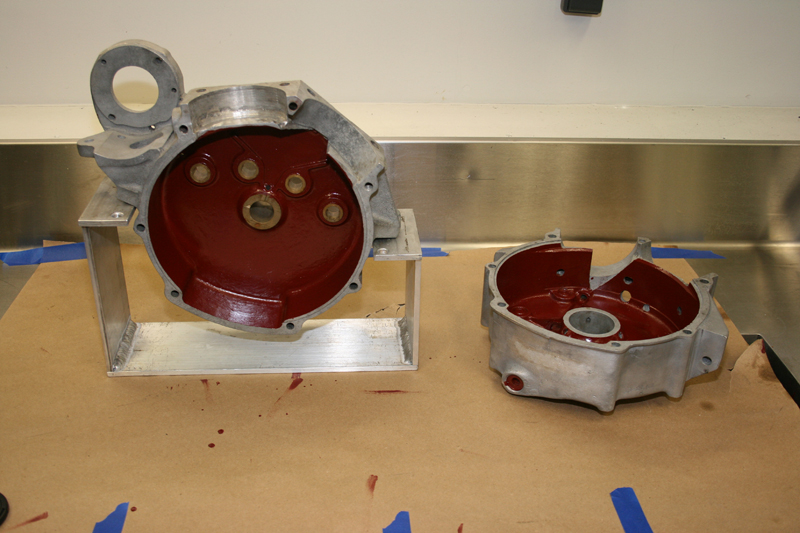
Rebirth of an American Classic: Case Repairs
By Robin Technologies |



|
|
|||
|
|
|||
|
|
|||
|
|
|
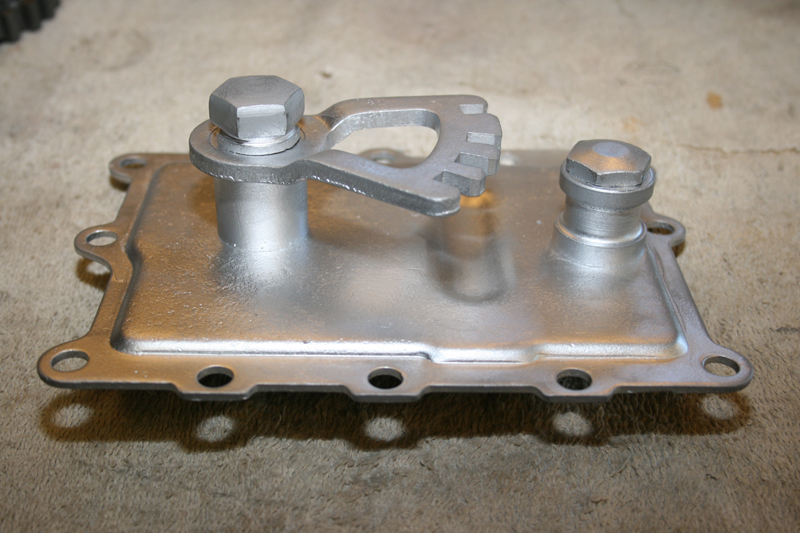
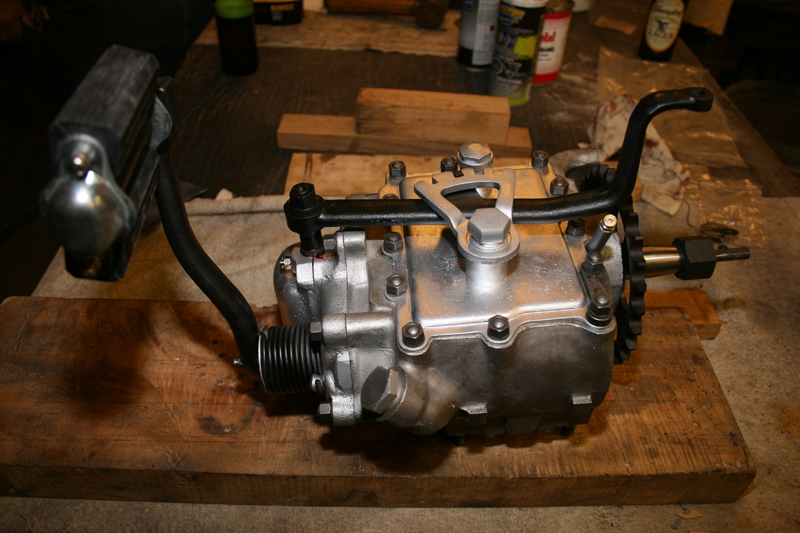
Rebirth of an American Classic: Transmission Rebuild
By Robin Technologies |
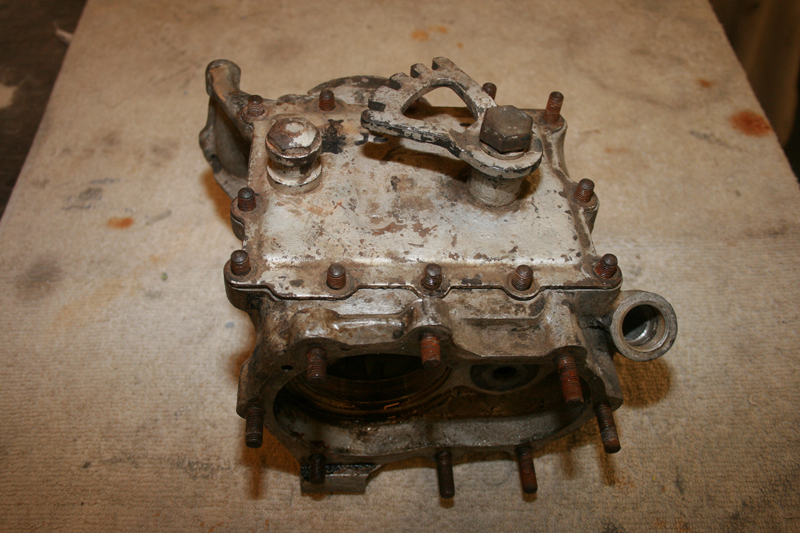
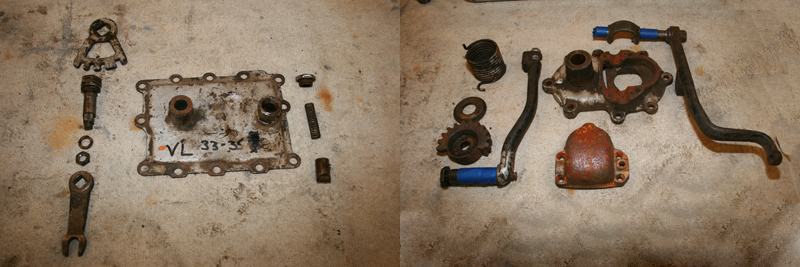
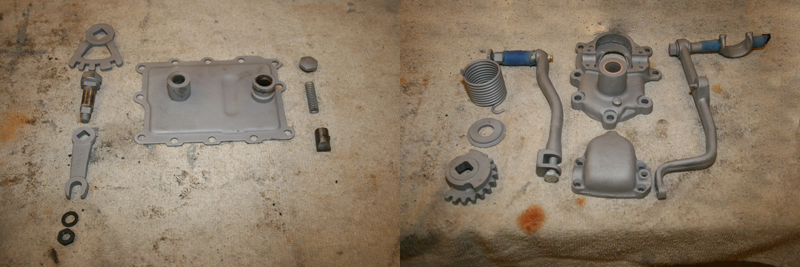
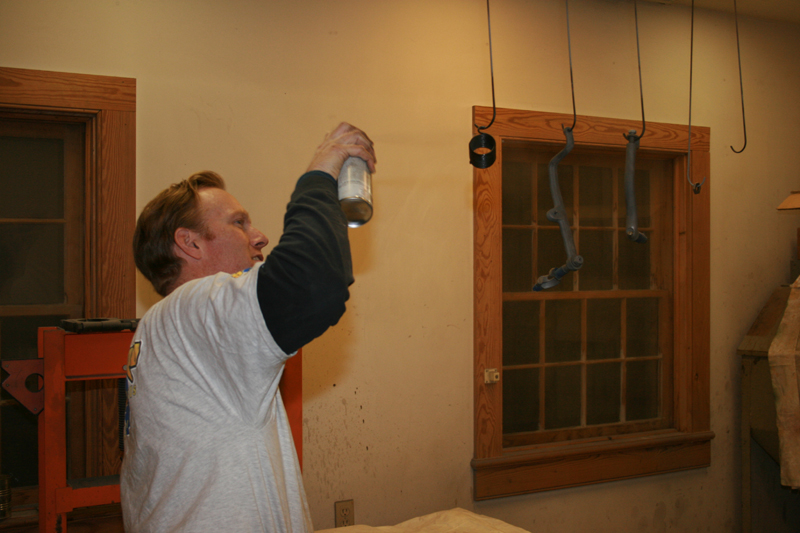
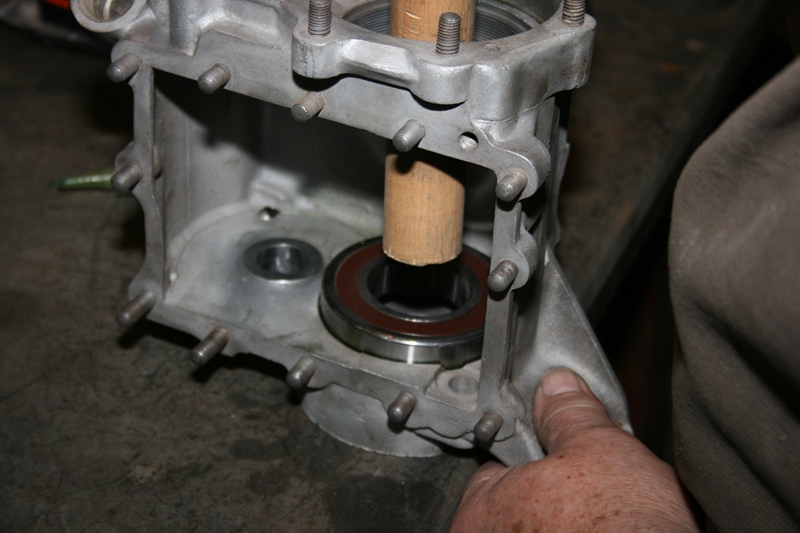
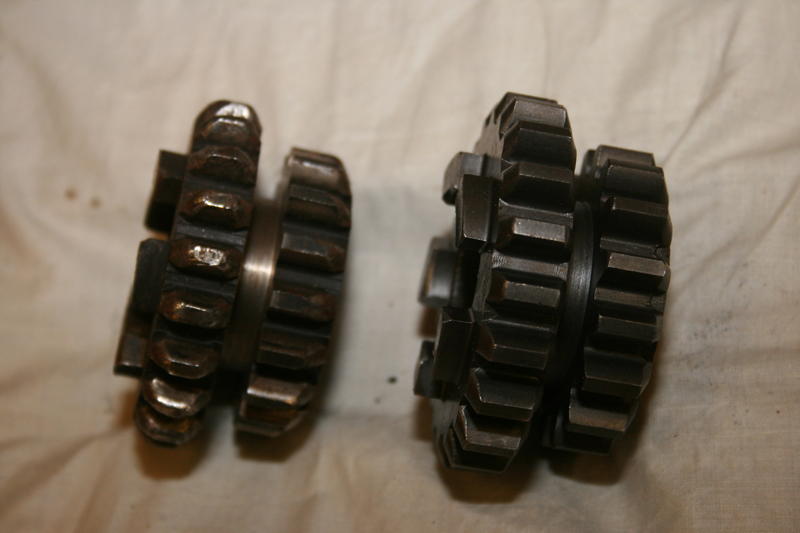
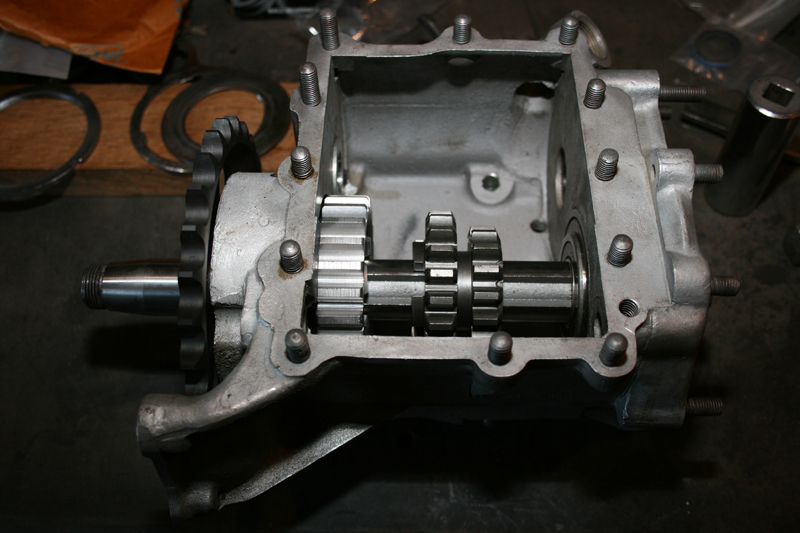
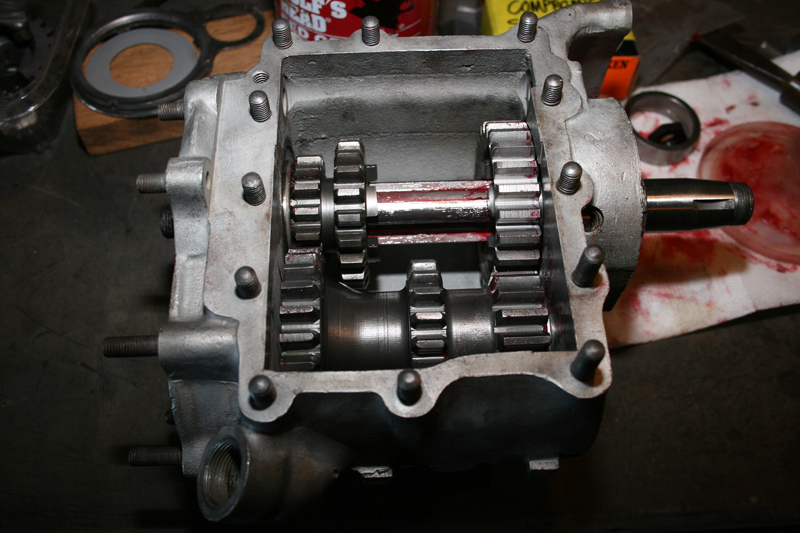
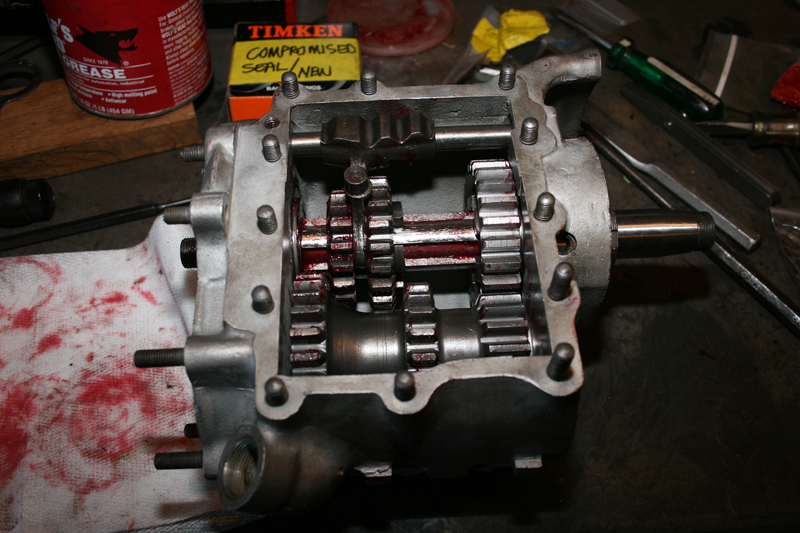
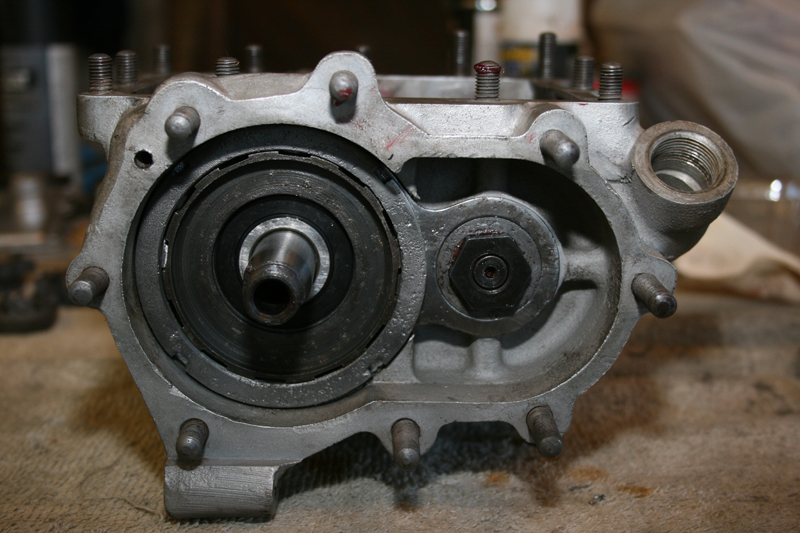
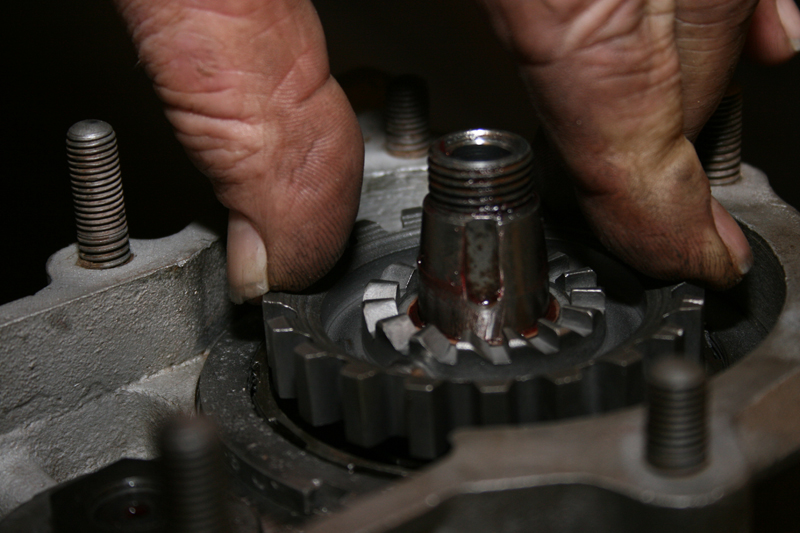
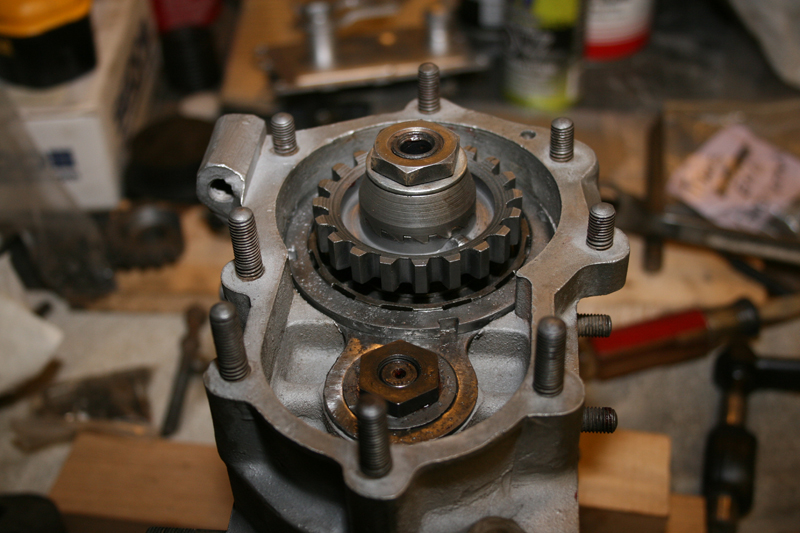
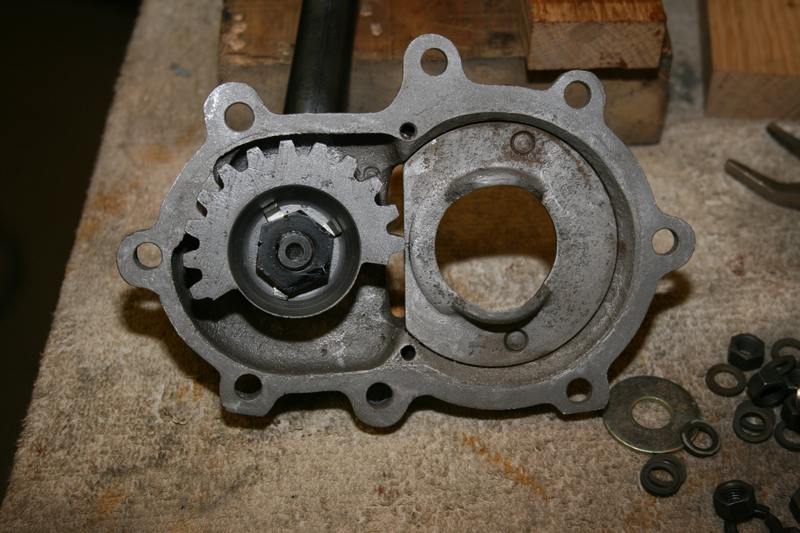
We have already gained the support of many of the top compaines in the vintage motorcycle industry. If you would like to see your company’s logo included not only on the motorcycle, but also on every article, please contact me directly to learn more about our marketing campaign and advertising opportunities. EMAIL
|
|
|||
|
|
|
||
|
|
|
|
|
|
|
|
|
|
|
|
|
|
|
|
|
|
|
|
The Amazing SHRUNKEN FXR Updated
By Robin Technologies |

Once upon a time there was a bike built called the Shrunken FXR. Keith “Bandit” Ball, of Bikernet and other assorted fame, built it. By a stroke of good fortune the bike became mine through the generosity and trust of Keith Ball.
This bike was my daily commuter for a handful of years. It was and is always a challenge and a ton of fun navigating the streets and freeways of Los Angeles on two wheels and especially on a custom built motorcycle.

I decided it was time to update the look of the bike as well as do some fine-tuning of a few mechanical items I wanted to switch up a bit. Below is a brief summary of what was done, again primarily with the help of friends and some extra cash from my Pops to help get it all finished up proper.

First I replaced the front fork tubes with new fork tubes made by Forking by Frank. Styles have changes, so I installed new handlebars, 10-inch baby apes mated to Black Boyd Motor Co. risers.

I work at the magnificent ARCH motorcycle company and LA Chop Rods, so natch; I installed Black Anodized hand controls by ISR purchased. They are absolutely the best and contain the mechanical Bandit approved styling.

I replaced the mirrors with 2-inch Blind spot jobs by CRG (Small and work great). We
Powder-coated the classic Performance machine wheels black (Thanks to Custom Metal Finishing in Gardena CA, who handle the high-end ARCH motorcycle extreme perfectionist coating).


We manufactured a new Shift arm and Brake arm to improve function. Ryan Boyd, Boyd Motor Co./Arch Motorcycle, is a master machinist and engineer. He configured then machined these components to enhance the rear brake functions, and it now works like a charm, plus it improved shifting dramatically.
We replaced the pegs with something sport bike like and again Ryan stepped up to design and machine one-off mounting bracket adaptors.

We reworked the exhaust basically back to the original first version, added BBQ paint and LA County Chop Rods baffles.
These upgrades, in addition to the rear shocks by Progressive and my comfy Saddlemen seat make the Shrunken FXR road ready and looking fresh for 2016.

Me owning this bike and updating would not be possible without the help and kindness of the following wonderful humans beings: Keith “Bandit” Ball, Dr. Ladd Terry, Gard Hollinger, Ryan Boyd, Jose Laguna, Saddlemen, L.A. County Chop rods, Custom Metal Finishing, Boyd Motor Co., Frank’s maintenance and engineering.

Here’s a link to the original feature, if you search the Shrunken FXR on Bikernet, you’ll find all the build articles: http://www.bikernet.com/pages/Amazing_Shrunken_FXRThe_Full_Feature.aspx
–Buster Cates
The Magnificent ARCH motorcycle factory
LA Chop Rods
Saddlemen
BDL
Progressive Suspension
