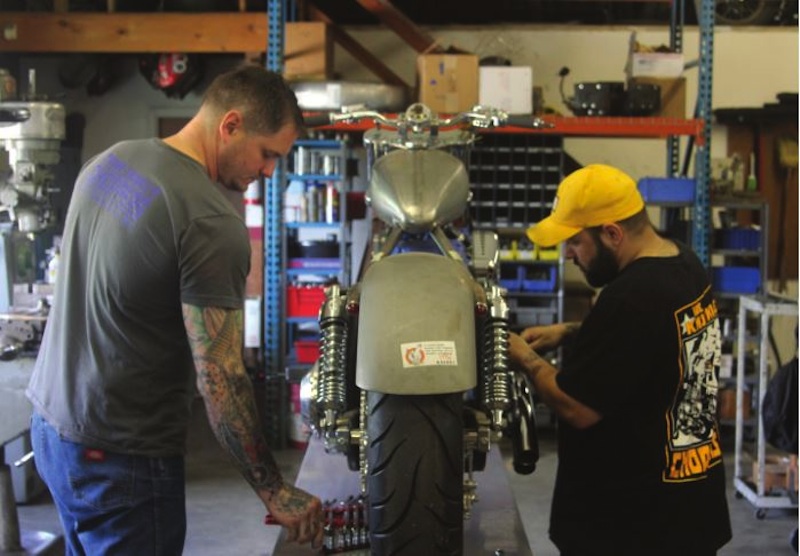
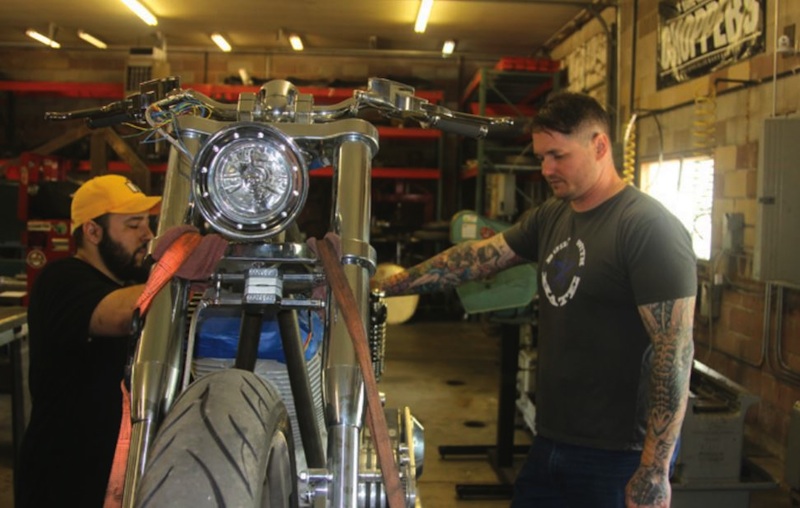
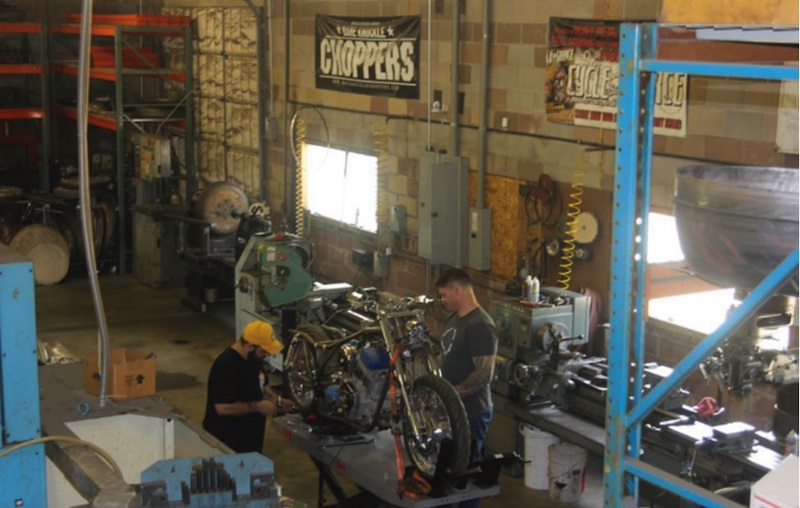
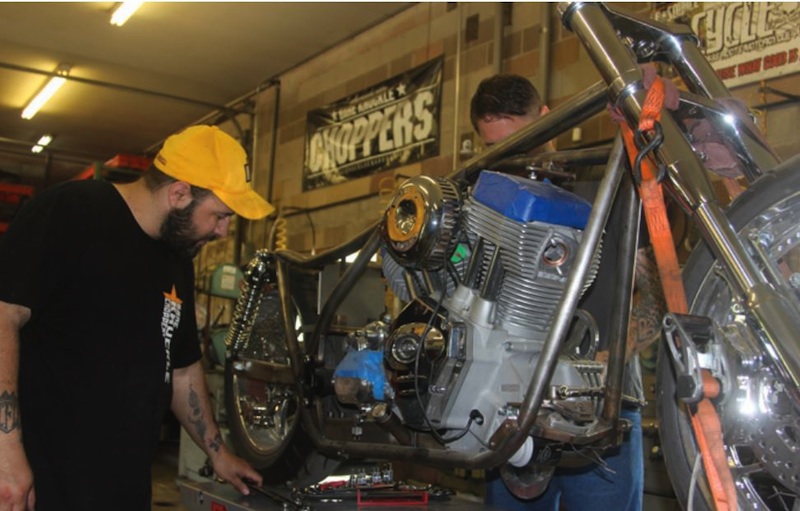
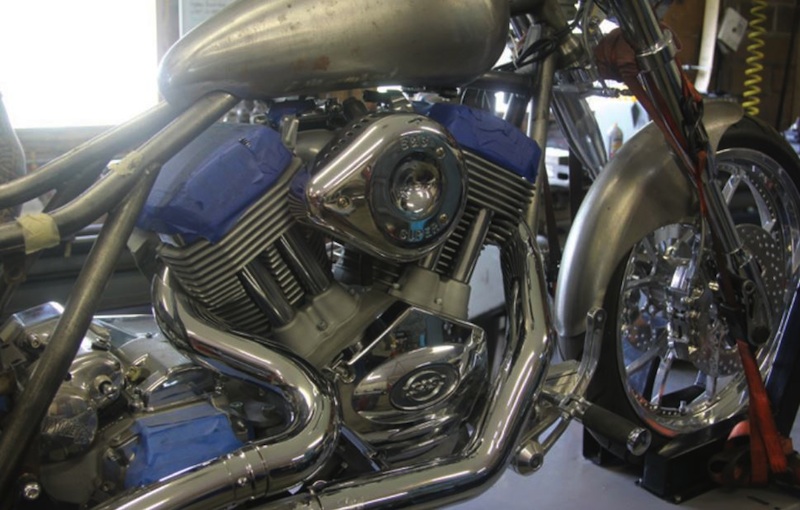
Doug Coffey’s RetroMod Panhead Part 3
By Robin Technologies |

Bikernet Bike Build: BETSY’S REVIVAL STORY Part 2
By Robin Technologies |
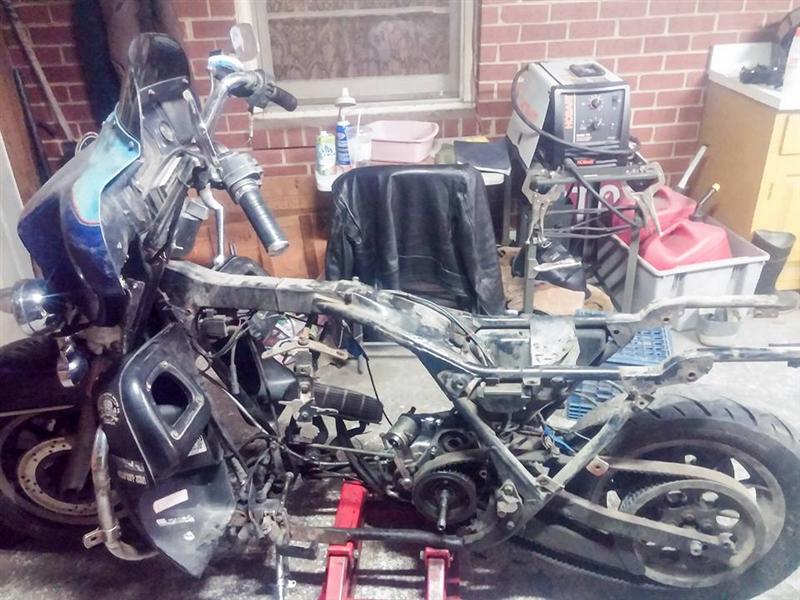
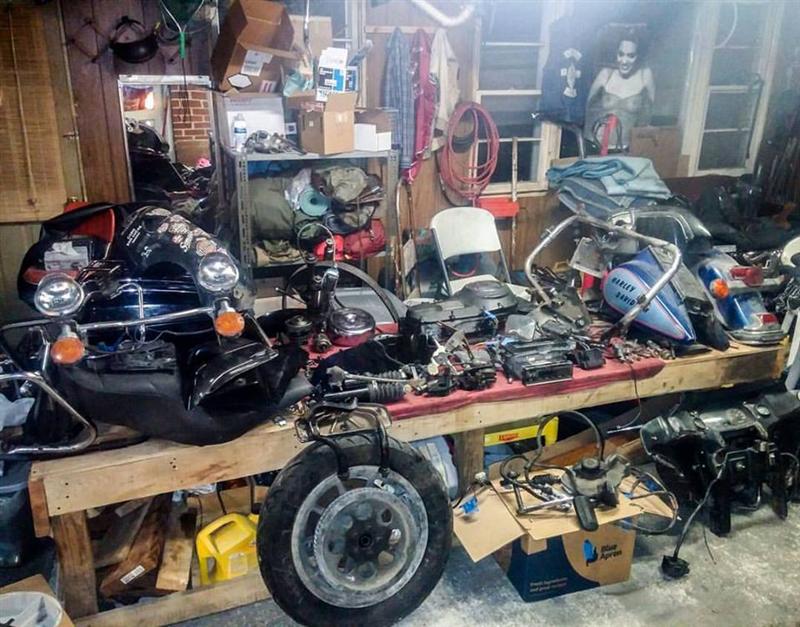
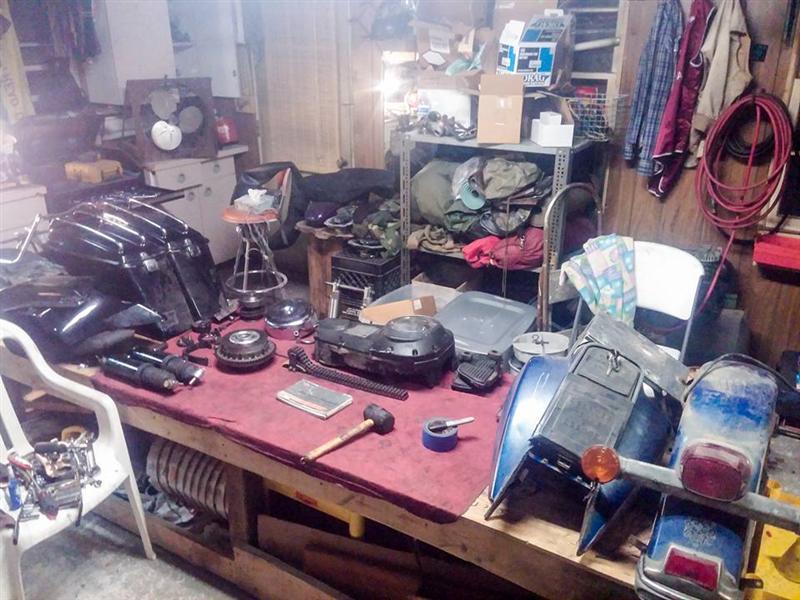
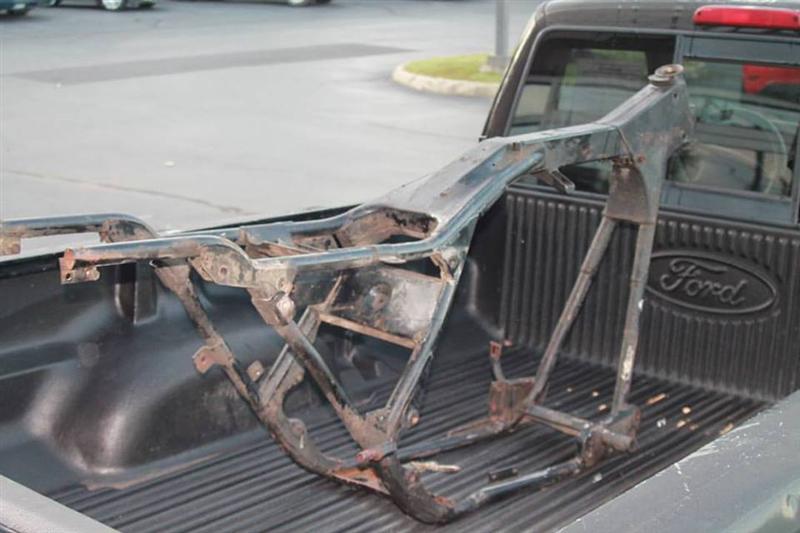
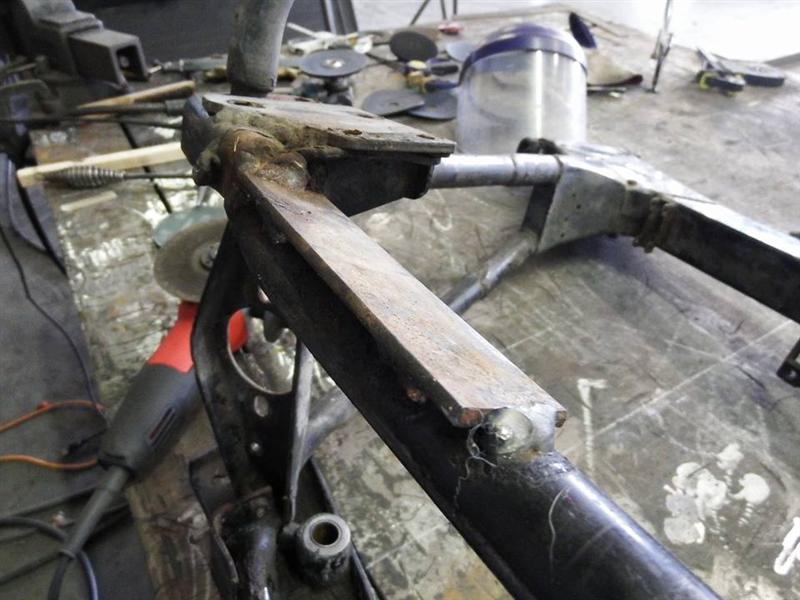
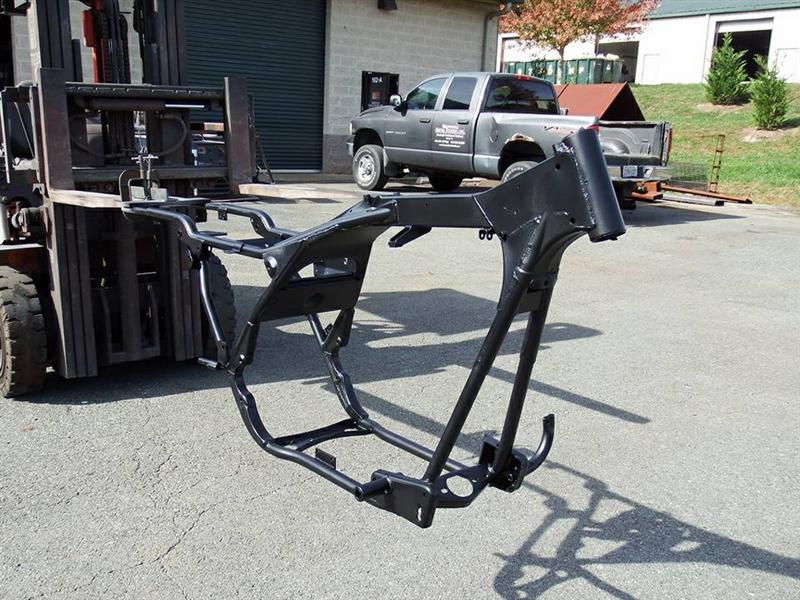
Ahuge expression of gratitude goes out to my friend Steve Brownell forselflessly donating his time and materials to bring this GypsyMachine back from the dead. As a fellow biker himself Stevereiterated to me a manta I hear and have used time and again, “That’swhat we do, brother.” With a new lease on life I closedthe tailgate behind the NEW girl, gave Steve a big appreciative hug,then drove off waving as I watched Steve and the crew in the rearview sending us on our way to future adventures yet to come.
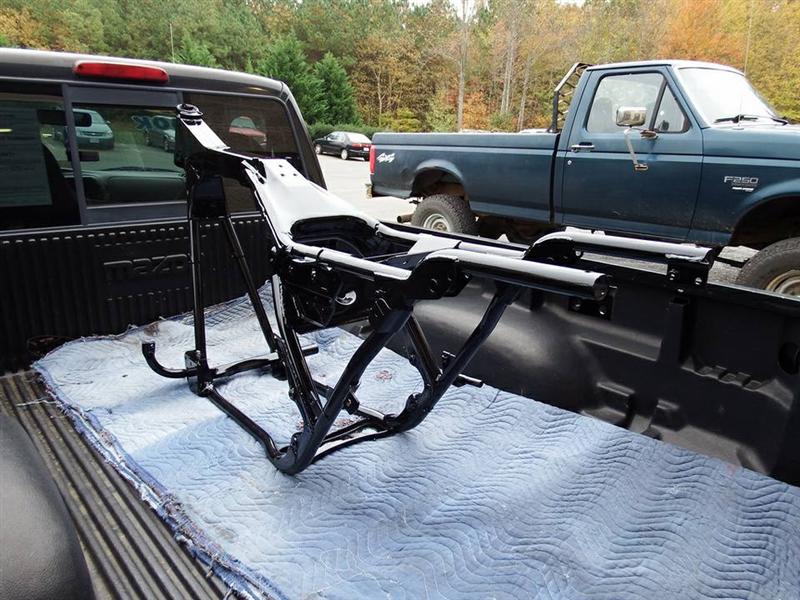
Bikernet Project: Charity Bike, Widowmaker Style
By Robin Technologies |
“A man’s got to know his limitations”-Dirty Harry
The Widowmaker crew is ready to do everything from rebuilding the top end of your old Sportster, fabricating a set of head turning handlebars, or adding class to your fresh-off- the-showroom floor Milwaukee Iron, by installing Hank’s custom two-into-one pipes. Then giving her the iconic Widowmaker designed and fabricated intake so she can breathe 15 horses faster. Your ride isn’t made-in-the-USA? No worry, Hank has a solid record of having a complete disregard for the national origin of any type of stray bike landing on his doorstep. He’ll take it and improve on your ideas, or, like he did two years ago, just take a crotch rocket, chop it up, lay his magic welding rod upon it and get top prize at the Ray Price Capital City Bike Fest in Raleigh, NC.
Each year for the past eight years, the Widowmaker family had been organizing a very successful ride raising money to help families deal with their child’s medical expenses. This year is different; Hank is fabricating a custom motorcycle which will feature his signature hand made parts recognizable throughout North Carolina as the Widowmaker brand. The plan this year is to sell raffle tickets and raise $25,000 and give five local families in need, $5,000 each, to help with the medical care of their child. We caught Hank early in the planning stages and wanted to share his progress of this project to the announcement of the winner on September 26th at Ray Price Harley Davidson’s Capital City Bike Fest in Raleigh, North Carolina.
Bikernet is going to follow Hank through the process of building a custom chopper and staying within the basic interactions between: cost, skill level and availability of tools. This is the first in a series of five articles in which we will be going over some issues that need to be addressed prior to putting fire to metal or pen to paper.
Here’s Hank layin’ it out straight for you in his words: Set the goal and make a plan…then be flexible while you work towards that goal. Reaching that goal is the successful art of harmonizing your choices with your plans within the parameters set by your skills, or as Dirty Harry would say, “A man’s got to know his limitations.”
Be honest in evaluating your skill level; choose a bike that works within your ability and the tools you’ve got in the shop. For example, I would not recommend a 2005 fuel injected V-twin to anybody but an advanced builder. If your strong suit is not electrical, stay away from electronic bikes. Stick with the basic skills for a basic drive train and fuel delivery. Use the theory of K.I.S.S.- Keep It Simple Stupid. A carbed Sportster has been a simple and proven canvas for decades of custom builders of all skill levels. Carbed metric bikes are getting more attention partly due to popular magazines such as The Horse-Backstreet Choppers and Cycle Source. The metrics tend to lose their value quicker yet remain reliable, but the metrics need a more fluent skill set. Sportster tooling is basic, aftermarket parts are readily available.
Choosing a bike. Choosing your donor can be difficult. However, surfing the internet somewhat simplifies this option. Knowledge is power, knowing people helps. Know your surroundings and what you are willing to do to get what you want. What are you limitations? If you find a great deal on a bike but its 1,000 miles away, is it worth the drive? Consider any time, effort and expense in acquiring the donor bike or parts for your project. Speedy decision making is the key to sealing any internet deal. If you find a good deal, jump on it. There are plenty of up and coming backyard builders, and many are out there in the fast lane. This is where your skillset, tooling, and above all- your planning comes into play. Choosing a bike that best fits your ability is better than choosing a bike that better fits your wallet. Knowing your limitations will save aggravation and keep you from wasting time and money. Decide if you want a running bike or not. Running bikes are easier to start with. You’re trying to re-engineer the bike completely. If you decide an engine rebuild fits your plans, your market for a donor bike expands considerably.
Choosing a wrecked bike. First question, does it run? Look at causes of failure. How bad of a hit did the bike take and where? What are you changing about the bike and how does this affect what your plans are? Is the front end in the frame? Are you replacing the frame? Looks can be deceiving. Frame can be bent. Always check. Where was the impact? What deemed it totaled? What condition is the engine? Compression Test? A compression test tool can be easily found at your local auto parts store. Review the specific bikes requirements before performing the test. Basic actions, remove spark plug, disconnect ignition coil, install tester. Spin engine over with throttle open. Evaluate readings. Every engine has different specs. Know your specs. You should not have a difference of more than 10% from one cylinder to the other. This will give you an idea of overall internal condition. An easy way to decide if you have leaking rings or valves is to squirt some oil into the cylinder. Retest them if you have a poor reading. If your value goes up, the rings are bad and the valves may be ok. How long has it been sitting? Perform a Cylinder Leak Down Test using another tool easily found. This can be confusing to understand. You will have 2 gauges. One showing the air coming into the cylinder, the other showing a percentage of air lost. The more air lost, the worse the condition of the internals of the engine, i.e. valves, rings, etc. Make sure the valves are closed and engine is on Top Dead Center (TDC) for that cylinder. Does it run? Get a grasp on the variables of how long it has sat, what is the overall shape of bike? How many miles? Is the speedo stuck on a certain speed? This is a good indication of speed of impact. Is it water cooled? How will this affect your ability? Can you rework the design of the cooling system? Have a game plan for the bike. What parts will you have to fabricate to use in your build? Again, what is your skill set and tooling for the bike? Plan ahead. How far can your abilities carry you and what do you have to buy or source. Make sure your plans also consider the laws of you state for signals, light sizes, handle bar heights, fork lengths? Look at the overall of the bike. What is damaged, where, why, how come?
In this build, we are using a wrecked ’99 Yamaha Road Star 1600. The insurance company determined the bike was “totaled” based on overall damage vs. cost of repair and value of a repaired bike. The bike was running good and in good riding order. The majority of damage was isolated to the front and right side of bike. Fender, exhaust, tire, turn signal bar, etc. (insert pix here). (talking about points of impact, overall condition and damage). But the overall running works of the bike were intact and in good running order.
Having a plan. For this project, we chose this bike specifically based on availability and cost. Knowing our skill set on the front end, we knew this bike would be a challenge, but be a great build. We already planned ahead. We had a Crafttech frame with a 240 back tire that needed a large displacement motor. The 1600 cc Road Star engine fit the bill. Now this comes into tooling. Keep posted to see how the overall pieces are made to fit. See you next month.
SPONSORS
Triangle Cycles
Grip Ace
Chop Rods
Fastnel of Roxboro, NC
Amzoil
Ah-maiz-in Paint and Finish
Carolona Custom Powder Coating
Turner Asphalt of Raleigh, NC
Camp Bow Wow
Chandler’s Towing
Peak City Trucking
Carolina Ceramic Coating
Brandon’s Harwood Floor and More
Bennett’s Performance Final, Maybe
By Robin Technologies |

Bennett’s Performance touts being the performance test bed for all-things big twin performance and handling in Long Beach, California. The team is also very involved in Bonneville Land Speed Record efforts. Unless the California Air Resources Board decides to shut down every California custom or performance shop, they will be burning rods, turning lathes, and twisting wrenches until they die.


I say, “They,” and I’m referring to Eric Bennett, the boss, and his longtime mechanic and Dad, Bob. Other technicians come and go. Plus, next-door are the men, including Jerry Branch, and John O’Keefe, who are the masters of the flow bench and headwork at the Branch O’Keefe machine shop.

All shops big and small in California live in fear of being shut down. But let’s not go there. For a few minutes let’s pretend that freedom rings in this country and our political structure loves folks who build anything from hot rods to custom motorcycles. They even support the notion that loud pipes saves lives, because it’s true. They love it that guys don’t beat their wives or do drugs, that they learn how to work with their hands and create something one-off, which they can ride to work or to Sturgis with pride. Am I dreaming or what?


Eric recently came across this 2004 Dyna and decided to research every performance resource and build himself the best hot rod Dyna on the planet, as a test project for anything performance, for Twin-Cams. He did, and we followed the process on Bikernet.com, and this is the third and last stellar episode. But wait, their could be more, according to Eric’s assessment at this point.

“I need to change the shocks,” Eric said. “They are too low and shifting the weight to the rear. I need to tighten the handling.”

Eric was pushing is Dyna onto his shop dyno as we strolled into Bennett’s Performance, a very clean and well-organized shop, a couple of weeks ago. “I wanted to dyno it one final time without a rev limiter,” he said and discovered a dyno malady. The battery was low. At about 5500 rpms the dyno results didn’t indicate a smooth transition through the gears, but jumpy results. He was dying to try again, but we were forced to take a break.


Eric now has 1978 miles on the bike since he rebuilt and upgraded the engine from 88 inches to 106. Shortly after the bike was completed and running, his dyno pulls indicated 112 hp and 119 pounds of torque, then 116 hp and 118 pounds of torque with a carb change, more miles and tuning.


Our discussion shifted back to handling. “At 100 it starts to wiggle,” Eric said, “There’s too much weight on the back.” He plans to install 14-inch Ohlins. Today, the lower badder look is slipping away for the jacked, terrific suspension, badass, dirt bike, café racer, SOA, go fast appearance.

We discussed the new CCE stiffer rubbermounts for Dynas, which might do the trick. “I still won’t be able to dial-in the handling as well as FXRS, like the Unknown Industry guys,” Eric said. “With my handling issues, they pulled away at just over 100 mph. The front feels fine, but I haven’t decided what to do with my number plate. Newer Dynas have additional gussets, but nothing like the FXR, period!”

He plans to black out the wheels and add Michelin tires, but he loves this engine configuration. “It’s perfect,” Eric said. “I didn’t need to machine the cases or crank up the compression. The cam isn’t radical, and I could run stock cylinders.” Jerry Branch told Eric that engines are like a combination lock. One number off and the system doesn’t work.

He’s currently looking for an ’06 or ’07 Dyna 17-inch rear wheel, and he will run a 160 tire. “It still gets 42 mpg. Reaching more than one horsepower per cubic inch with a naturally aspirated engine. It’s impressive.”

The S&S lower end contains a 4.5-inch stroke with 3 7/8-inch S&S pistons. Eric blocked the Mikuni carb out one inch to allow the air and fuel to atomize more before it reached the intake valves. “It’s a smoother delivery to the chambers,” Eric said. “We were lucky to score a set of Dave Thew heads designed for monster JIMS 116-inch motors by the Branch/O’Keefe team. This combination with 2.02 intake and 1.610 exhaust valves, and some slight porting, coupled with a Redshift .647 lift cam, and 11.5:1 compression gave Dave Thew 132 ass-kicking horsepower and 132 pounds of torque.

Dave’s bike with fat tanks and beach bars could not be beat at the drags.

I spoke to Eric’s dad who talked of his Bonneville bikes and going after a 167 mph record. Eric was the rider. “We couldn’t get over 161, but then I learned about aerodynamics. I gained 9 mph by moving the pipes inboard. We gained another 5 mph when Eric shifted his riding position and tucked one foot behind the primary.” They grabbed a record.

So, you can tell by the smell of go-fast, the posters of Burt Munro on the wall, and the Bennett record next to the counter, that this group is all about motorcycles and folks who ride hard and fast. Hang on for the next report.

Address: 1940 Freeman Ave,Signal Hill Ca, 90755


Size: 16-inchBrake calipers: Stock
Brake rotor: Lyndall
Pulley: H-D


Doug Coffey’s RetroMod Panhead Part 6
By Robin Technologies |
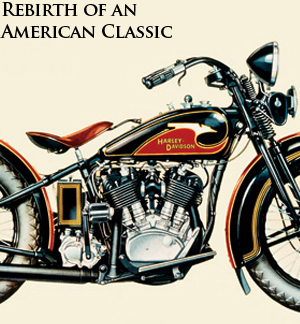
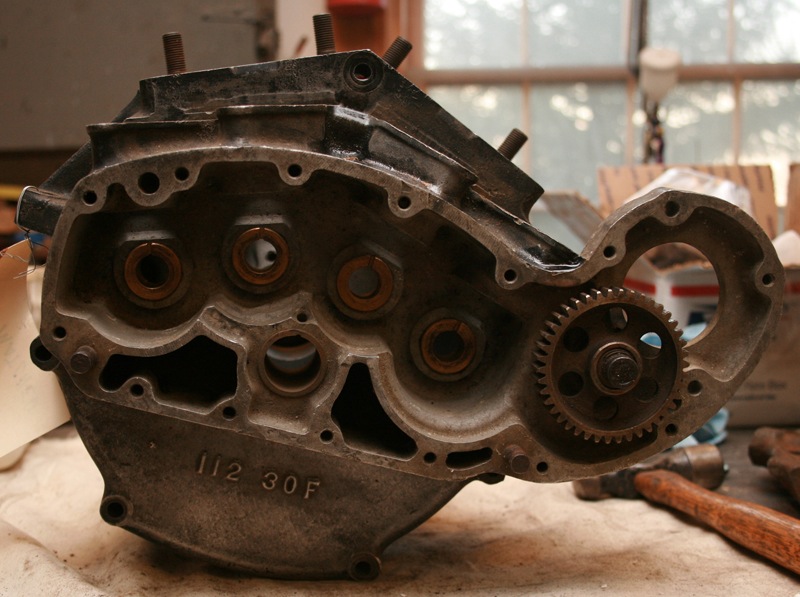
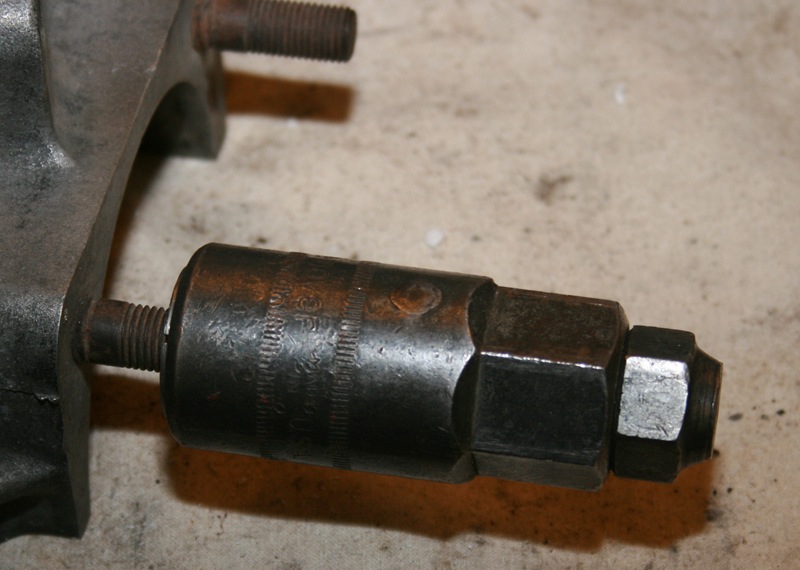
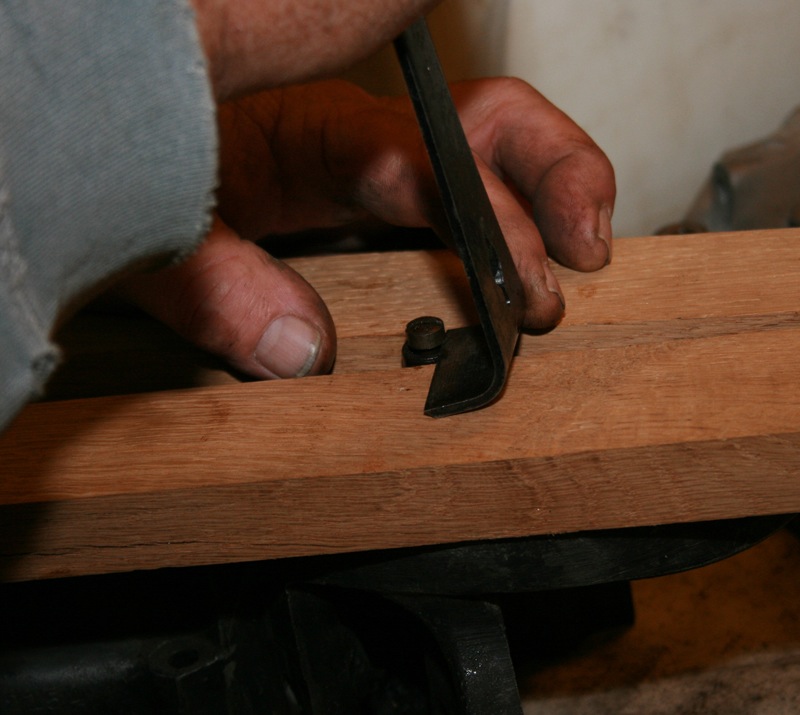
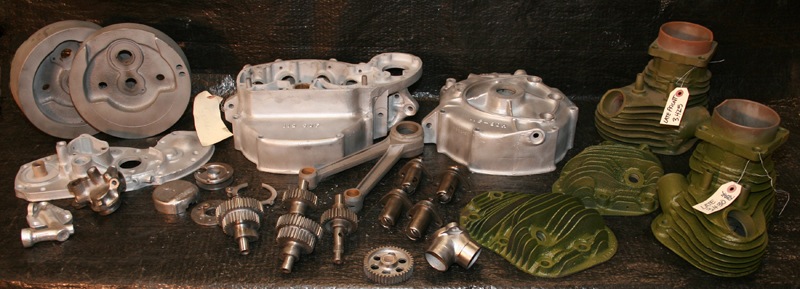
Rebirth of an American Classic: The Build Begins
By Robin Technologies |
|
|
|||
|
|
|||
|
|
|||
|
|
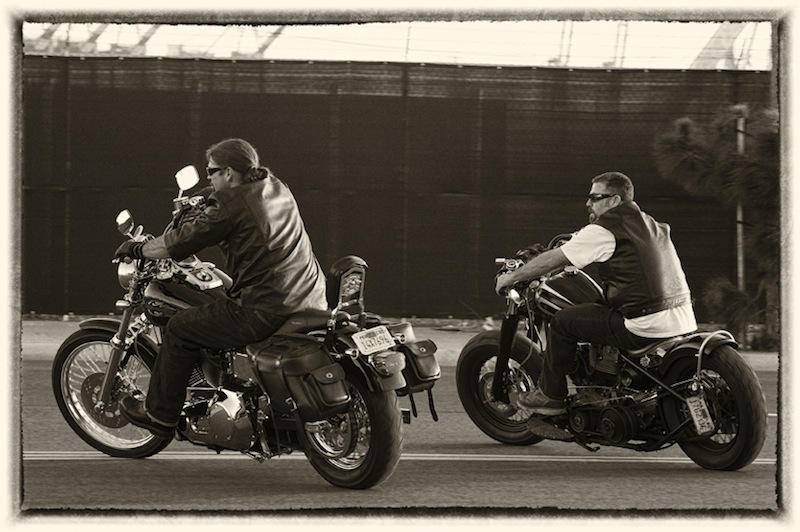
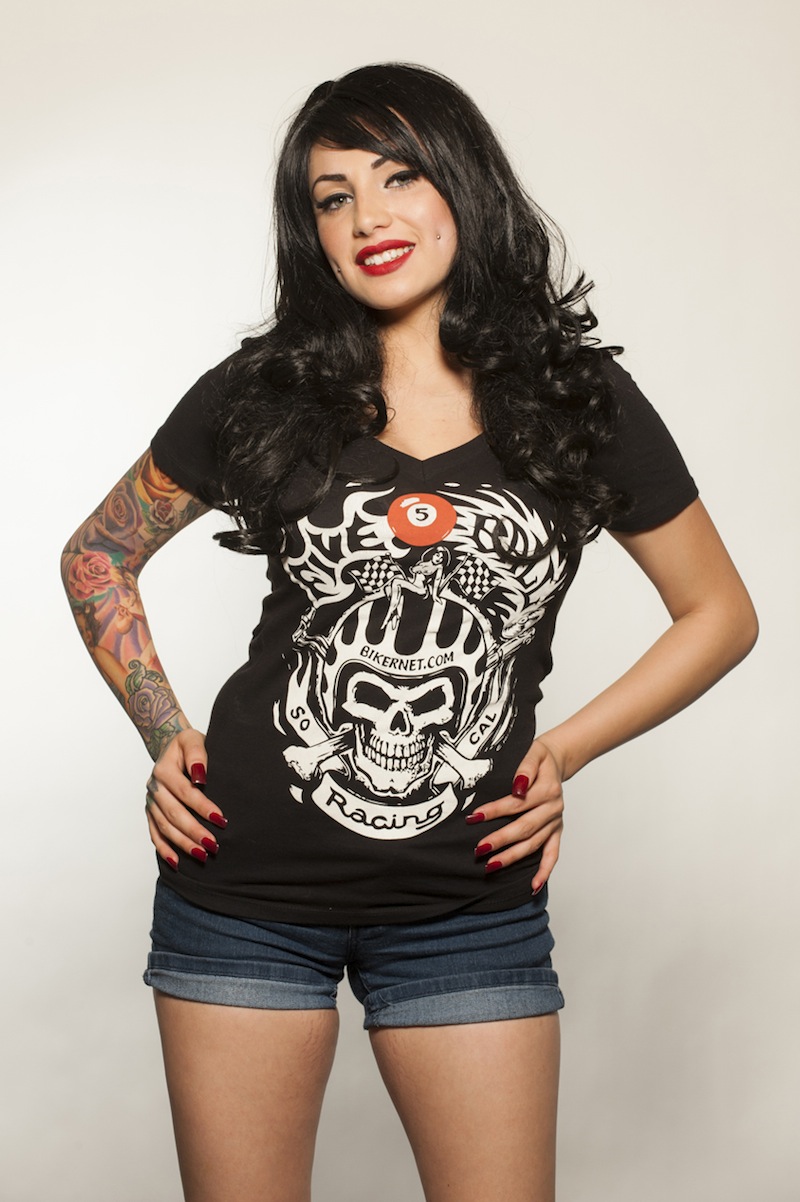
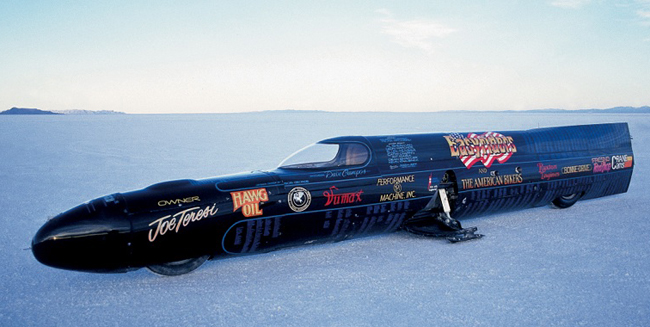
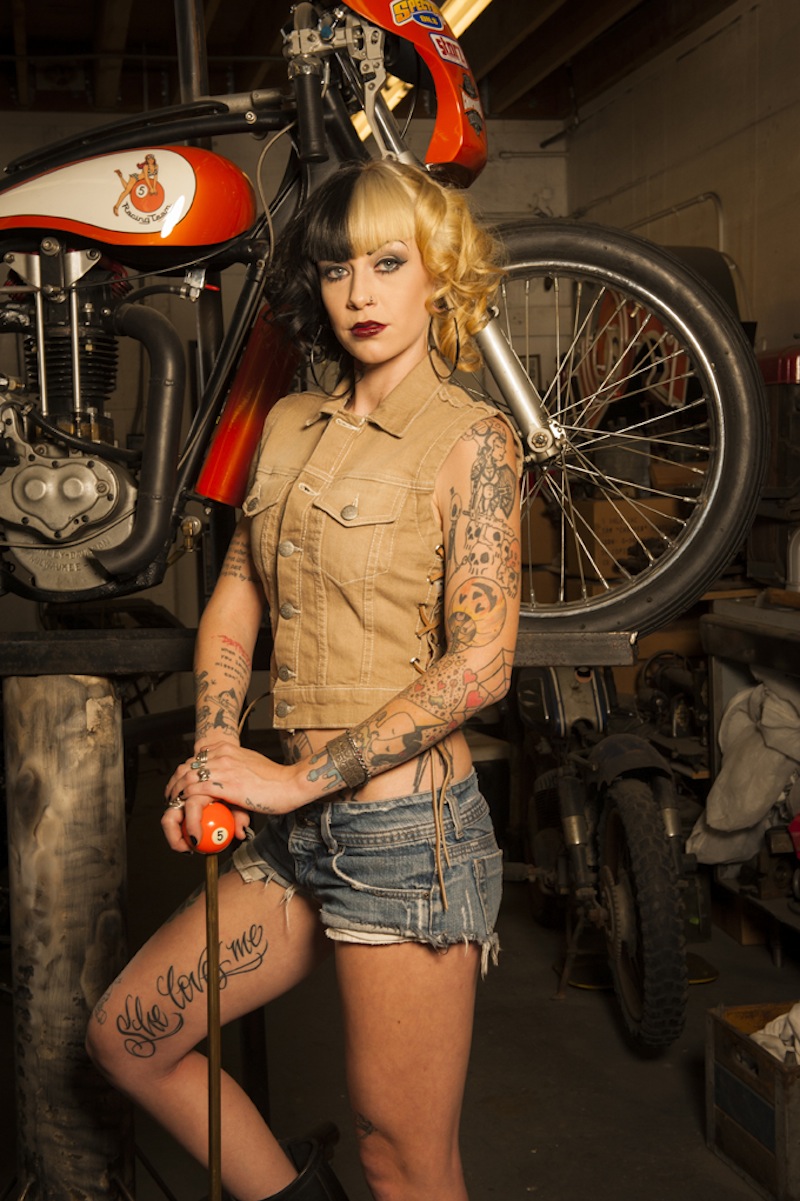
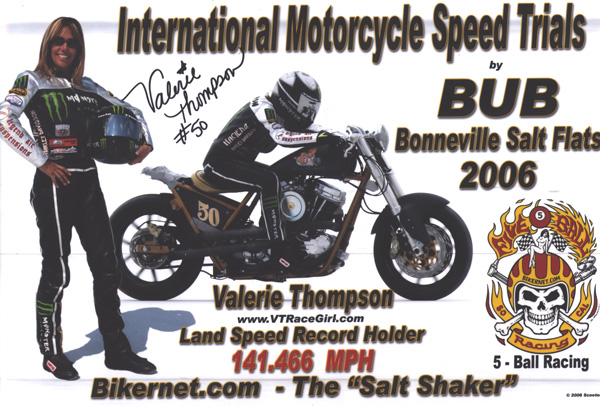
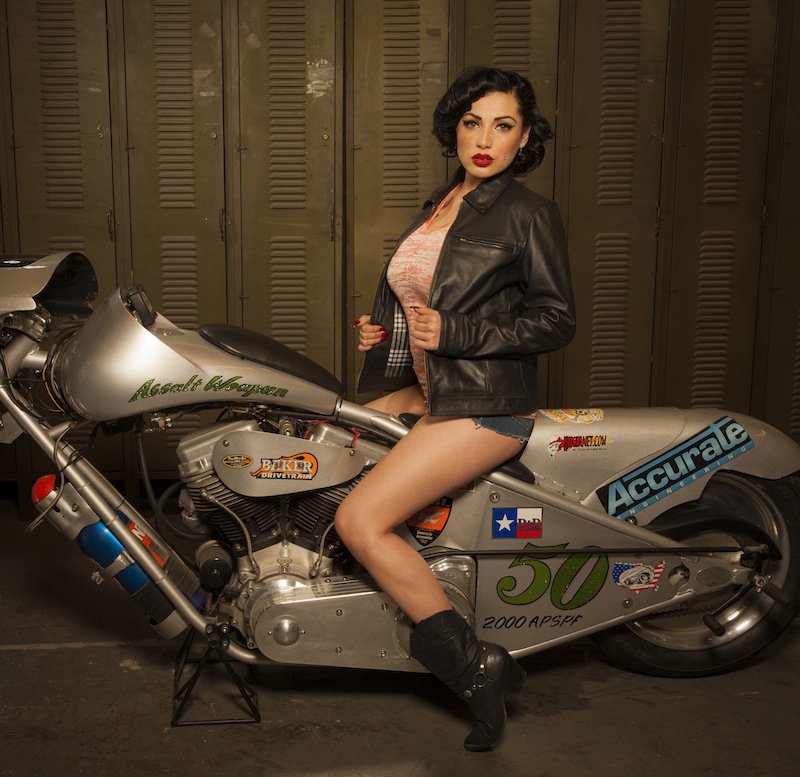
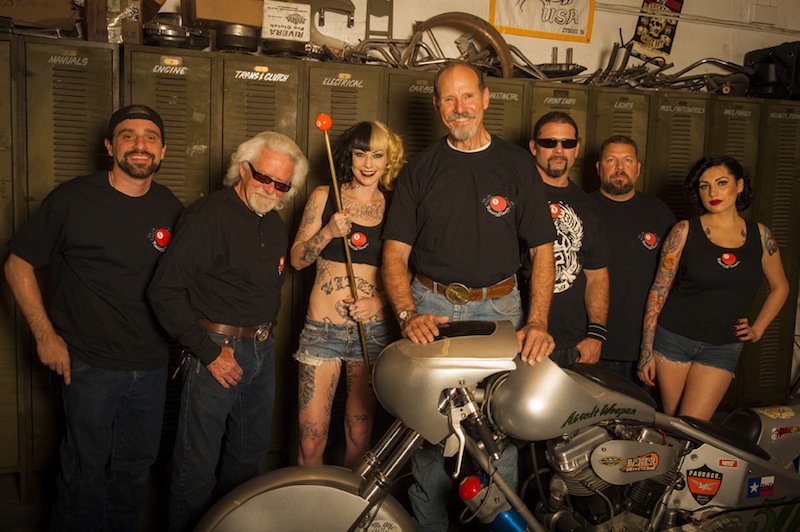
What the Hell is 5-Ball Racing?
By Robin Technologies |





Doug Coffey’s RetroMod Panhead Part 5
By Robin Technologies |
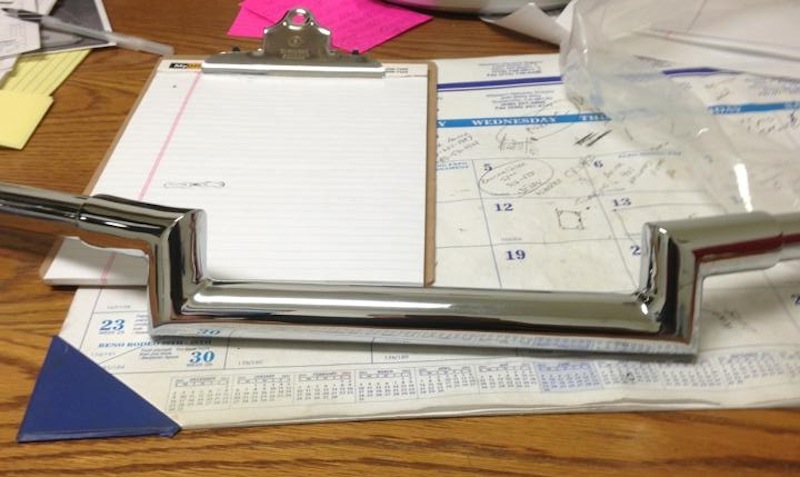
Risers
How to replace grips on a Harley-Davidson by J&P Cycles
By Robin Technologies |
Today, J&P Cycles shows you how to replace grips on a Harley Davidson motorcycle. From removing your old grips and adding new grips watch the entire process take place.In this video they use a 2013 Harley Davidson Softail Slim for demonstration but the process will be very similar for all motorcycles that utilize dual throttle cables.
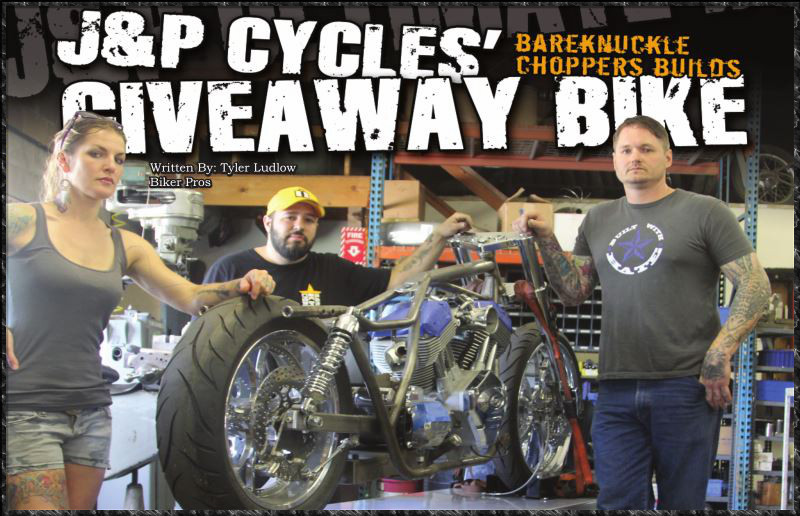
J&P Cycles Giveaway Bike – Part One
By Robin Technologies |
