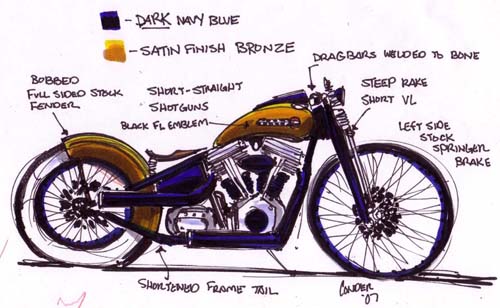
Building bikes was simple until Harley-Davidson threw in a myriad of models, new engine configurations and now the axles are larger, which fucked with the bearings, sprockets, rotors, frames, etc. At one time we all built rigids, using the same frames and components. That lasted for 20 years. I digress. It ain't so no mo'.
Two dissimilar elements kicked off this build, new 1-inch axle, Harley-Davidson spoked wheels with contoured rims, that shook the industry, and a retro rigid frame from Kraft Tech, set up for a 3/4-inch rear axle. Kent, the master builder behind Lucky Devil Metal Works knew just what to do. He replaced the stock 1-inch sealed bearings with sealed 3/4-inch units.
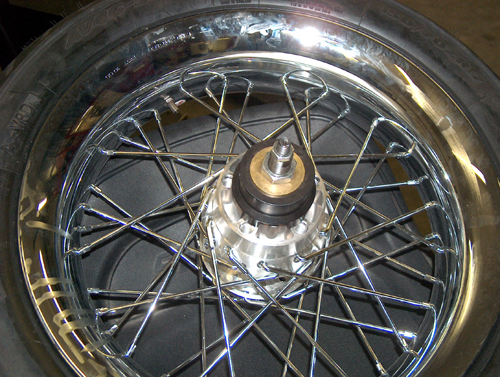
“Sealed bearings are kick ass,” Kent told me. “Timkens need to be set up with .002-.006 end play, but sealed bearings have no need for end play, but the center spacer must be perfect. If the center wheel spacer is too small it will roast those puppies pronto.”
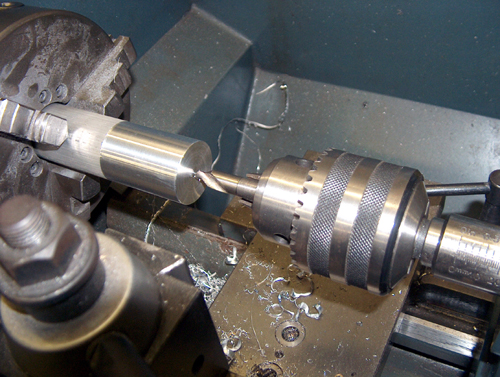
For 3/4-inch axles Kent makes his center tubes out of 1-inch DOM mechanical tubing with a 3/4-inch I.D. for a comfortable slip fit. “You don't want a sloppy spacer banging around in there or fucking with wheel balancing,” Kent explained and tried to hit me with a ball peen hammer, 'cause I was about to touch something I shouldn't.
Kent made a new axle for the rear wheel and an aluminum end cap with a counter-bored hex nut fastener. He also makes his own thick wheel spacers. “That gives them a more solid grip on the frame,” said Kent.
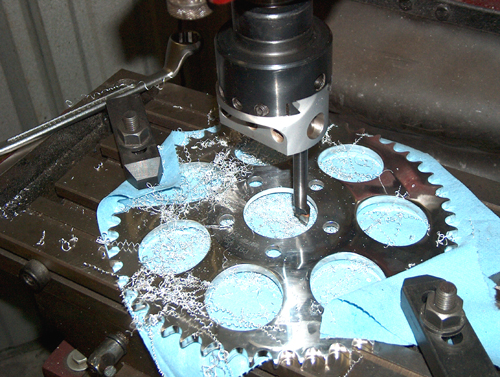
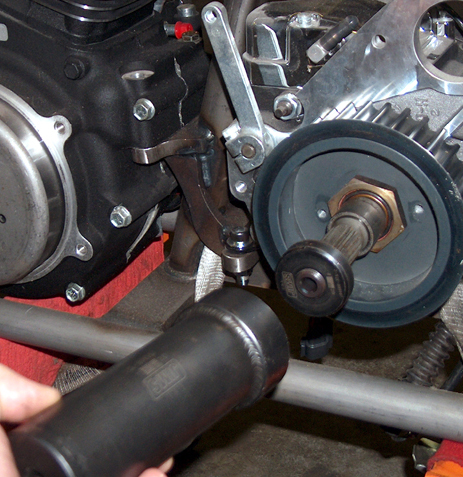
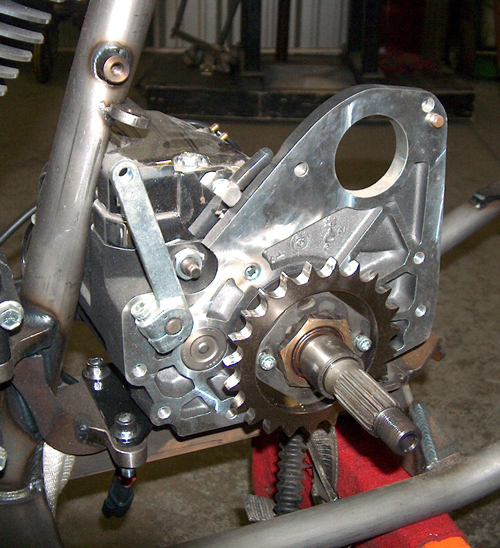
Most of the current sprockets are built for 3/4-inch axles or Timken bearing wheels, and he needed to open the centering hole to fit the late model hub.
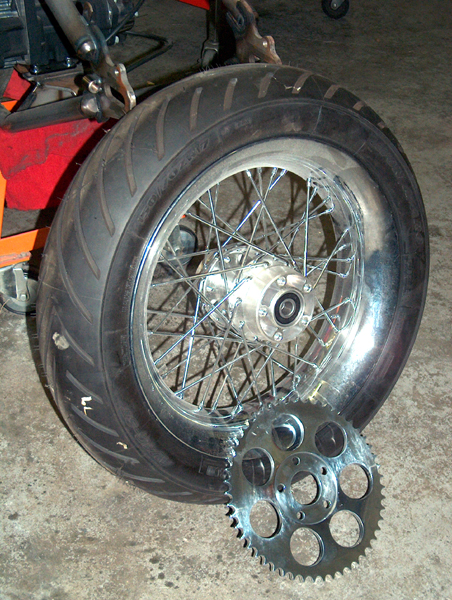
“I believe the old standard sprockets have a 1.999 hole,” Kent said, “and the new units have a 2.210 hole.” Fortunately the fastener holes are the same.”
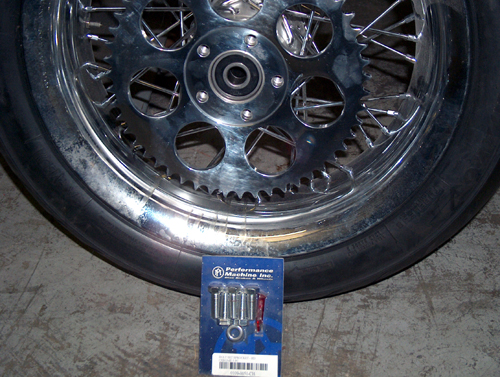
Kent likes PBI sprockets. “They afford me several options,” Kent said, while machining our sprocket. “They have lots of offset options for the trans or rear wheel and I like the aluminum rear sprockets.
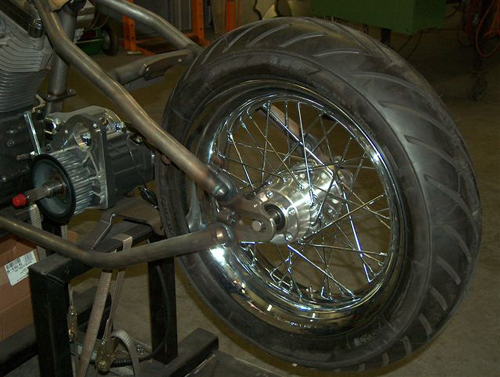
Alignment is critical and Kent began the process with the engine and trans in place, loose. Then he bolted up the primary, centered the rear wheel and aligned the sprockets.
Seat Pan Installation:
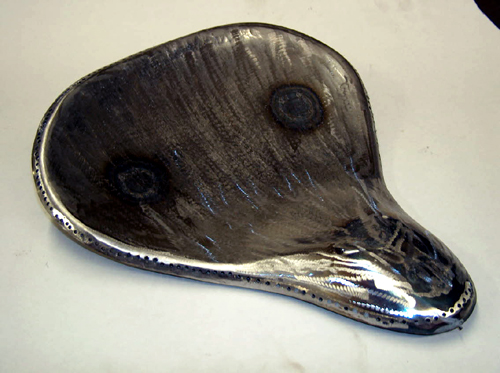
Next came the Lucky Devil seat pan, hand made by Kent to fit the lovely Sin Wu. “I cut a chunk out of flat mild steel, 14-guage sheet and worked it over with an air hammer to develop the shape, with the owner's ass in mind.”

I snatched up the ball peen hammer.

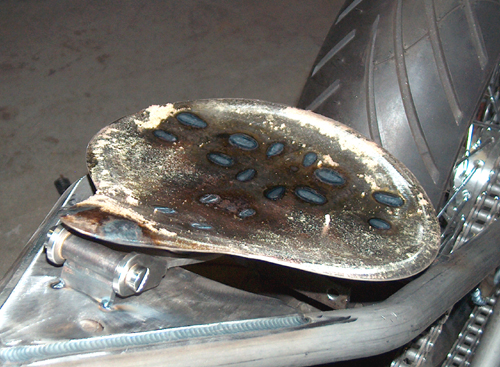
“I didn't mean it that way,” Kent said regarding Sin Wu's nice ass. “I do consider the owner's ass, body style, arm and inseam length as I build and mount any seat system.”
We also discussed how the seat impacts the gas tank, the oil tank, the battery and the rear fender. All these elements need to be considered for proper fit.
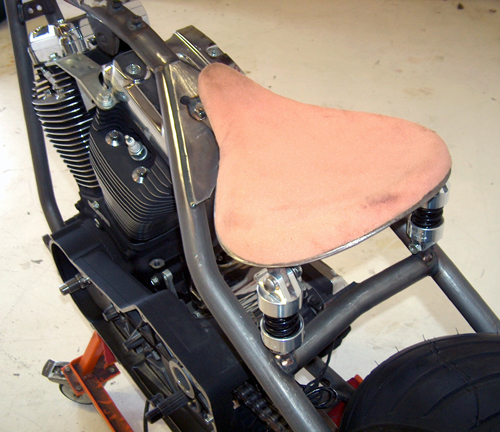
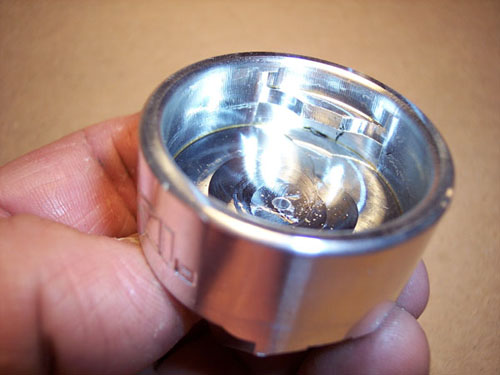
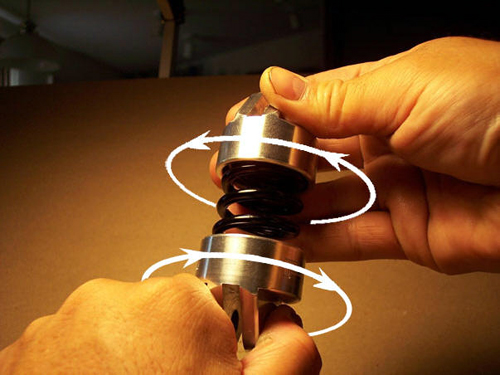
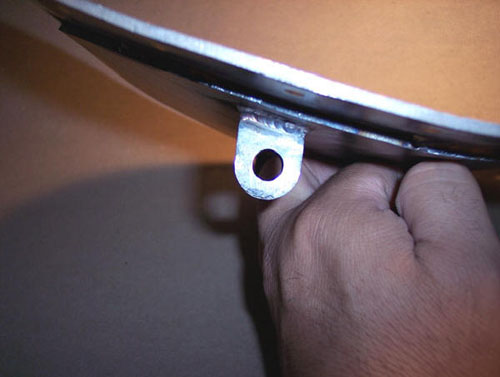
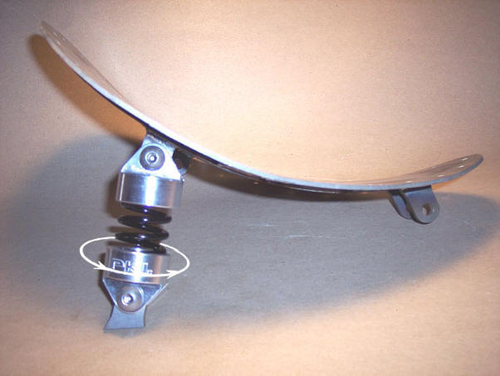
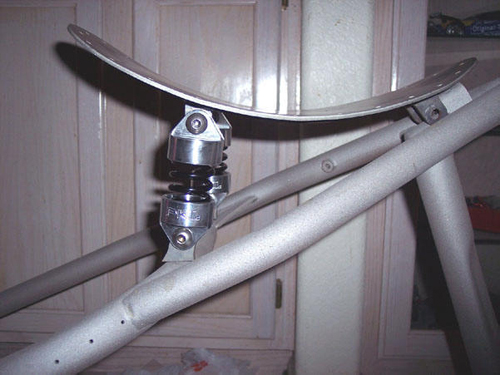
After he built the seat pan he mounted the Fab Kevin seat hinge system and Rocky's, Pure Kustom, valve spring suspension system. “I used 1-inch medium body foam on her seat,” Kent explained. “It's pink. I like pink.”
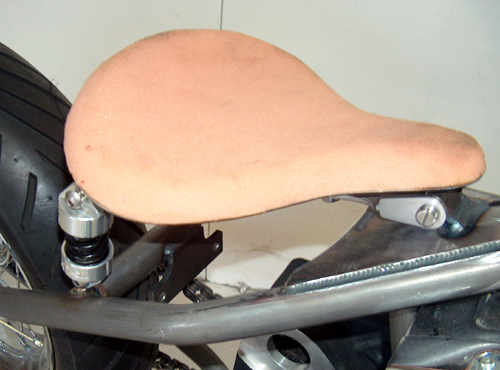
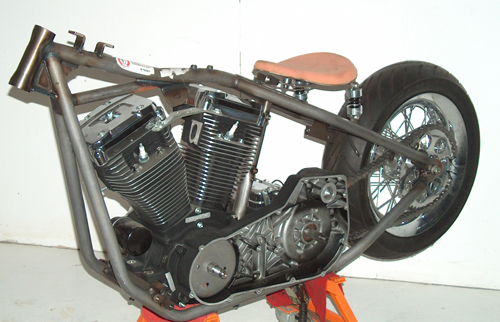
He glued the foam in place then shaped it with a Scotchbrite 3-inch wheel. While I ground my teeth over the “Pink” comment, he explained that there are various foam alternatives. “For a round-town bike I use a stiffer foam,” Kent said. “For longer distance projects I use unifoam, which combines a softer foam on top molded to a stiff foam on the bottom.”
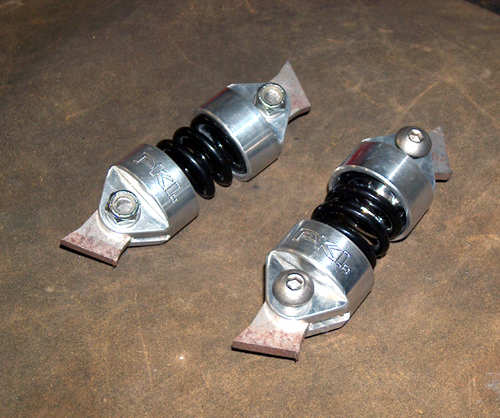
Kent handily mounted the Pure Kustom seat suspension system, but we decided to relive the process through Rocky Felis's web site, with his shots:
