Keeping Your Engine Cool
I am sure that everyone one will agree keeping your engine oil cool is a damn good thing. I do it by using a BUD OIL COOLER.
You can see the article on the install of an Oil Bud on my air cooled 2009 FLHTC at https://blog.bikernet.com/oil-bud-oil-cooler-install/
Note the article from June 11, 2010. I still have and ride that motorcycle with 163317 miles on it without the heads ever being off the engine. The engine oil temperature is still at 180 degrees with oil pressure like new from the factory. Even when I rode through Arizona in 114 degree temperatures the oil temperature only went to 190 degrees. Now That Is Saying Something.
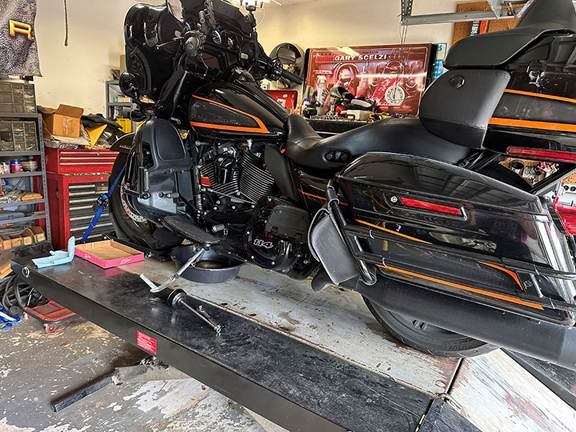
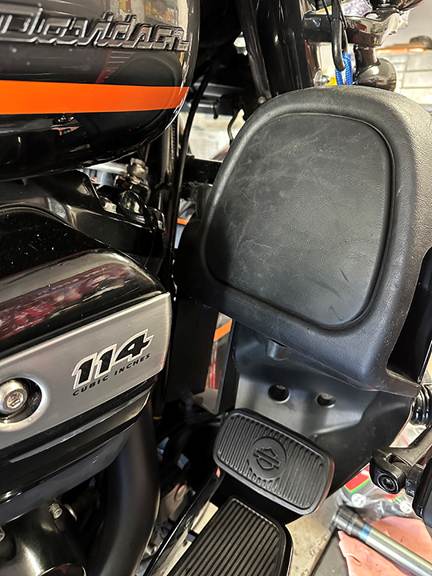
In 2022 I bought a Harley Ultra Limited with a 114 CI Liquid Cooled Engine. I was not particularly looking for a liquid cooled engine. It came in the Ultra. I do like the motorcycle, but have wanted to see what an oil cooler would do.
Some people might assume the term “liquid-cooled’ refers to a fully liquid cooled engine. In the case of Harley-Davidson their engine is technically twin cooled. Liquid is used only in the cylinder heads and focuses on cooling the exhaust valves which are the hottest part of the heads.
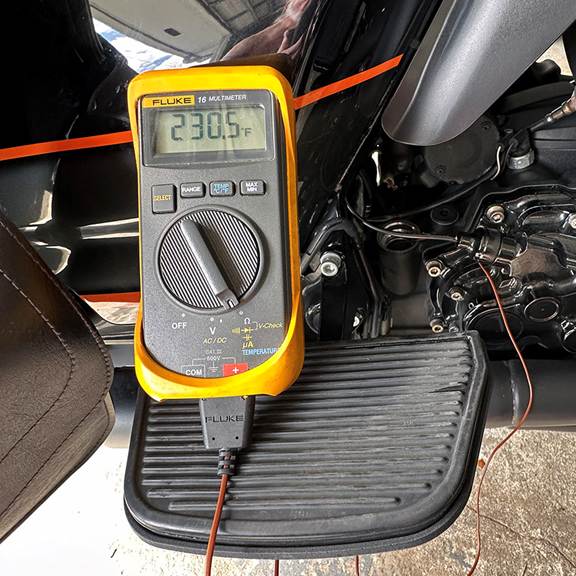
The remainder of the engine is cooled by oil and air, with oil temperature around 230 degrees according to Harley. In most cases even hotter than that, especially if the engine contains performance modifications.
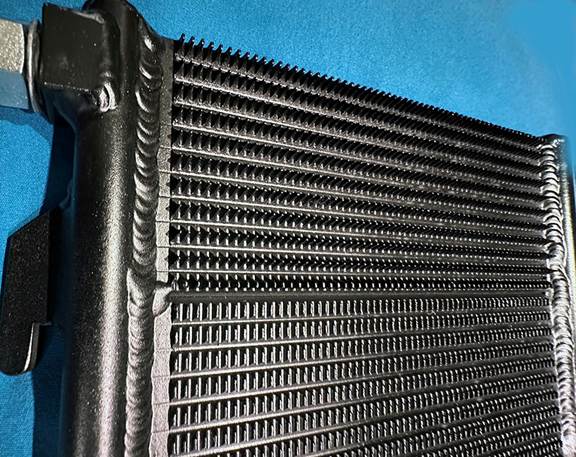
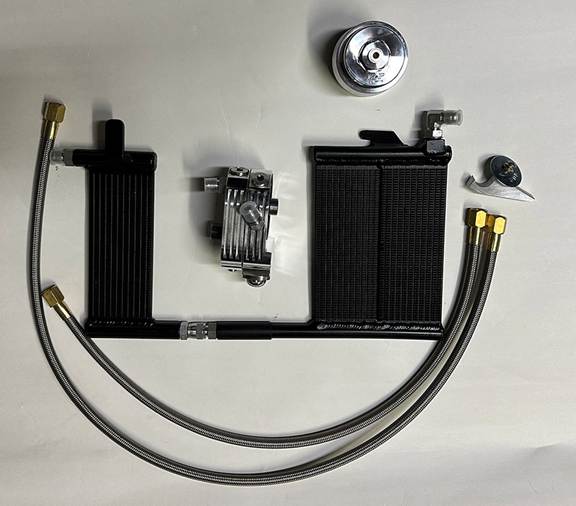
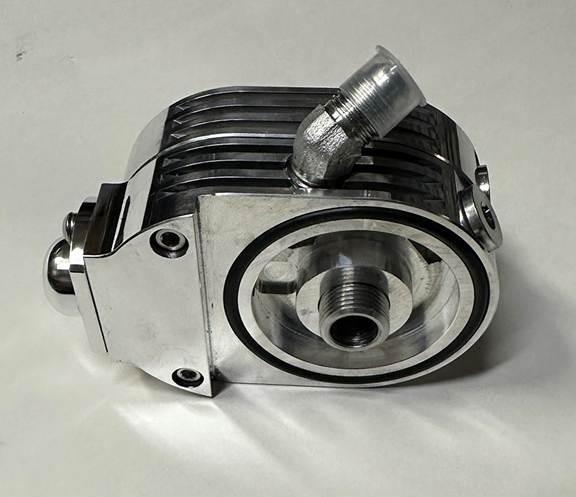
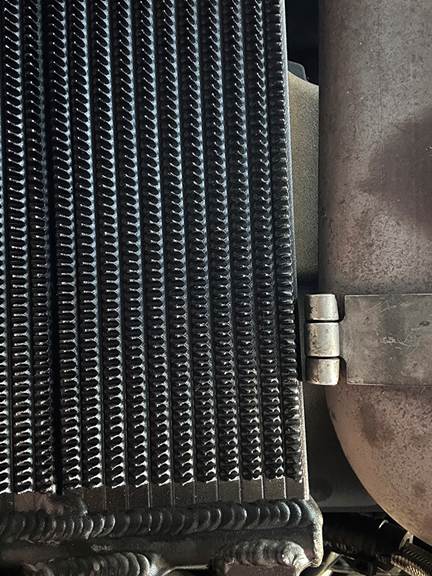
The OIL BUD oil cooling system is made from 6061-T6 aluminum. Channels in the cooling element separate oil, so it can dissipate heat through thousands of fins machined on the outer surface which makes a large cooling area. This also works as a heat sink , stopping your engine temperature from rising after shutting your engine off.
Stainless oil lines with aircraft style fittings along with O-rings instead of gaskets makes for a leak free system.
It has a temperature regulator built into the Adapter that starts to open at 170 degrees and is fully open at 190 degrees
The cooler part fits up and between the frame rails keeping it out of sight and works without fan assistance.
I SUGGEST READING THE INSTRUCTIONS ALL THE WAY THROUGH BEFORE INSTALLING
LIQUID COOLED INSTRUCTION GUIDE
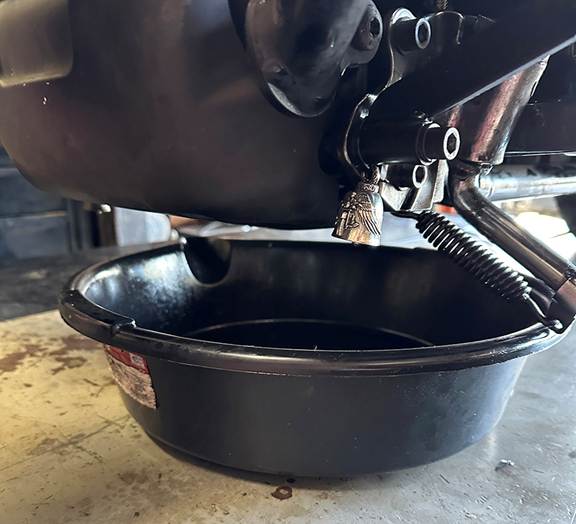
Place a drip pan under the front of the pump and oil filter, as you will lose a small amount of coolant and oil
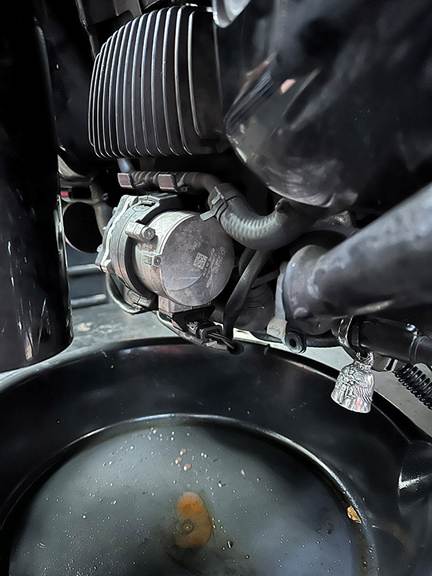
Remove coolant pump cover
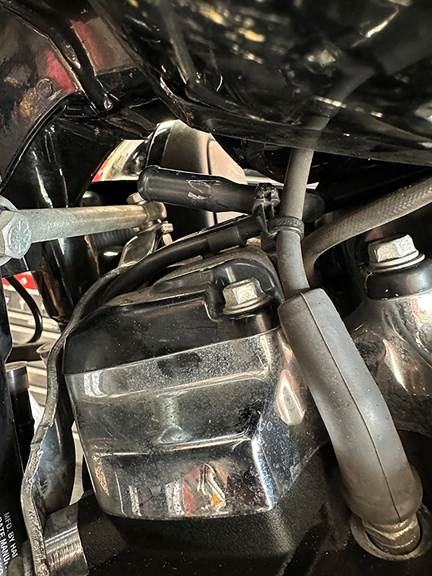
Take the clamps off the hoses and remove from coolant downtube lines
Remove the torex and allen screws holding the pump assembly to the frame and move out of the way.
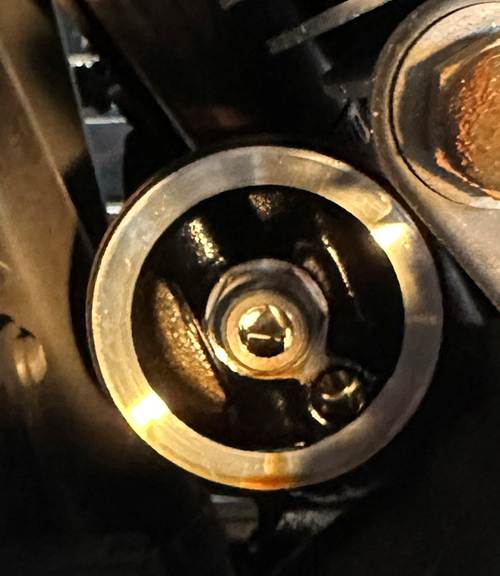
Remove oil filter and using a 7/8 six-point deep socket the tube nut that the filter screws onto.
Separate the adapter by removing the 4 screws with a 5/32 Allen
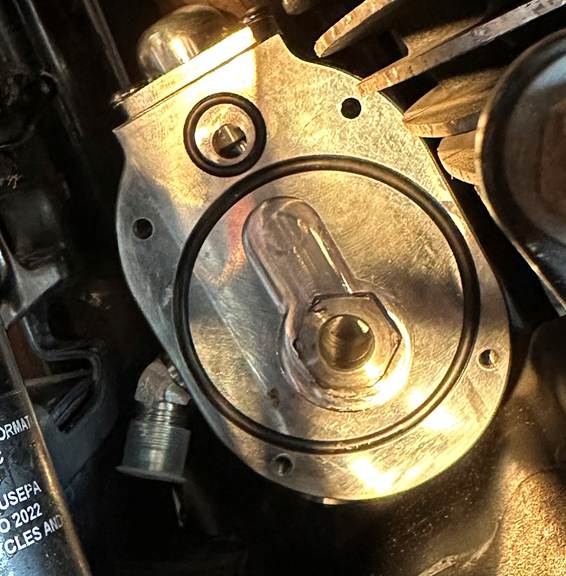
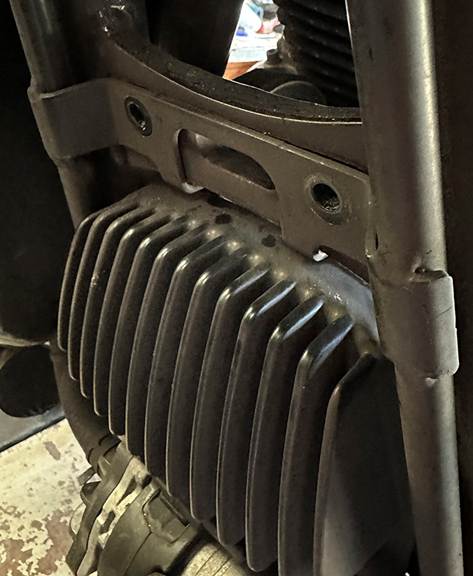
Install the inside adapter plate with the supplied tube nut making sure the o-ring is in place. Tighten to 40 Foot Pounds leaving a small gap between it and the engine fins.
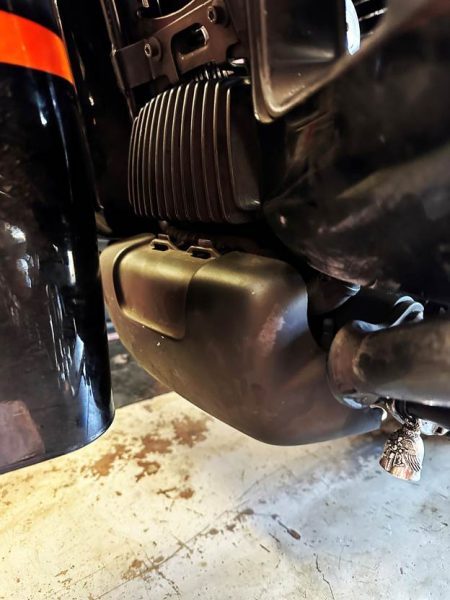
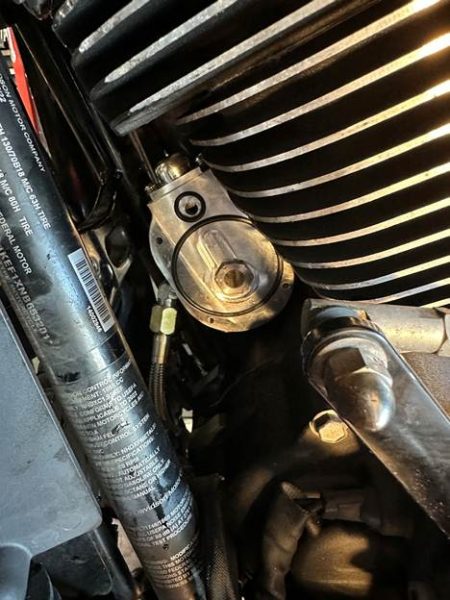
Install the outer plate after checking O-rings are in place. You will have to loosen or remove the front exhaust heat shield and use a long 5/32 Ball End Allen (wobble Allen) to tighten the screws.
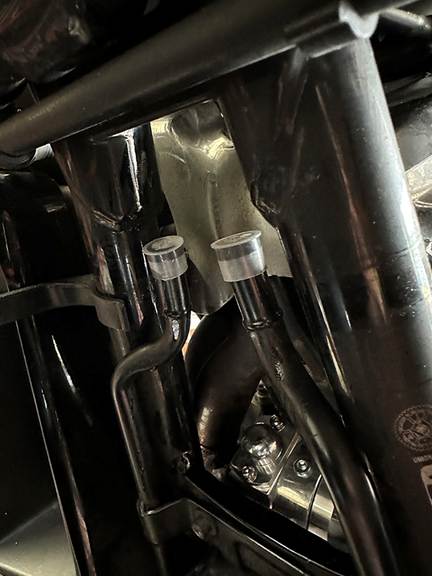
RUN HOSES AND INSTALL COOLER ELEMENTS
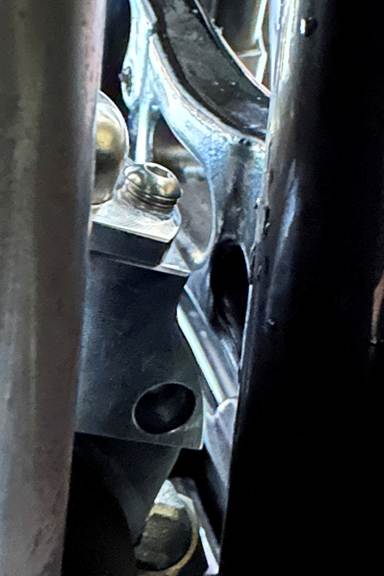
Take the longer hose and run it between the front frame plate that the pump assembly bolts to. Then run it along the inside of the frame over the frame brace. Install hose to inner adapter plate.
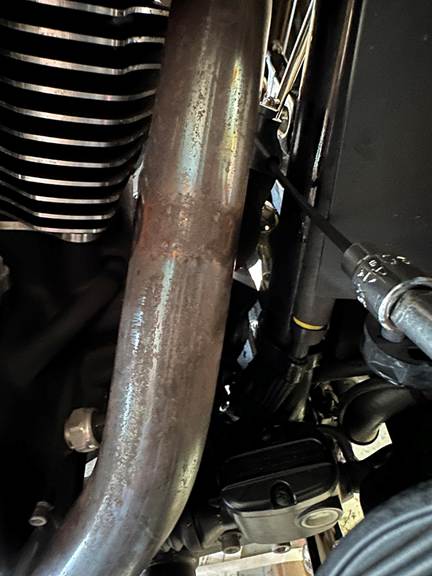
Go to the rear of the oil pan and remove the clamp for the rear exhaust crossover tube
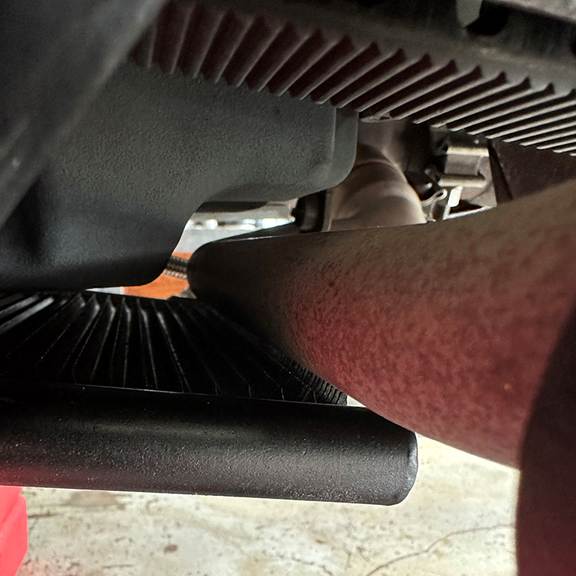
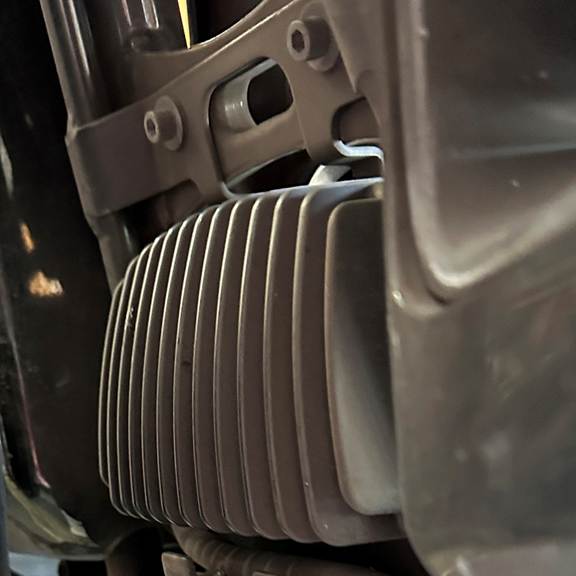
Separate the cooling elements, make sure all fittings are tight in elements and take the larger one and fit it between the oil pan and the crossmember brace. It will be tight and needed to be tapped in with a plastic mallet.
Fit the tab on the front element over the frame and attach the two elements together on the left side using two 11/16 open end wrenches.

Install the shorter hose on adapter and then to the front element.
Put exhaust crossover clamp back in place.
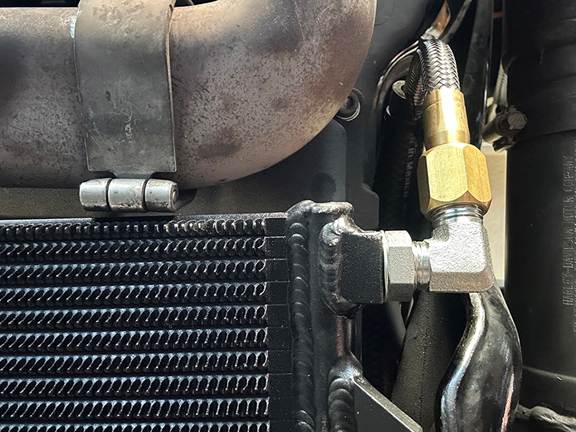
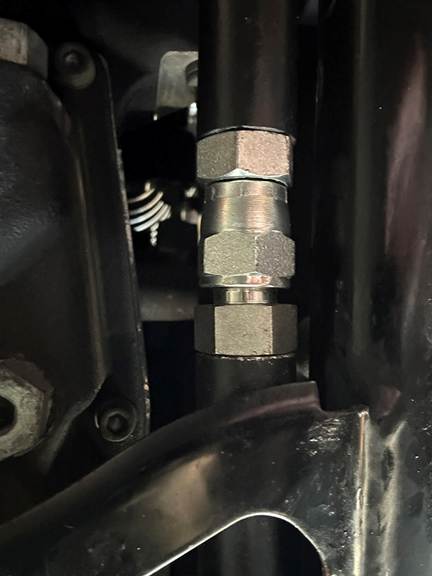
Install long hose to rear element. Tighten locking nut once hose is in desired position.
Use the aluminum wedge lock to clamp down the rear element. Check to see there is clearance with top and rear of cooler element.
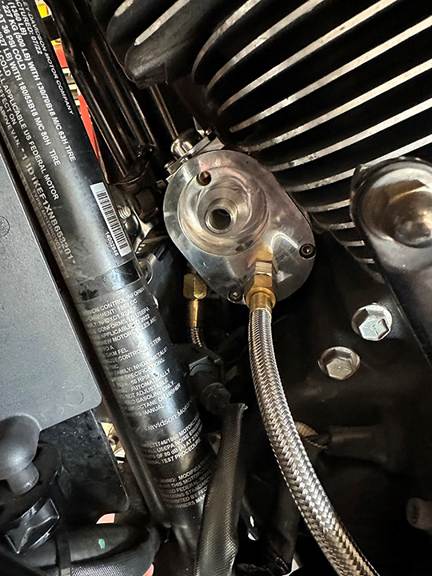
OIL FILTER INSTALLATION

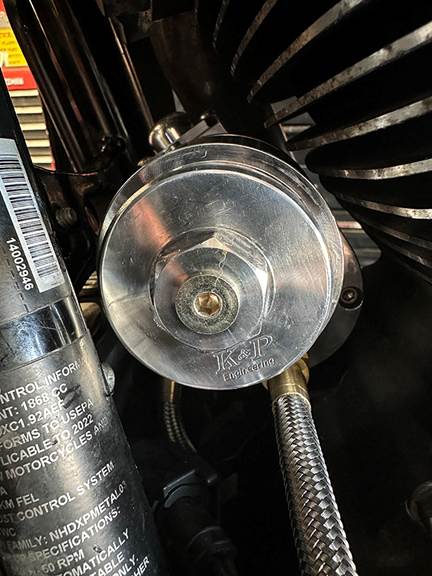
Because of tight clearances on the Milwaukee 8s Touring Motorcycles a K& P Oil Filter is required and available from BUD.
Put a slight amount of oil on the O-Ring and screw onto mount.
Torque to 18-20 Foot Pounds or Factory Specifications.
Install Pump/Regulator Assembly
Install hoses, clamps and any wiring
Attach the pump plate to the frame with the 4 screws.
Check all hose connections are tight and not rubbing on anything, Zip tie hoses and wiring to prevent rubbing.
Take off the right lower fairing cover
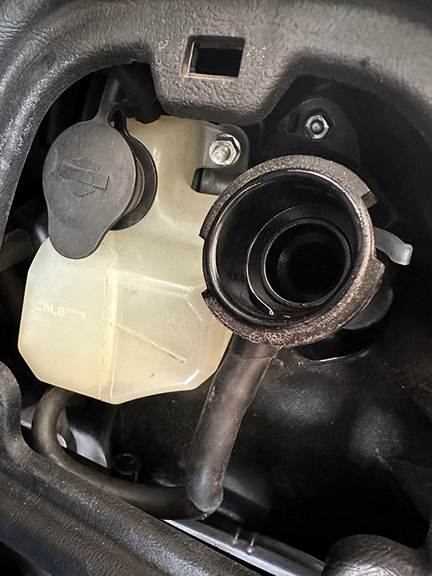
Put recommended coolant back in motorcycle, fill until full and let bleed down and repeat.
To bleed the cooling system Turn the Ignition Switch on. Turn Run Switch On. Do Not Start The Engine. Turn the throttle all the way open for at least 3 seconds. Cooling pump and fans will start. Release Throttle. As the pump runs continue to add coolant until filler neck remains topped off. Turn off ignition. Wait 10 – 15 seconds and repeat above two steps until no more coolant can be added.
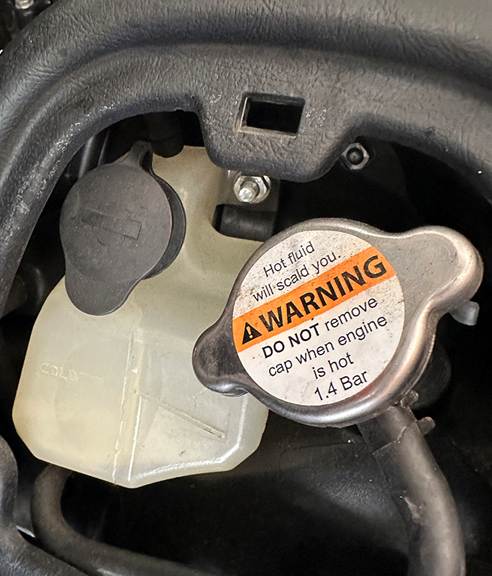
Install Pressure Cap, Fill coolant overflow tank to the cold level. Start engine and check for leaks.
It may take a minute for oil filter and cooler to fill.
Add engine oil.
Go for a short test ride and check for any leaks one more time
Replace coolant plate cover.
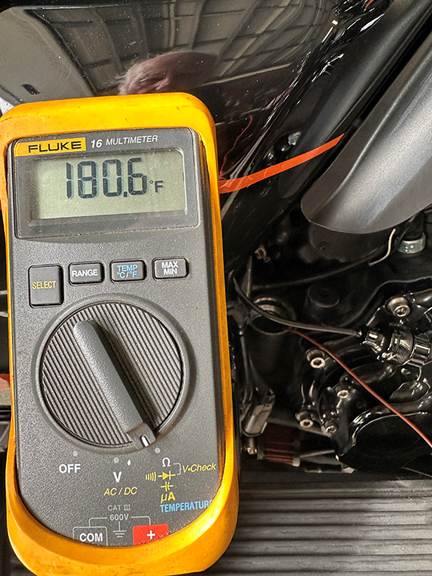
I do believe my engine is going to be much happier running at this new oil temperature.
To find out more about this Great Oil Cooler, and or to order one for your motorcycle, go to https://www.harleyoilcoolers.com/
BE COOL
—ROGUE