Editor’s Note: the Editor of Cycle Source Magazine, Chris Callen, graciously contributed The following tech tip. Published in his magazine, back issues might be available through his staff. Click on the banner below for more info on Cycle Source Magazine. We appreciate this classic tech.–Bandit
There are so many mass production custom parts available in today’s market that sometimes we forget the level of craftsmanship in original components. With mass production, handmade parts, real handmade parts and the methods are a lost art.
One such method is hand spinning sheet metal, and to get an inside look at this process we went to Led Sled Customs out of Dayton, Ohio. They not only schooled us on the origins of all things hand-spun, they brought us into the classroom, a full size semi-trailer that they keep out back just for this type of work.
Before we go too far into this, I'm sure you guys have all seen the big piles of fender blanks that today's computerized machines can put out at like 30 a minute, but the roots of that work date back as far as the Egyptians.
The process of hand spinning metal came to the United States in the early 1800s, and this technique is still used in so many applications it staggers the mind. Within the motorcycle industry this process has been used for fenders, oil tanks, gas caps and gas tanks, almost anything that you can think of that is sheet metal and round. The art of hand spinning however, is almost a lost art and before the last few old cats retire and take this technology on with them, we wanted to get it down on record.
There are many benefits of spinning metal as opposed to stamping, tensile strength being on the top of that list, but the best thing I can say from watching a man doing this work is that he was a craftsman. Knowing how the metal will react by the pressure you are applying, the direction the end is moving and the position of your tool requires a sensitive touch and a strong back. Seeing metal in a nearly fluid state while four foot long tools worked it around a form made me wonder why we have given machines title to so much of what we do today. I suppose there's no standing in the way of progress.
While the rest of the world stares at computer screens, there’s young guns on the streets learning the old ways and mastering old world techniques. And yeah, some of it is necessity based, but these cats are proud to work with their hands again, and in that, they are the future. So, we got a lot to cover here, let's get to it!
PRE-SPINNING SET UP:
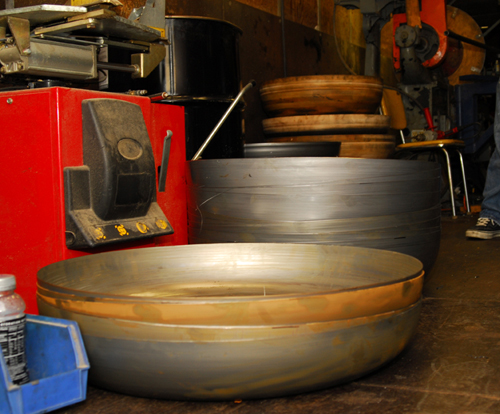
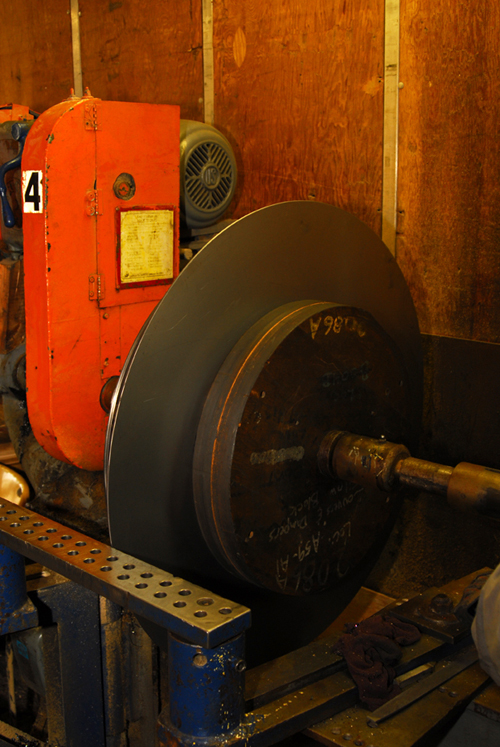
Before we get started on the art of hand spinning, the machine that’s spinning is like a giant lathe that's about 6-feet long and has one rotating head that holds a form (mandrel) and a tailstock that holds a follow block. The sheet metal is placed between the form and the follow block and eased down onto the form with a series of tools in stages. The tools are all heavy and large as well, so pack a lunch for a day in the spinning shop.
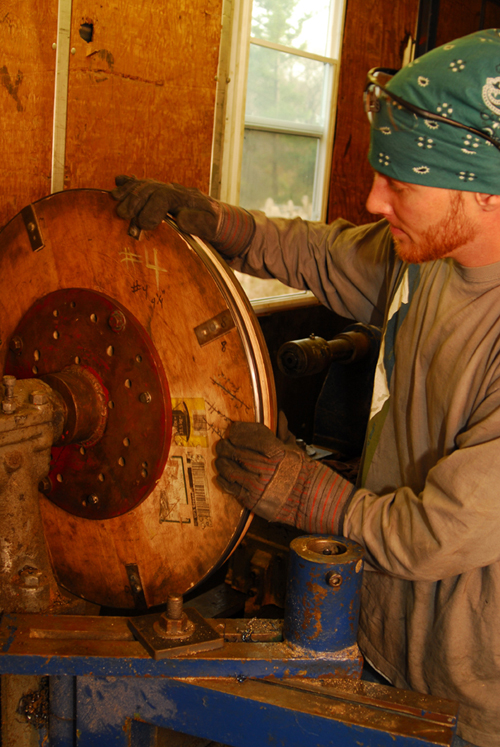
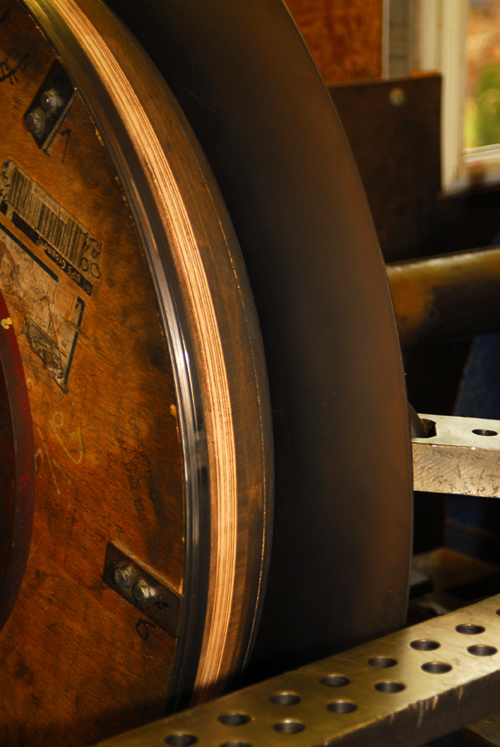
Mount the wooden form (mandrel) onto the rotating side of the lathe. This form is made from pressed maple that had to be shaped to make the fenders it would form.
Lock down the tool post. The holes serve as positions for the tooling rollers that will shape the flat sheet into a fender blank.
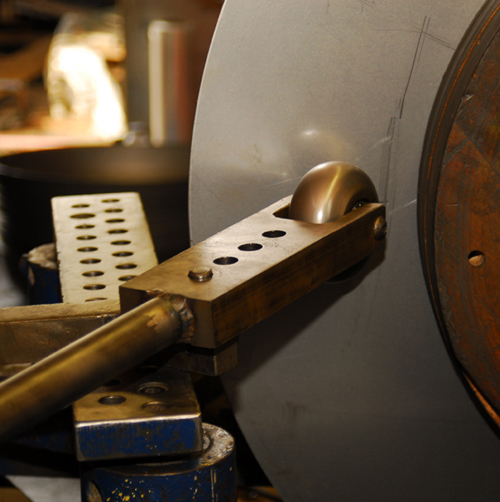
Here the sheet is between the form and the follow block, the tool post is in position and with the right speed selected, the work can begin.
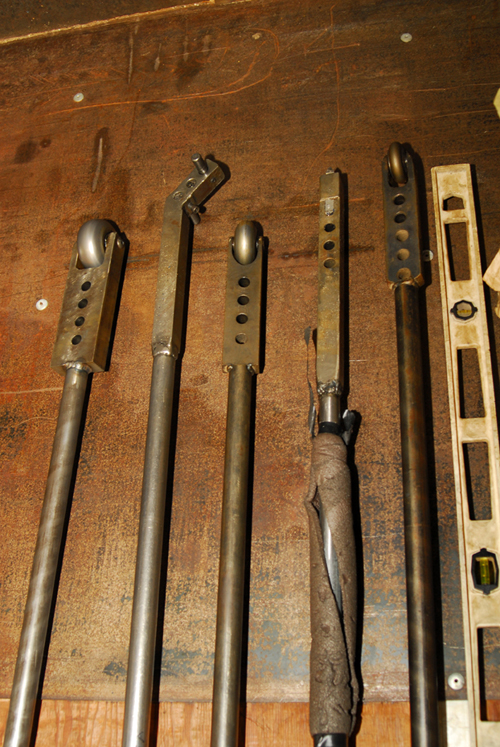
The selection of tools for spinning are all big and heavy. Most of these had to be hand made by the shop, using four foot long steel rods, positioning blocks and rollers.
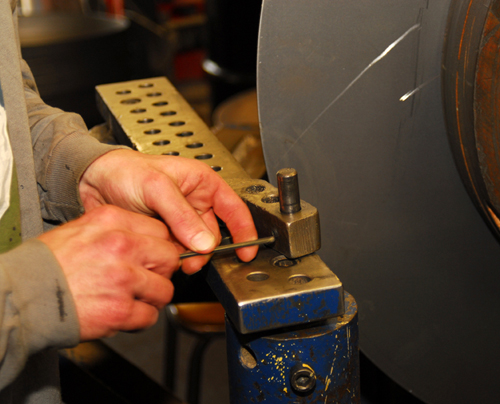
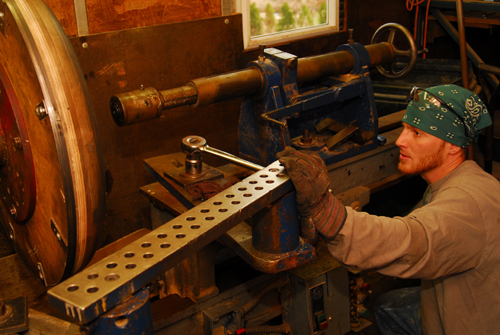
Travis locks down the dowel that holds the first of two parts that make the scissor tool into the tool post. This side will control the medial movement of the roller, or how deep the roller sits against the sheet.
Now he places the second part of the scissor tool on top. This half will control the lateral movement of the roller, or the side to side motion required to set the metal down on the mold.

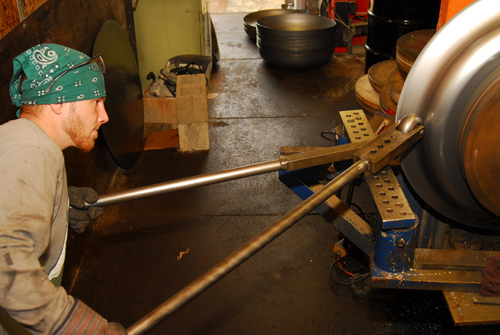
Here's a good perspective on what it takes to work this tool! It's important to point out that this work requires a great touch. Too much pressure and you could crush the mold or make the steel too thin. Go too fast and you ruin the sheet and end up with a giant floppy ash tray.

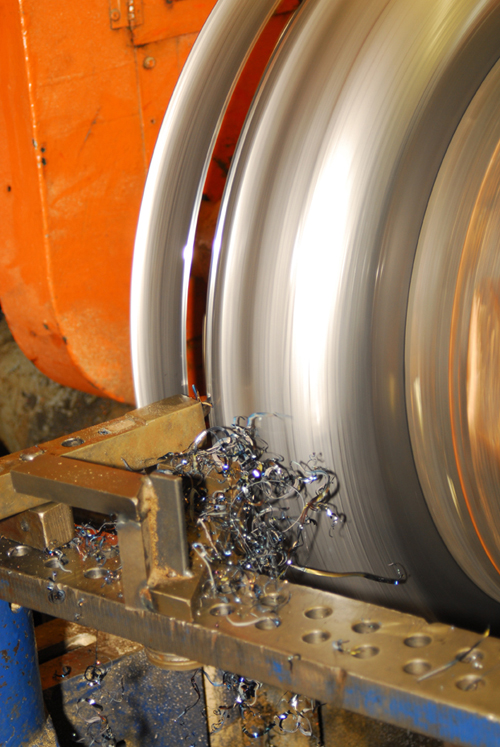
With a general purpose lubricant applied to the face of the sheet metal, Travis now starts to sweep back and forth, pushing the metal down on the mold.
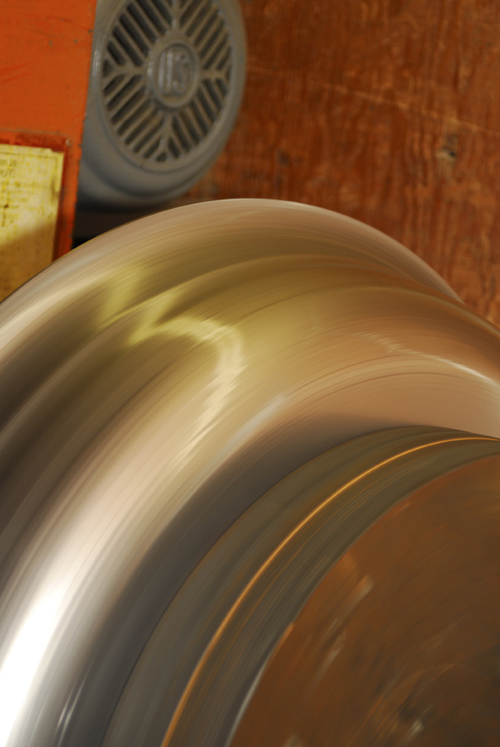
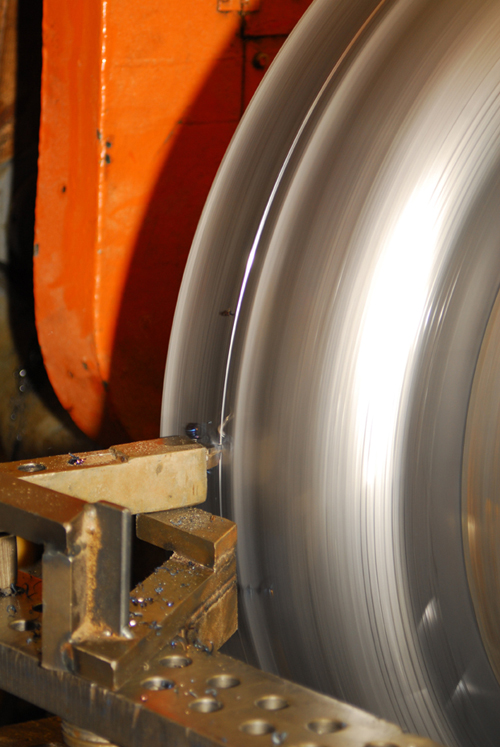
While the center of the sheet starts to go down, the outside curves back around. With each pass, Travis has to sweep all the way out to the edge, shaping the outside flat again.(LS Tech26)
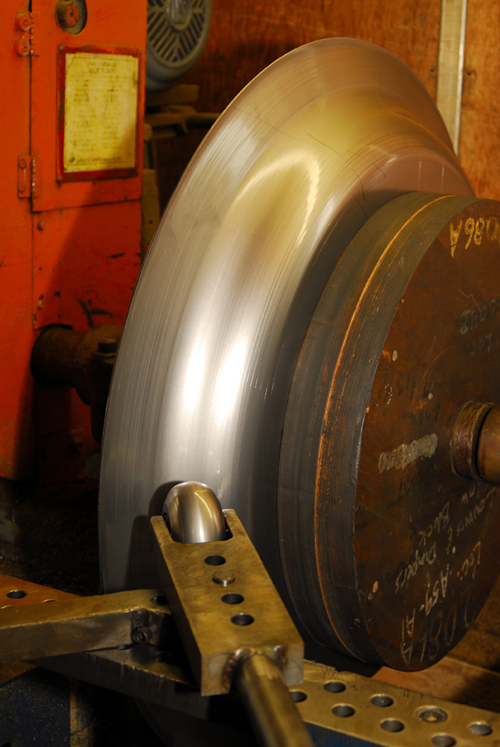
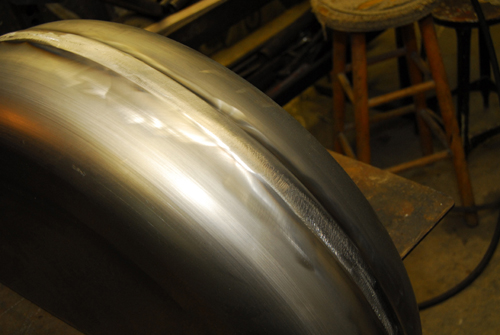
Notice how the spinning lines show the motion of the metal as it moves across the form. This happens in three stages: 1. The break down 2. Forming the metal 3. Finishing.
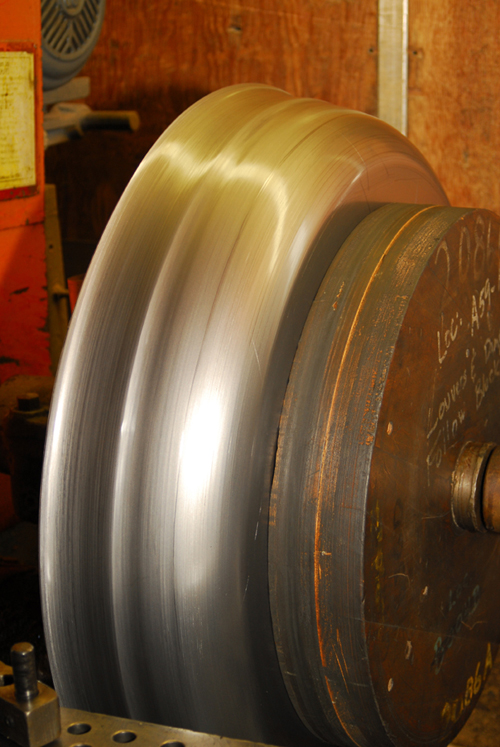
After 10 minutes of careful execution, the sheet is against the form and ready for finishing. This fender has a raised center line, the form was made to achieve that rib.
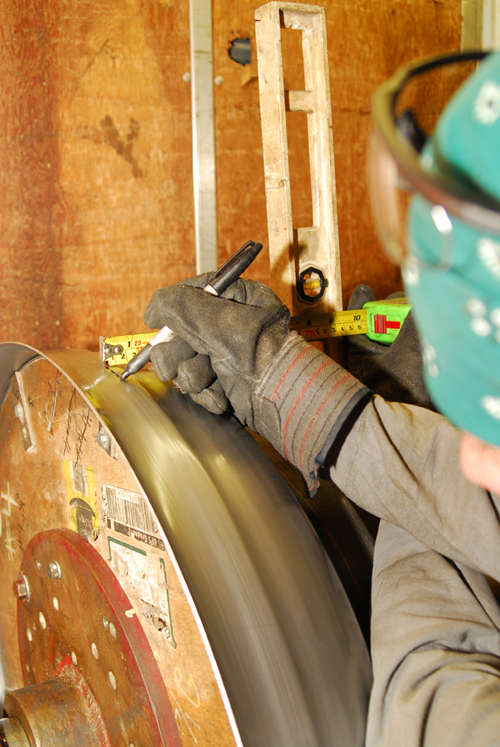
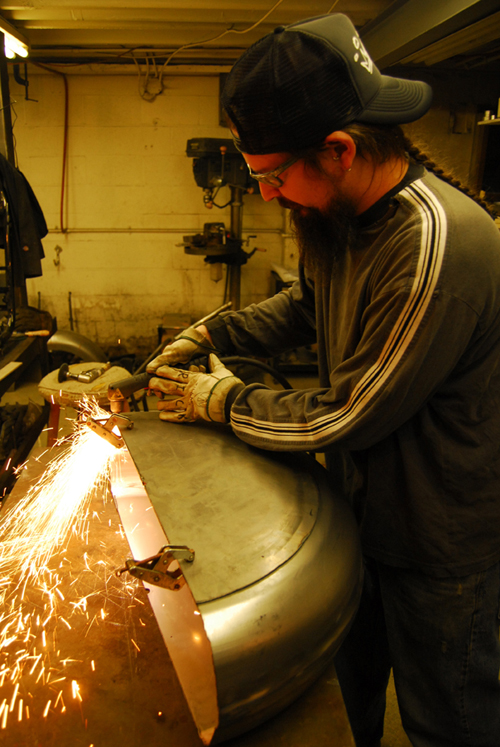
Travis now marks the cut line of the fender. In this case, the fender will be for a 180 rear tire, so it needs to be 8 inches finished width.
Using another tool with a carbide cutting tip, Travis removes the outer skirt of the fender blank. This tool was also modified in house for this purpose.
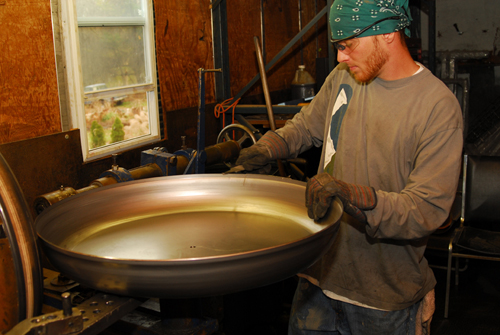
After the fender blank is removed from the form, Travis takes a large file and deburrs the outer edge. The blank is then ready for shipping or finishing.
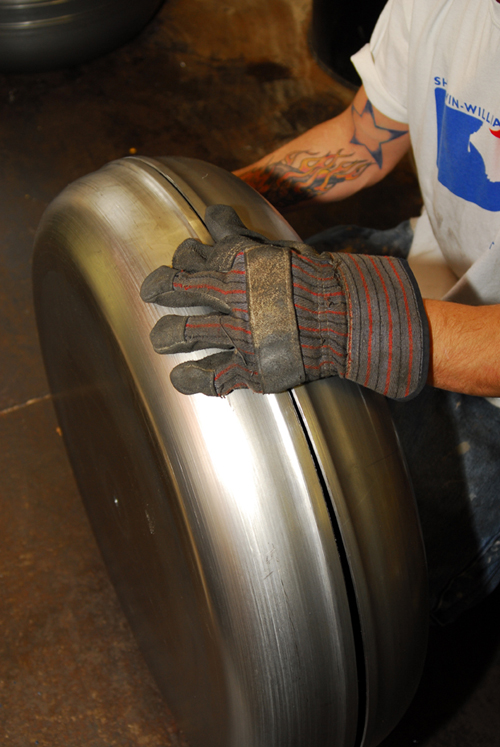
As you can see here, the raised portion at the end of the blank will make a great rib down the center of the finished fender.
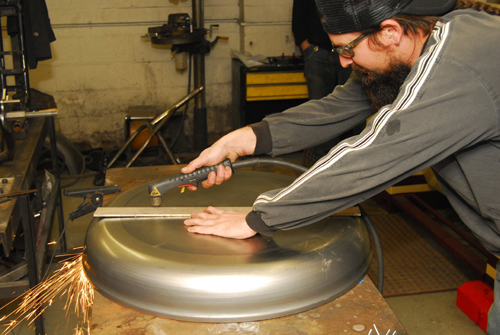
Inside the shop, Pat marks the center line and plasma cuts the blank into two separate halves. From here it'll take shape fast.
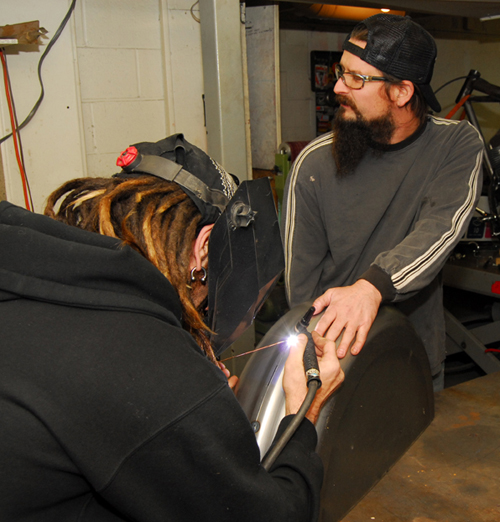
Pat holds the two halves together while Kevin tach welds them along the rib. After this step he will complete a solid weld along the rib and it will be a solid fender.
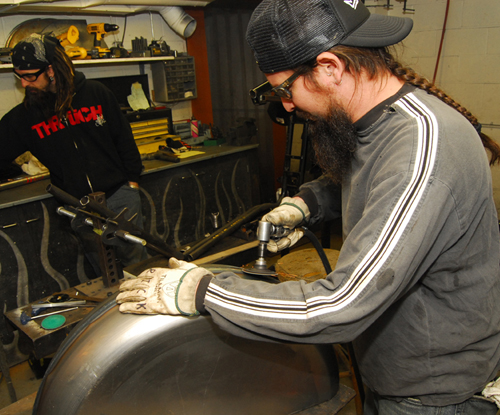
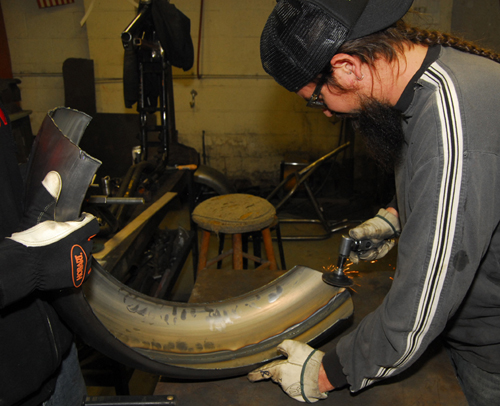
Pat smoothes out the rib on the welds on the inside and outside of the fender with a grinding wheel.
Using a pre-made template, Pat uses the plasma cutter to remove the excess metal along both the sides of the fender blank.

After roughing out a guide line, Pat then shapes the fender tip using the plasma cutter.
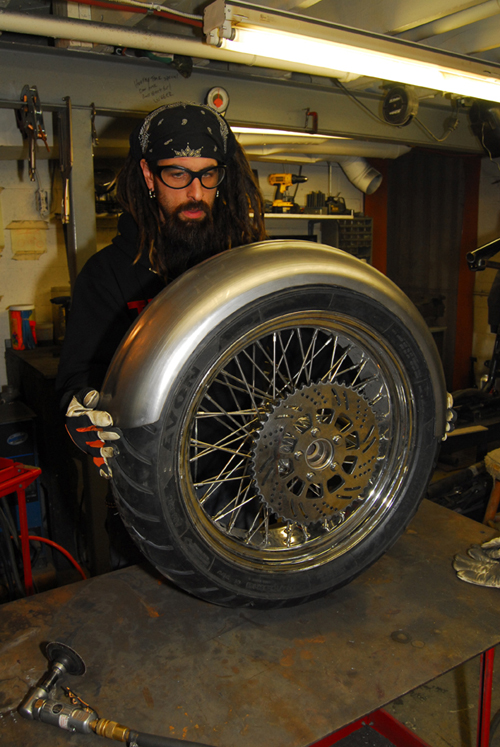
Again Pat uses the grinding wheel to clean up the cut edge. From here the fender is pretty much ready to go on the bike for dry fitment.
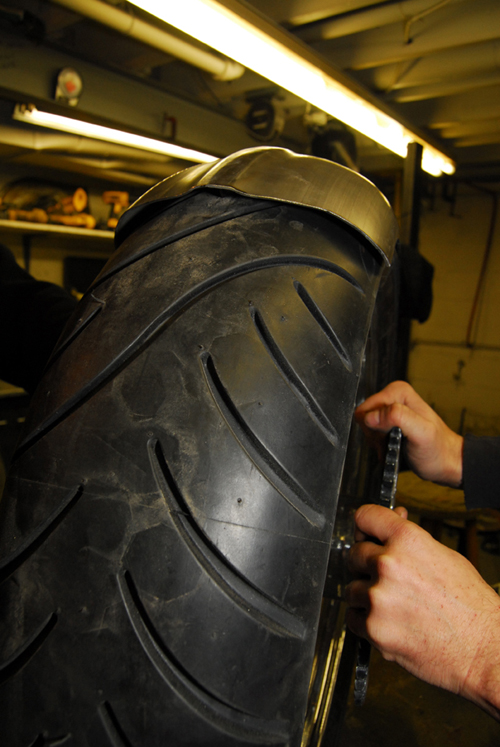
Led Sleds have specific molds for Metzler tires. Pat says that they are 100% guaranteed not to swell so they can make the clearance real tight. If it were a fender for most other tire manufacturers, the clearance would need to have a little more room.
So now you know; there might be many sources for stamped out metal sheet fenders, but work like a few young guys in this industry are doing these days is priceless. The results far out weigh the quality of mass produced pieces and the feeling they get from working with their hands pays better than any union factory job I’m sure!
For more information on the work that these cats do, check 'em out on-line and maybe you'll get some Led Sled school on being cool! Thanks to Pat and the crew for another great day.
RESOURCES:
Led Sled Customs
4860 Upper Valley Road
Dayton, Ohio 45424
PH: 937-879-4645
www.ledsledcustoms.com