Helluva weekend. Anytime there's lots of motorcycle carnage,sex, whiskey and writing, I'm all for it. Maybe it's Valentines Daycreeping up. Make a note. Here's the deal on the Sturgis Shovelhead. Sincethe engine was in and mounted I went to work on the exhaust system,then seat mounting, position and played with the bars. I made a runto a local steel joint, because I had a notion that I doubt will worknow, but I'm still investigatin'.
Let's hit the highlights. I'm fortunate to have a young,talented fabricator/builder who I'm sharing ideas and resources with.Kent from Lucky Devil Metal Works in Houston is on the phone dailyfor tips and knowledge sharing. It's damn healthy to have someone whois in the trenches daily to assist. In fact I had a couple ofcrucial metallurgy question that morning, but let's hit what Iaccomplished.
A crucial aspect of building any bike is planning. That'snot to say all my eggs are in a row. We'll see, but the more you canaccommodate, the less redo's will be necessary. Also, don't throwanything away. That junk part might be a critical bracket tomorrow. Idug through my partially organized pipe bin and found a set of oldglass pack, shorty muffler, shot gun pipes. I could use the rear one.I decided, since noise issues are a concern and performance issue area constant priority, I would build a set of shorty mufflers withBandit tuned baffles.

Then I spotted the fishtips in the pile and myconsideration changed. I dug further. Kenny Price from Samson allowedme to dig through his warranty bin when I was looking for stanchionsfor my Bikernet office railing. I remembered touring mufflers withfish tips, I kept digging.
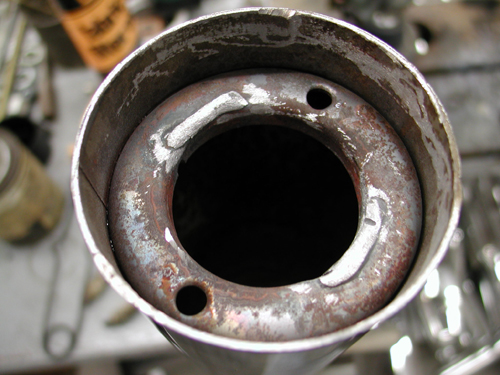
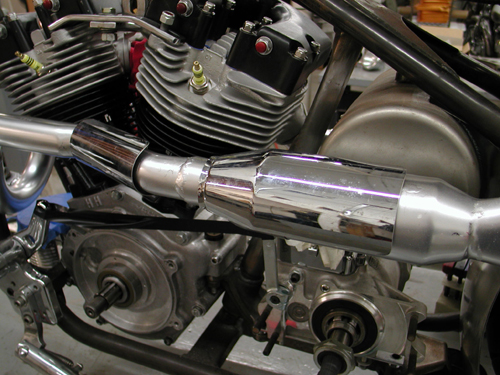
Sure enough I had a set and in quick movesI sliced them into chunks. You know me, I'm a gambler. I cut themwith no methodology in mind past the size and looks, but I came uplucky. Samson designed a baffle system with a cone at the front toguide exhaust pulses into the baffle and it seems to be working fortouring applications. I cut off that portion and discarded themajority of the baffle. But there was still 2 inches of baffle and astandard donut in the rear of the muffler. That's where fate movedit's evil hand over Richard Kimball again. Or in other words I rolledthe dice.
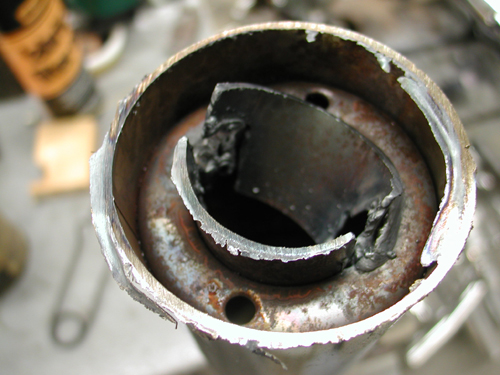
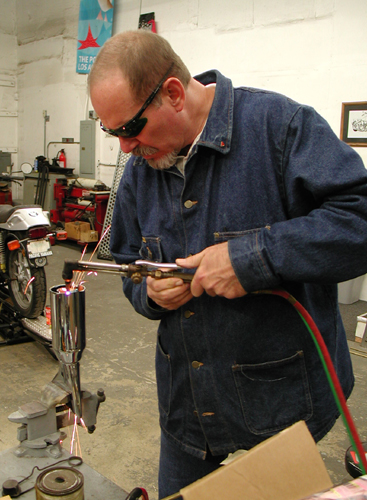
I spoke to Kendall Johnson recently and he told me aboutperformance stepped exhaust systems and reversion cones used to tunesystems at the rear of the pipe. I couldn't make this donut move upand back, but I had the makings of a reversion cone at the stern.With a torch I cut out the remaining baffle, then after speaking withthe HOT BIKE staff member, Craig Murrow, for a reversion cone descriptionI knockout out the remaining baffle, then with various cutting andgrinding cones I formed and smooth departure for the exhaust pulses.Then I had to remove the old touring mounts with a die-grinder andthey were ready to weld.
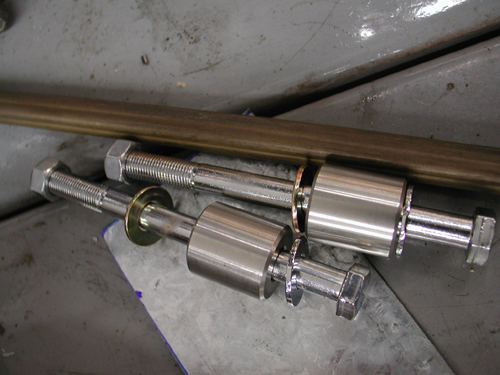
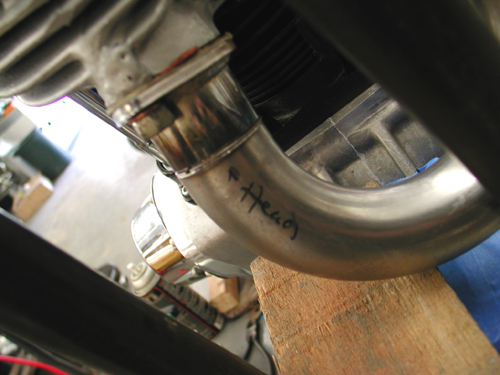
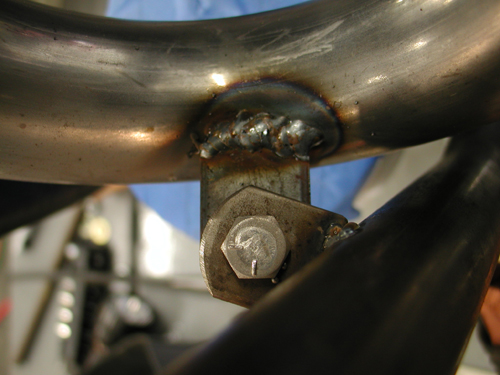
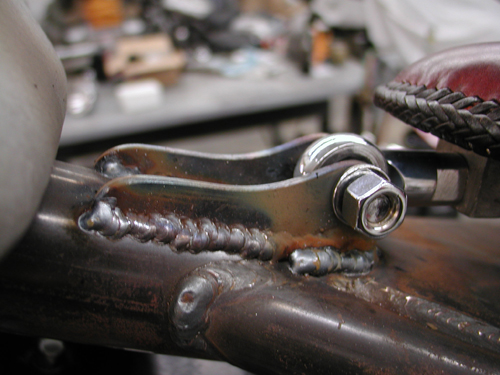
The rear pipe was comparatively easy since the pipe wasalready made except for the muffler and brackets. Shovelheads arenotorious for louse exhaust manifold connections and tearing out thesingle stud, so I wanted to mount them in the front and rear for asolid, secure connection. The only port for the connection at thefront was the oil bag. That was a bad choice and I'll run a bracket off the seat post before all is said and etched in stone.
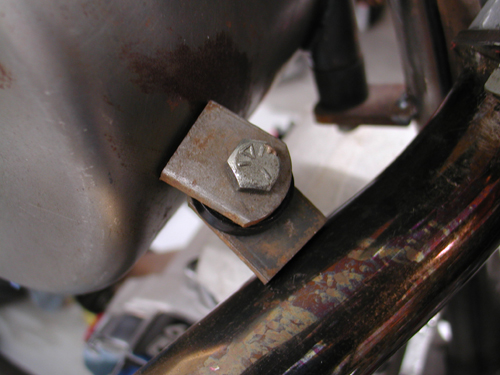
I had to make sure the pipe could be removed with the tabs onthe bottom, then I spaced the tabs apart with a heat sink material. Imay use Teflon, then the notion that the oil bag is rubbermountedfloated to the surface. What bearing would that have on thiscoupling? Hell the frame will vibrate like a mad dog. I'm stillquestioning that link, but we'll see, maybe a spring between the tabs? The final decision was the seat post bracket to come.
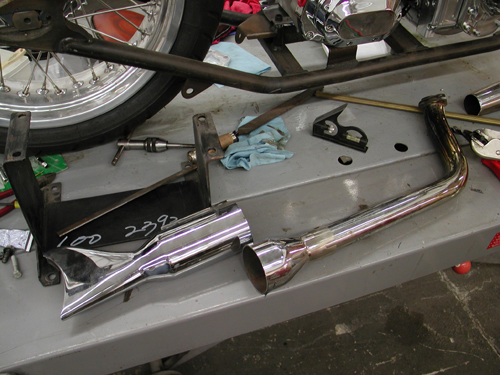
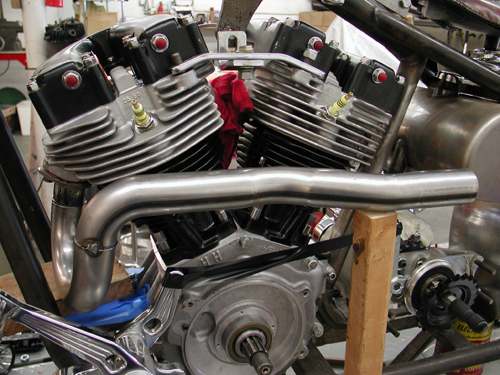
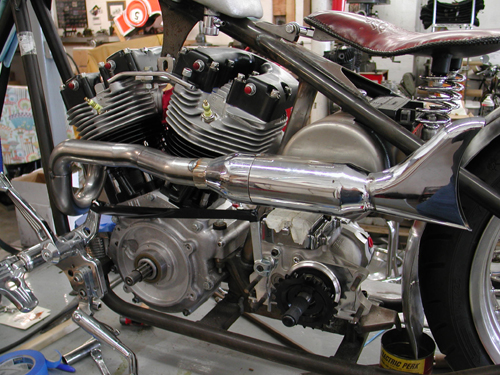
There was one other pipe design consideration–the length.I try to keep the pipes somewhat equal and between 32 and 38 inches.Buster's Sportster runs sharp and crisp with his hand-made 38-inchesfrom the Bikernet Headquarters, as seen in Street Chopper. So Idesigned this pipe to be 38-inches and not protrude past the tire. Mygoal was to make the front pipe curve out the other side and be ofequal length.
At the end of Friday night, one pipe was complete, toolswere scattered all over the shop and I had a couple of Hooker Headerchunks of 1 3/4 pipes segments cut and was fooling with the frontheader. The front was tricky as hell. I wanted to scoop out the leftside of the bike, which added length. I also had a bitchin Rohm Engineering oil filter/cooler system that mounts to the front motormounts and aims the filter at the ground for ease of removal anddraining. The pipe had to clear it significantly. This puppy was alifesaver. I planned to run an oil cooler (Shovelheads run hot) andfilter, for a lasting driveline and more oil capacity. My originalplan called for old school mounting on either side of the oil bag.This eliminated all of that and the plumbing for two elements, the cooler and the filter, wasreduced to one hot looking job in front of the engine for maximum cooling.
I spentall day long on Saturday, dodging the phone and working in thegarage. I had all the tools and materials I needed, even two new setsof welding glasses, which came in damn handy. The trick was to lineup the pipes, make all the right decisions, hope for the best andtack 'em. I did and with a level I constantly compared the pipe tothe top of the lift. The spacing worked out fine.
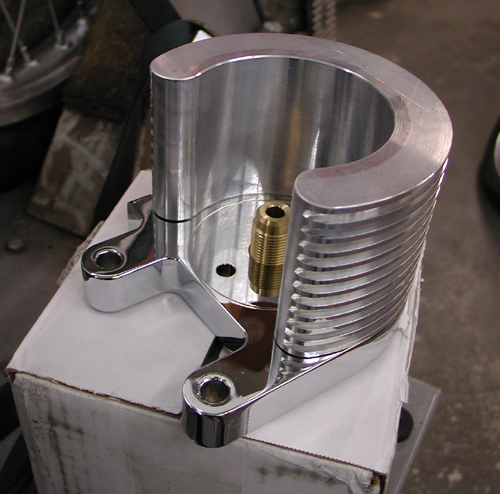
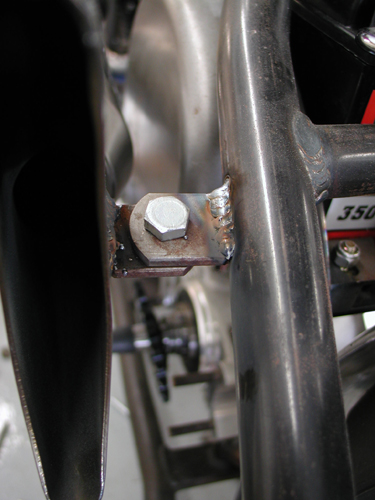
I cleared the top of the Rohm bitchin' oil cooler/filter mounthopefully by enough to allow the pipe slip down and out of the head (I was recommended to use a CCI Filter part number 270126).I tacked the tab with a spacer between the two for some jiggle room.And I made damn sure that the pipe tab was below the frame tab. Atthe back, the muffler was fabricated the same as the other one with aslight exception.
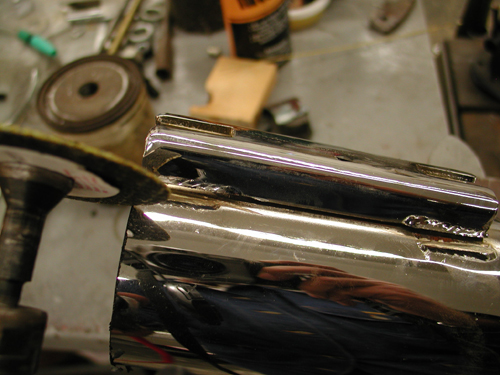
I shaped the reversion cone the same, cut off thetouring mounts and ground the tabs. Then I used a couple of V-blocksto hold it perfectly in line for tacking the halves together. Then Isliced off the crush tabs on the front of the Samson tapered muffler.They were wider and different than the other side, so I cut them off.You'll notice the difference, if you check both side.
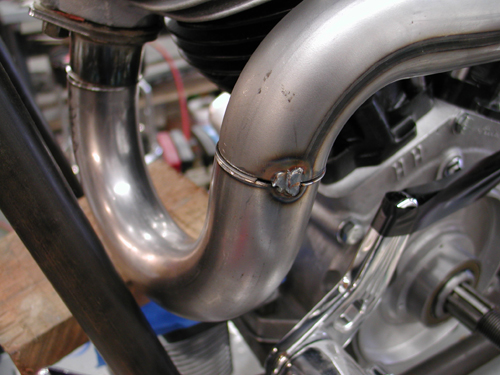
The front parts of the pipe were Hooter elements and theyare smooth mandrel bent segments. I used another one for joggedstraight piece between the muffler and the head. I took the 13/4-inch exhaust to my Muffler Master bender and bent it slightly oneway, then reversed the sucka and bent it the other way. It fit like adream and looped out enough to pass the oil bag. I used Hooker headeralignment sleeves to hold the front pieces in perfect alignment. Donedeal, I tacked them, constantly comparing the level with the lift,the pipes then the muffler. After the tacking was secure, another tabwelded to the frame, avoiding the oil bag (a Lucky Devil concern,since the oil bag is rubbermounted), then all elements wererechecked, I removed both pipes and MIG welded them as complete aspossible.


I find that MIG welding is a pain and blows holes in pipes easily.I also discovered that after I MIG weld a pipe I can flow the weldeasily with a torch and smooth out all the welds, fix holes and fillgaps. I actually found a piece of old steel rod, not much bigger thana piece of wire. I usually use old coat hanger, but it pops andwheezes from the paint coating.


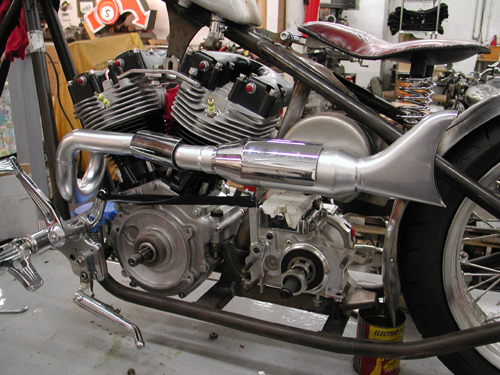
After the pipes were welded, flowedand checked twice, I ground all the surfaces with an emery disc andpainted them with whatever barbecue heat paint I had laying around.The lovely Layla is currently on her way back from Home Depot withsome flat black heat paint. We'll see how that works.
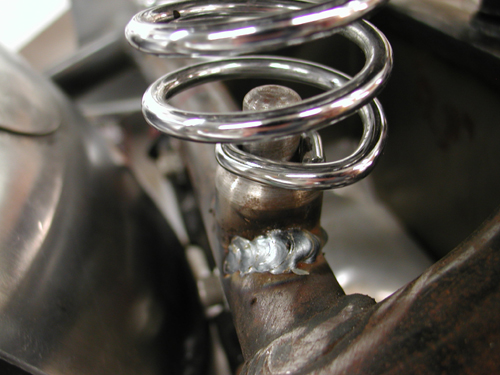
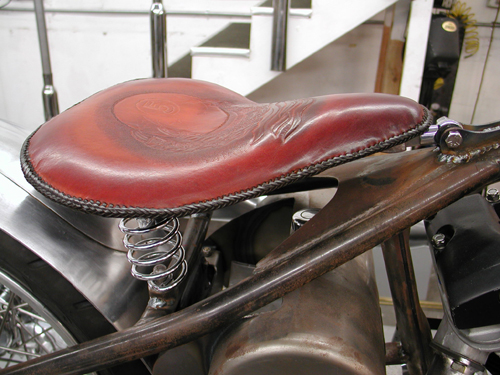
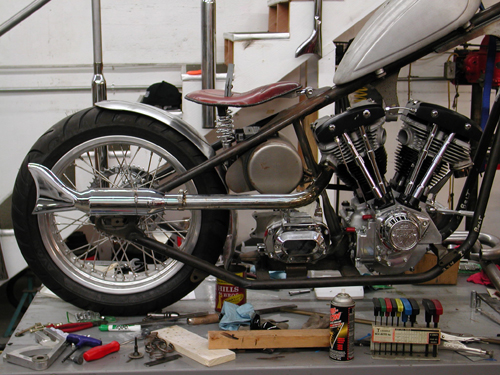
Kent from Devil hand fabricated the seat pan, brackets andbungs. I set them up and welded the parts in place. Then it was timeto roll the bike off the lift and see how she fit and where I mightneed heat shields. I discovered a couple of things. Yes, the scootwould require left side heat shields and nothing on the right. I alsotested my notion to sculpt claws out of brass, unsuccessfully.
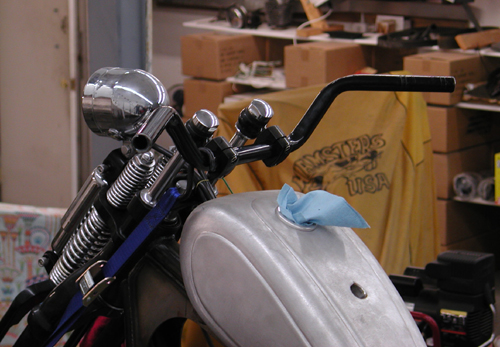
I also found that the existing bars wouldn't cut it. Igrabbed the old '48 Panhead TT-bars, narrowed them by 4 inches, and Isorta like them.
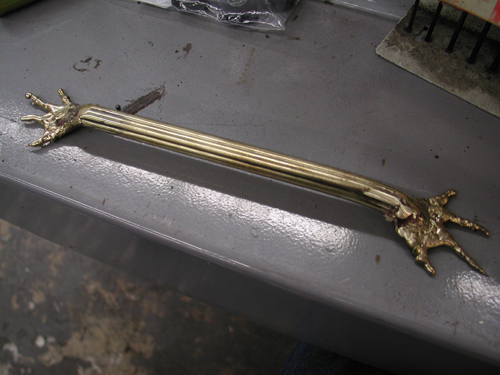
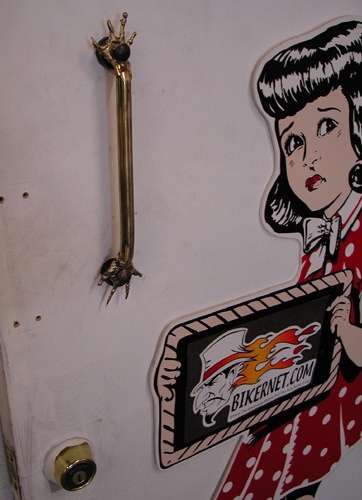
Okay, so I grappled with the sculpting business fora couple of hours and discovered that I can't control the brass likeI can steel. I spoke to Kent from Lucky Devil and he recommended thatI try TIG Silicon Bronze rod. I'll try that next week. In themeantime, my first brass sculpting attempt ended up on the shop door.Let's get the hell out of here.
Ride forever,
–Bandit