
I had a bad feeling about this mod. First, I don’t like to pack anyone, any time. If you want a ride on my Panhead, carry a hand-towel and a bungie cord. I avoid giving a girl a ride home from the bar, even a babe with gigantic hooters. I would preferred to follow her home. I’m not the kind of rider to take a woman on a long run. I would rather have a variety of women in various towns and cities. Okay, I’m a bastard.
Okay, so the pressure’s on. Sin Wu want’s to ride once in a while, and I want to get laid daily. Gotta give up something. I kept the stock Road King classic seat for additional passenger comfort. It’s covered with dust, in the corner, but that quick change aspect is covered. I ordered the custom billet tab for the rear of the stock seat, and had it powder coated black, so both seats were ride-ready. When you purchase a new saddle, it doesn’t always come with the rear tab. The base is plastic and screwing fasteners in and out will wear out the threads.
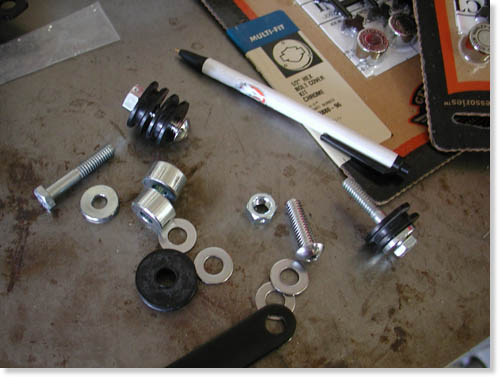
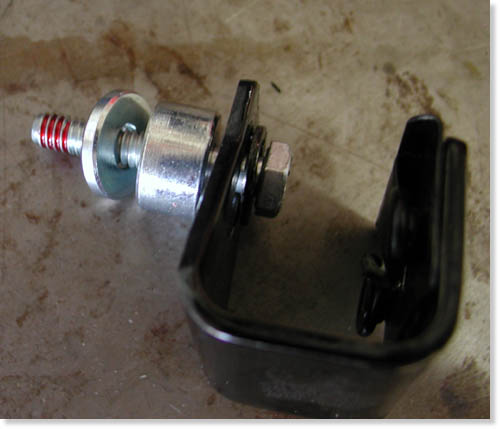
Here’s a handful of the fasteners and bag bracket spacers.
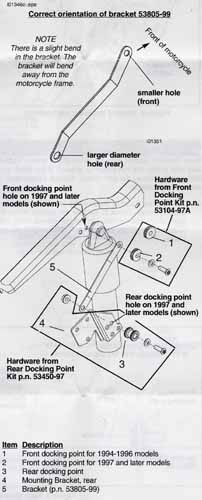
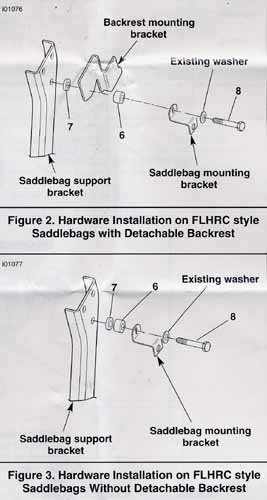
I ordered the front and rear detachable docking hardware kits, but be careful. I leaned toward the new lower backrest/sissybar for styling, which wasn’t in stock, but the pad was. I bought it, then the backrest was back-ordered so we bought the taller sissybar for immediate gratification, but when we got home the pad didn’t fit and we were forced to buy the tall pad. Watch out for this dilemma when ordering. Make sure to check all the installation instructions to make sure you have the correct puzzle pieces. There are several back rest options so watch that aspect when ordering.
Here’s the massive chromed Classic H-D axle dress hardware.
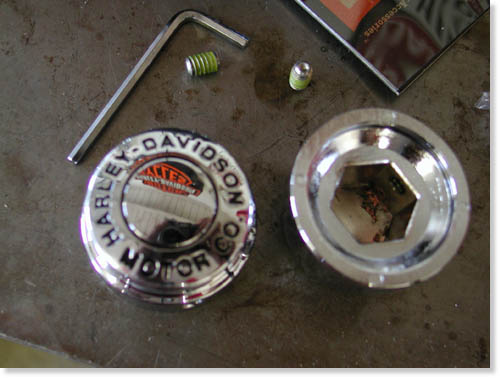
This is simple installation. Slip on the plastic wedge and the cap grips over it. Push them into place–done deal.
We also ordered some classic hex bolt covers and stainless Allen caps to begin an engine detailing process. We purchased chrome caps to detail the front brake calipers and classic chromed front axle covers. We didn’t use the plastic chrome caps ultimately but brush painted the raised edge of the calipers black. I’ll tell you why in a bit.
This was supposed to be one of the easiest mods we undertook, but we learned quickly, that wasn’t the case.
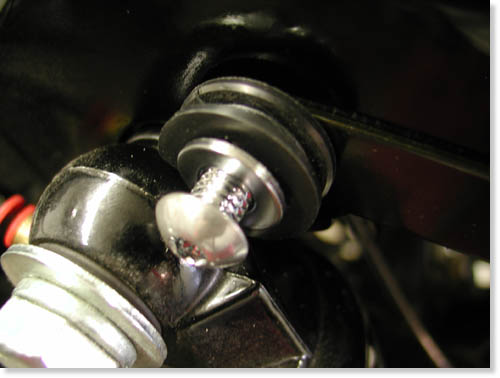
This is the front docking port in place, but not tightened.
When we black powdered a ton of components previously, we assembled the bike securely with Loctite and care. That was our undoing. The Phillips-head beside the shock needed to be replaced with the front docking hardware. Take one bolt out and replace it–no problem, right? The Phillips screws wouldn’t budge and we proceeded to strip the heads. First, I wished I had an impact driver.
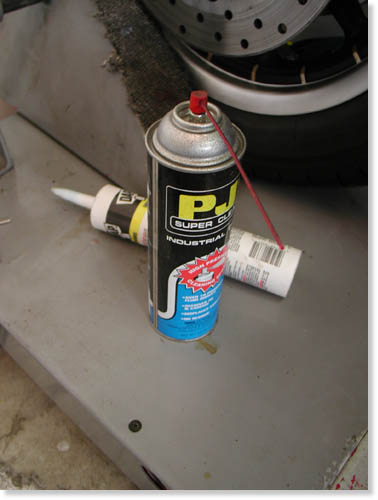
I discovered an aerosol spray by Chemsearch called Yield in the auto parts store that loosens rusted bolts instantly. It worked like a charm, with a little patience the bolts came lose. An American Rider reader complained that this product isn’t available in retail stores. That’s true. My longshoreman connection hooked me up. You may need to find a factory worker or mechanic who has a connection.
After reading the Low Detachable Backrest kit info that came with the taller kit, the Backrest Docking Hardware kit directions, the Front Docking Point kit instructions and the 100th Anniversary FLHT and FLHR Backrest Pad kit directions, I guzzled my first Corona.
I opened the next Corona. The operation would have been simple if the directions were. I read them over and over. There were too many variations between years and configurations to sort through. The Front Docking port directions confused me with illustrations involving rear bag support spacers designed to bounce out the saddlebags and clear the release button on the backrest.
This was a matter of trial and error.
If you’ve built choppers as long as I have, there’s always a way to make anything work, so ignoring the confusion, we spanked our asses in gear. I ignored the spacers, installed the front docking rubber that was designed specifically for the King with a notch for the shock.
There’s a bracket that runs from the front docking station to the rear, but first the rear docking port bracket needed to be installed. On some models equipped with air shocks the shock filler bracket must be removed. The directions said I didn’t need to remove it on the 2003, bullshit. It was directly in the path of the docking bracket, so off it came.
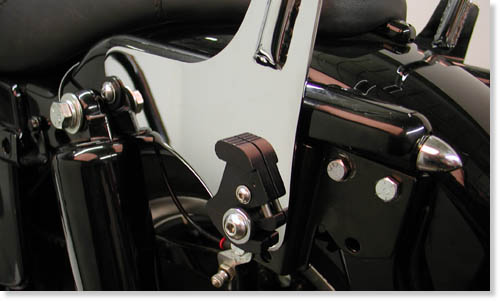
This shot shows the bracket in place, with the shock air port moved. Note the single empty hole in the bottom of the bracket. That’s where the rear bag mount bolts into place. The trick of the night.
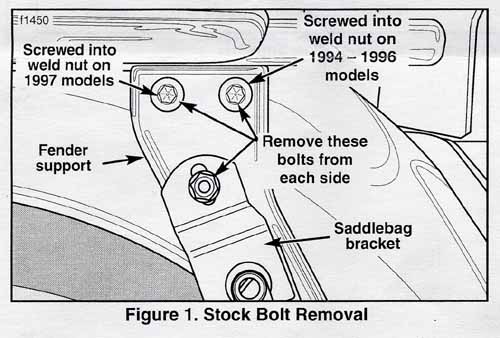
Three lousy bolts had to be removed, the rear bag bracket 1/4-20 fastener and the two 5/16s fender support bolts. First the 1/4-20 spun the thin, tin clamp that holds the nut in place. Then the 5/16, once removed, could hardly be replaced. Nothing aligned properly. My lovely assistant had to squat and lift the tip of the fender, and in one case we were forced to remove the lower bag rail to align the top bolts.
This still doesn’t totally jive. Actually washers had to be fed behind the top Backrest mounting bracket also.
“Can I let go of the fender, now?” Sin Wu asked grunting. The top docking port bolts are packaged in two sizes, 1 inch and 3/4 inch. The directions warn that if the rear inch-bolt comes too close to the fender, replace it with the 3/4. We replaced both and used the 1-inch jobs in the front holes on both sides.
Without the rear fender rack detachable bracket, another option, two washers were thrust under the rear docking port bracket to make up for the thickness of the rack bracket.
Part of the confusion was the numerous detachable elements available for various models. There’s also the two-up detachable rack front docking kit that surfaced from time to time.
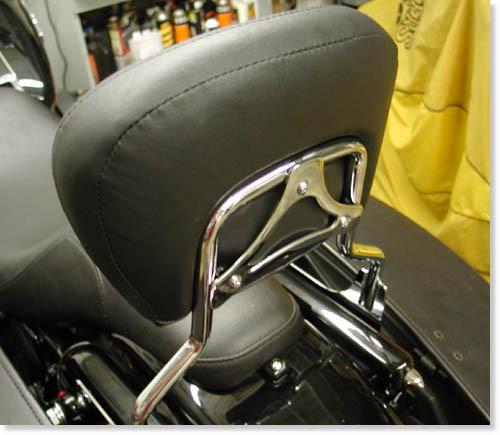
That’s all there was to it. We bolted all the elements in place and tested the back rest and bags. Sure enough the King Classic bag lid smacked into the backrest latch when opening. We ultimately spaced the rear back bracket out only about an 1/8 of an inch and we were good to go.
We tried it with the spacers, without, then with smaller spacers that worked perfectly.
Sin fed me chips and salsa and dabbed my sweating forehead with a bandanna, while I slipped the saddlebag bracket, 1/4-20 nut, into place using a long magnet. It worked on the right side. On the left we unbolted the entire fender support, replace the nut, adjusted the thin, tin tabs, and bolted the sucker all back together, only to have the nut fall out again. In this case we squeezed a slim square 1/4-20 nut behind the docking bracket and bolted the back bag bracket on with a spacer. It worked like a charm.
“Can we ride?” Sin cooed. I told her to gear up. We were just about ready to roll.
I used electrical contact cleaner to loosen the tin insignia plate, but discovered that wasn’t the intended plan. Leave it be, goddamnit.
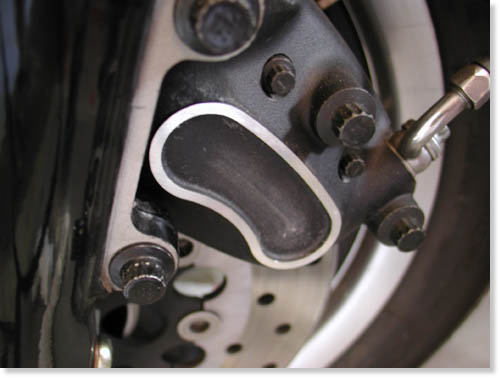
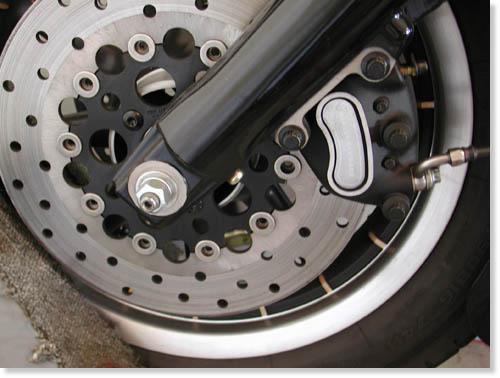
Here’s the totally clean caliper. Big mistake.
I ground the lip unevenly, but it then fit into the recessed slot on the caliper.
After grinding, all was well. Sorta.
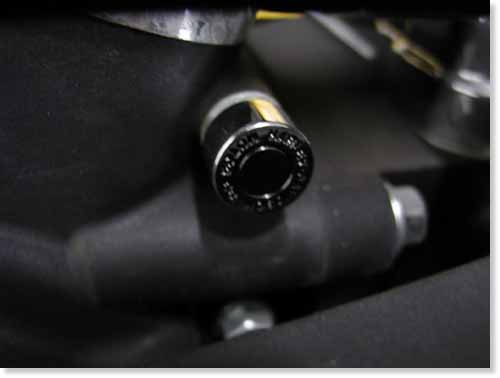
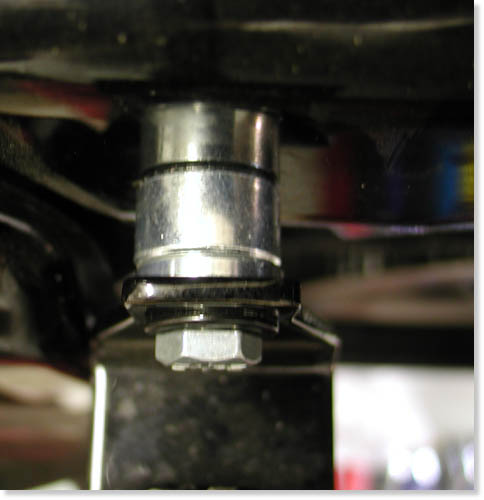
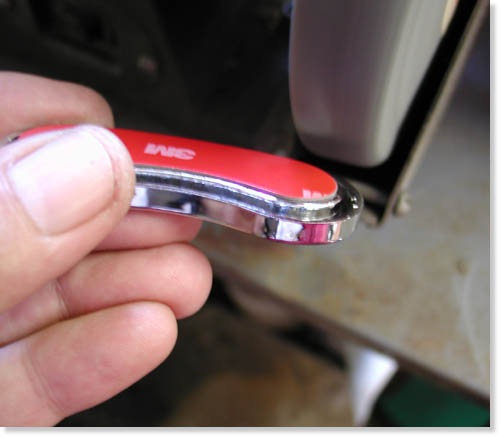
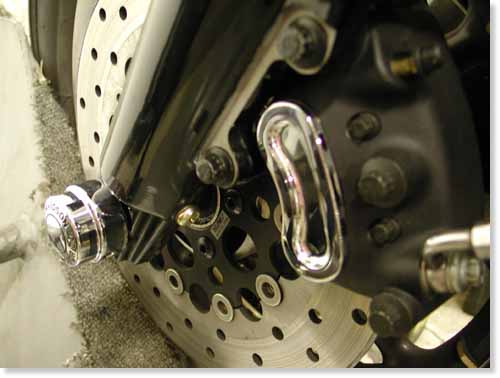
The air in the garage eased as I warmed to her company. For an easy half-hour we played with the details of the bike by installing nut caps and front axle caps which I snugged down against a coating of silicon to prevent vibration.
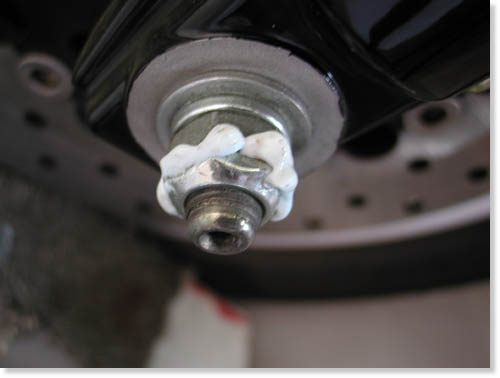
Some silicone on the axle nut will prevent vibration that may loosen the cap.
I discovered that the front chrome caliper caps stuck directly against the existing tin insignia. I took one off and cleaned the area thoroughly with electrical cleaner then the self-sticking surface didn’t reach the base.
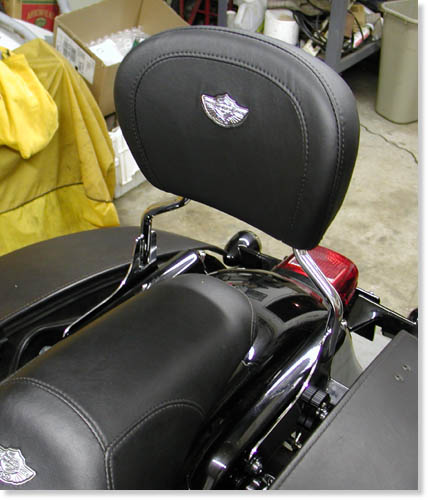
Here’s the 100th Anniversary backrest that will not fit on the short back rest bracket. We sent the short unit to Custom Powder Coating, in Dallas, for a coating of black.
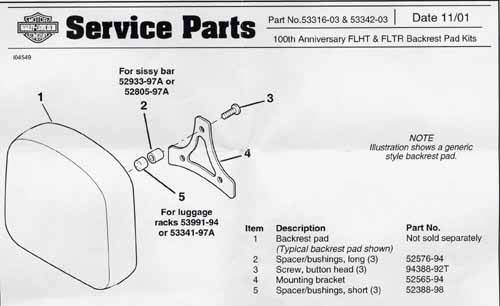
Note that there are various pads and various fasteners and spacers for different applications. Don’t try using common sense.
I ended up with 1/2 pint can of Rust-oleum paint and a small brush for touch-up details. I sent Sin Wu in the house to prepare for the ride. That meant striping out of her threads and waiting for me in bed. It’s the code. We must workout before we ride.
–Bandit
Editor’s note: I’m sniveling through this, but I’m sure with some experience this would have been a breeze. I suppose that’s what dealerships are for.