After the engine was removed from the frame, I mounted it on an engine stand and clamped it to a work mate. This worked perfect, as I have limited working space due to all my daunting, ongoing projects.


I got lucky with this engine, as I later found out it had recently been rebuilt and had just .010 over in the bore. However, the rocker covers were both leaking and the front head gasket blew. This was a perfect time to for a complete top end job. I planned to replace all the old leaking OEM gaskets with state of the art new gaskets and seals, and check all the tolerances, while looking for any potential problems.

Tear down was straight forward, first I removed the carburetor, followed by the oil pump, gear drive housing, push rods, tappet blocks, rocker covers, heads and barrels. After the barrels have been removed, place a couple of shop towels around the connecting rods to keep debris from falling into the crankcase.

I carefully cleaned all old gasket material from all the mounting surfaces. I ended up using razor blades and plastic scrapers. Be careful not to gouge any mating surfaces as you scrap. Any abrasion could create a leak if the gouge is deep enough.
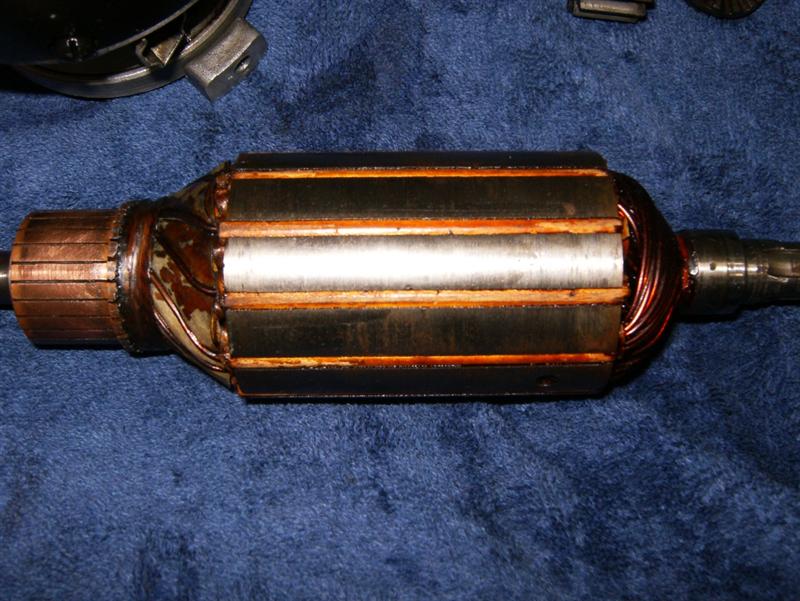
I also rebuilt the generator at this time, which included new brushes and a new paint job.

You can follow the generator instructions in the manual. It’s extensive and takes patience, but not overwhelming. I just hope it works, as a new costs around $400! Ouch! I also found “Rene “at National Starter in Lancaster, California. He Put the 6v through its paces to make sure we have a strong working unit, Thanks Rene!! The old mechanical voltage regulator was replaced with a new solid state unit and the OEM dual point circuit breaker was replaced with a state-of-the-art electronic dual contact unit from Quick Start 2000.

Ed from Quick Start custom builds electronic circuit breakers specifically for vintage motorcycles, and he spilled a wealth of knowledge, always willing to help in any way he can, yea ED!!!!
Important note: Before restarting the bike, you need to flash the generator polarity. It’s simple, run a jumper from the positive battery pole to the term marked -A- on the generator, touch it for a second, and the polarity will be corrected.
Since the engine had been recently rebuilt, I took all the measurements for the fly wheel and connecting rods for clearance as specified in the manual, just to make sure all was within limits, and it’s right on, how lucky can I get?

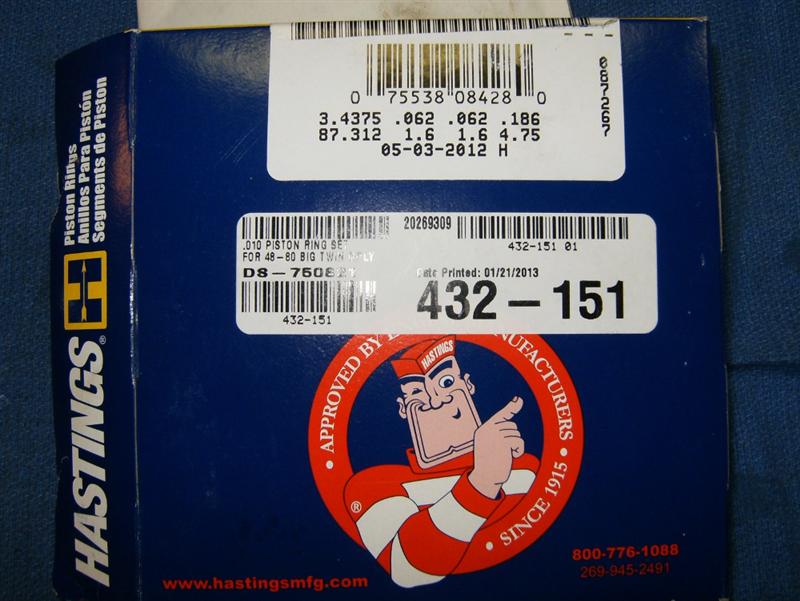
So off to J&P Cycles again to order new rings, wrist pin bushings and all the required seals and gaskets. I also replaced the main drive seal on the left side of the crank case, it had been leaking bad.

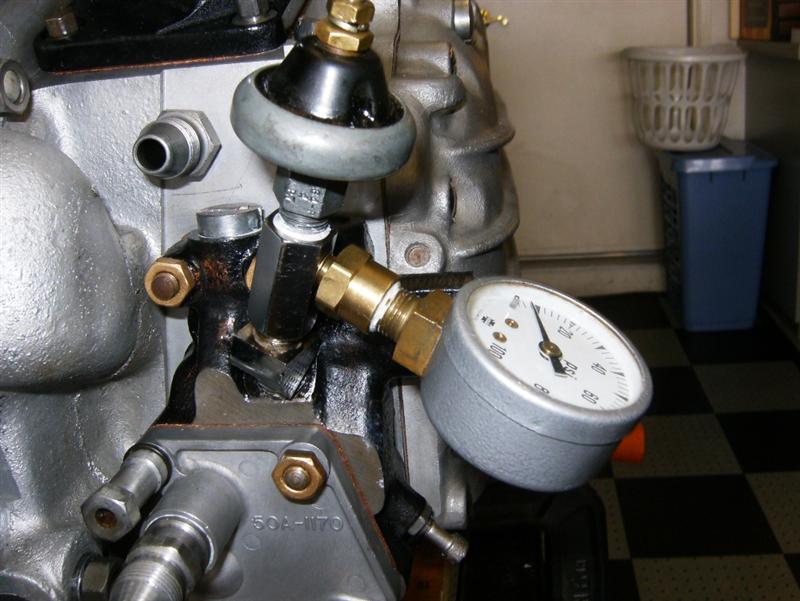
Rebuilding the oil pump was a simple task, you can get the complete kit from J&P Cycle. The gear case cover was removed and the timing marks were checked for alignment.


With the gear case open, you can remove and clean the oil pump screen.

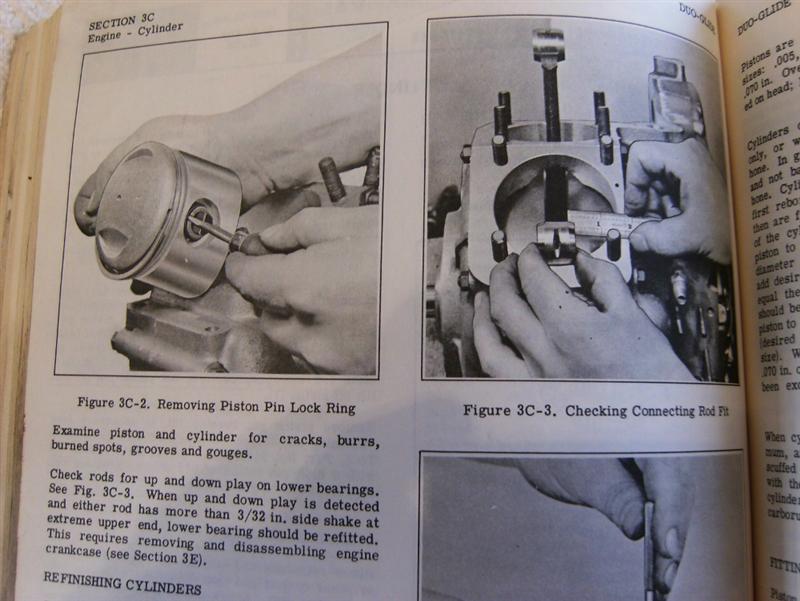
I removed the tappet blocks and tappets, cleaned them and miced them to see if they are within tolerance, they are. Be careful when reinstalling the tappets, they need to go in the same position (same hole) they came out of, with the oil passages near the rollers pointing inward (refer to manual). Failing to do this will cause the engine to seize, and we don’t need that.
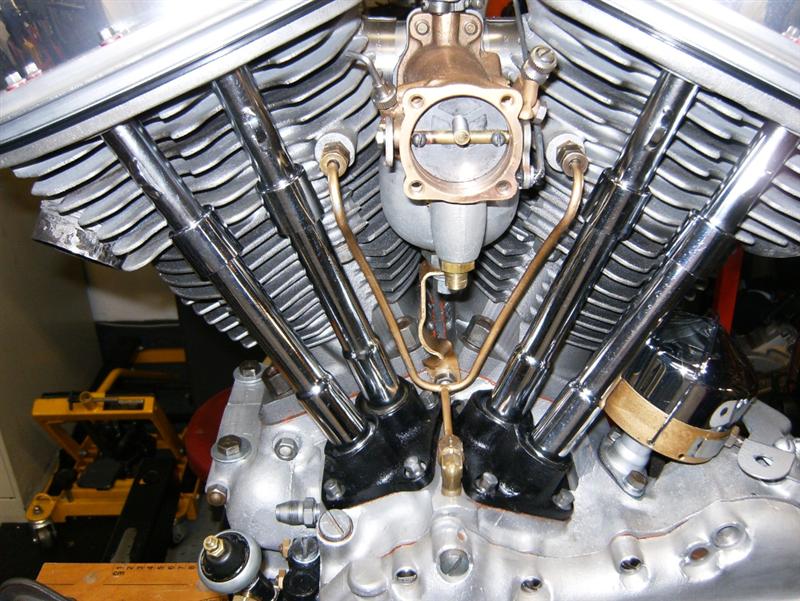

Timbo wanted the barrels to be blonde, so I had them bead blasted to remove the black Bar-B-Q paint someone had put on. In my opinion, they look way better blonde. As far as the heat transfer, I don’t think it makes much difference. Most Harley engines of today are blonde, the black is a cosmetic option. I have built aircraft engines for 20 years, and almost all are bare metal cooling fins. I coated the bare metal with clear 1500 degree heat paint, just to make sure they don’t rust up on me.
We can argue the “black heat dissipation thing” at a later date! For the barrels and heads, they suggest you purchase a special wrench to ease installation and removal. I found a little patience and a standard 9/16 and 5/8 box end wrench and 12-pt. deep socket worked just fine for removing the barrel and head bolts. I was fortunate to have the original manual, a Clymer manual and a cool restoration book sent to me from Bandit.


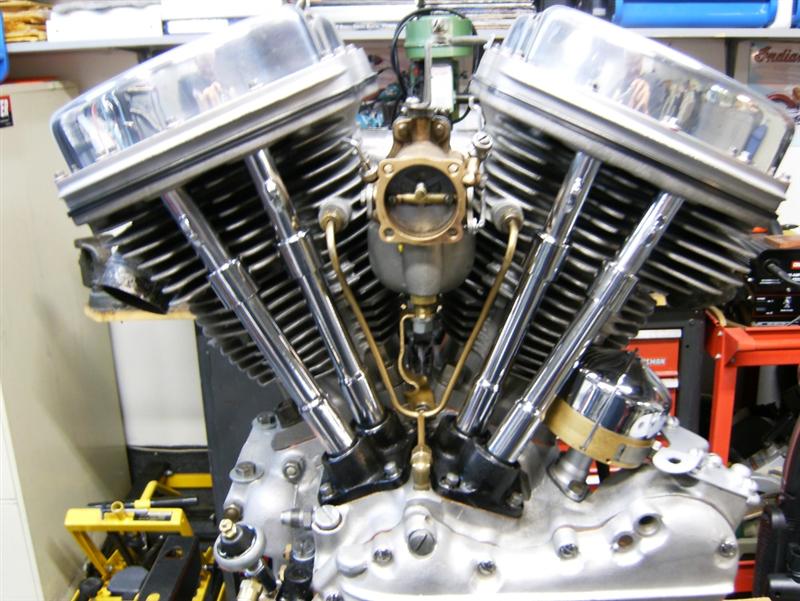
Follow the rebuild information in the manuals and all will go smoothly. This old gal has a Linkert model M-74 brass carburetor, again, all the parts you need can be found at JP Cycle, and the internet has endless parts suppliers. The carb was completely cleaned and rebuilt, with all new jets and gaskets.
I found lots of Linkert carb tuning tips on line, simple too!! They give you needle starting points and adjustment procedures, I probably found no less than a dozen info sites for the many models they made. For the rocker cover gaskets (pans) I used the new neoprene and steel ones from Genuine (J&P Cycle).

The Pan gaskets I removed where virtually made out of paper. No wonder they leaked! Here’s a shot of the new gaskets installed, you can see the thickness!
This bike came to me equipped with a narrow belt drive and standard clutch. It may have been a famous SuperMax Belt Drive, and it will probably last forever. Phil Ross, one of the Belt Drive original designers passed a couple of years ago. “What a great guy, and hard rider,” Bandit said.

Unfortunately when I pulled the primary off, the belt was soaked in oil. No one had ever bothered to shut off the chain oiler. It’s controlled by a needle screw on the oil pump. So not only did I shut it off, when I rebuilt the oil pump, I also reengineered the crank breather system so it now is vented to the outside inner primary via a tube and K&N breather.

The clutch was taken apart and cleaned along with the clutch plates and belt. The plates were measured for wear and the belt was degreased and dried.


So hear it is, the old Pan looks great. She’s been timed with the new electronic breakers, the pushrods have been adjusted, and new seals installed, top end rebuilt, new seals and gaskets everywhere, oil pump rebuilt with the addition of a pressure gauge along with the original light switch.

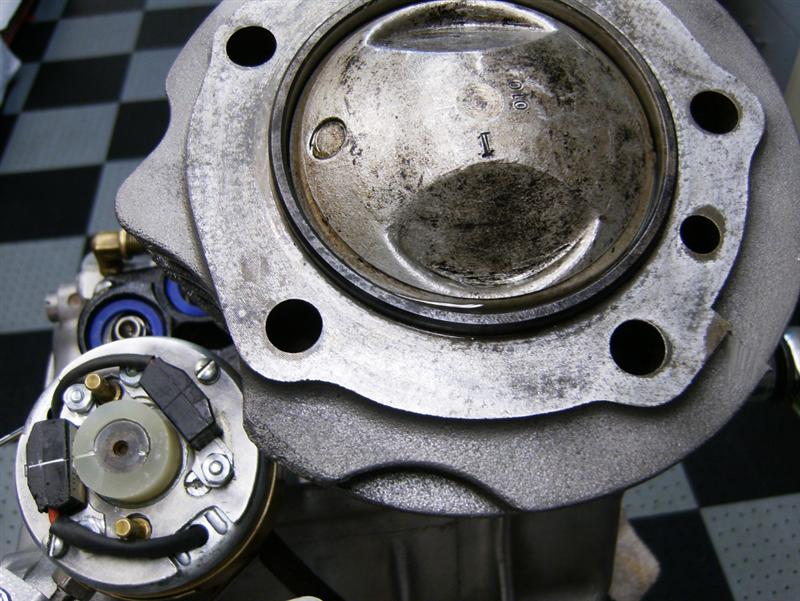
New rings installed along with the cylinders cleaned and honed. The heads looked really nice, no gunk had built up yet and the valves were lapped just to make sure. I also cleaned out all the oil passages, don’t want any debris mucking things up!!

At last, the engine is complete for now. Since beginning this article, I have already installed the engine and trans in the frame, another article on the frame will follow soon.


Tail Gunner out for now!
Please follow and like us: