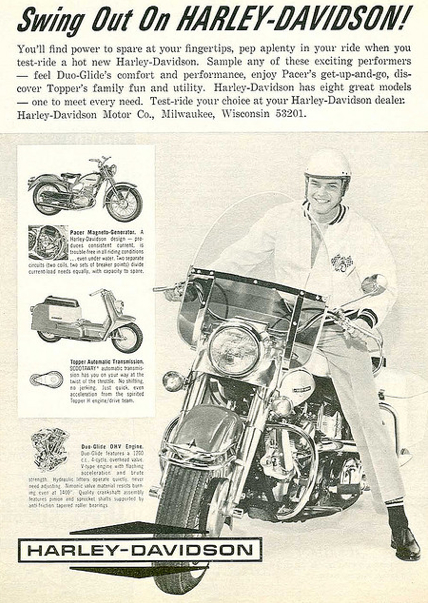
1964 was an interesting year for Harley. it was the last year of the 6-volt electrical system, and last year for the kick-start only. In 1965 they stepped up to 12-volt system and the first electric start and massive batteries started to appear. So let’s get started, I removed the primary, to my surprise it had a belt drive in it.


Someone wanted a step-up from the original chain drive, unfortunately it’s covered in oil that leaked from the main shaft seal and chain oiler that was never shut off. I might be able to save it with a healthy cleaning, we’ll talk about that later. After removing the primary drive and clutch, I thought the transmission would be a good place to start the restoration.

I did the research and found out all the parts I needed to rebuild the stock 4-speed transmission were available from J&P Cycle, and manufactured by JIMS. So off to the catalog I went. I ordered all the gaskets and seals I needed to rebuild it, except one, the main drive shaft seal (which was the worst one out of the bunch). According to the manual and other people I talked to, you need to invest $250 in the special tool from JIMS. It removes and installs that seal. However, I found an old friend (older than I) sorry Danny! LOL, who knew how to R&R the seal without the so called special tool, no big deal, according to him!


Be careful not to lose the gear shaft key for the sprocket. Also, there’s a small keeper key (looks like a flat L). It holds the sprocket far enough away from the seal, so it doesn’t ride on the seal. Keep it just in case. I later found out the new seal came with the keeper, but it’s better safe than sorry, if ya know what I mean.


There are some measurements you can take with feeler gauges for the shifter forks and spacers, refer to the manual.
Also you can check the timing shifter notches for alignment after the cover has been removed, also in the manual.

I actually ended up with two manuals, the original 1964 Harley service manual and a Clymer manual. Out of the two, I prefer the original service manual, it’s so easy to read and understand an idiot can follow it. Wait a minute! It’s also a good notion to pick up a parts manual for a variety of parts illustrations not found in service manuals.

For the serious rebuild the Wolfgang Panhead Restoration book, by Rick Schunk is an excellent guide. We were fortunate to have a low mileage transmission, and only a clean- up was required.

All the schematics are hand drawn in detail, very cool and definitely vintage. For the main shaft sprocket seal, I used the old school method my friend suggested, a slide hammer. Simply drill a couple of 5/32 holes in the seal, not too deep, about ¼-inch, screw in a sheet metal screw, and slam away!


It came out on the second slam of the hammer, YEAH! Installing the new one was just as simple, add a little Vaseline or WD40 to the outside of the seal and gently and evenly tap it in. I used a brass seal installer I had lying around, moving it back and forth on the seal so it doesn’t bind. Tap it down flush with the case, and your done. The JIMS tool insures that the seal is installed perfectly square into the case.
The rebuild kit came with all the gaskets and seals. There’s an O-ring seal in the kick-start shaft that rides between two brass bushings, be sure and replace it.

You can reach in with a dental pick or small screwdriver, and remove it without pounding out the bushings. The kit comes with new gasket for speedometer cable and neutral light indicator.

I polished up all the chrome it had and added a brass kick-start pedal, it looks great! Yeah, I know, not OEM pedal, but it looks cool and is pretty close to the era. I also ordered all new chrome case screws, the old ones were rusted, plus the chrome looks better anyway. I painted the inner timing cover and polished the out cap. You will find that almost all the transmission and engine cases are cadmium platted.


Lots of guys polish or chrome them, my customer wanted them to look as factory as possible. Here it is, the finished product. Not sure what I’ll tackle next, if you have any requests, let me know, I’ll be glad to accommodate. I’ll probably go right into the engine. That’s all for now, Tail Gunner out till next time.