
I’m not sure if I’m keeping everything in line. But this segment took us to Foremost Powder Coating in Gardena California. I was at that point when these shots were taken. I’ve had a Powder Coating Sponsor for years, Custom Powder Coating in Dallas. They’re good people and know how to handle custom work. They’ve handled jobs for Strokers Dallas, our custom for American Rider and even the 1928 Shovelhead for Bikernet.com.

Powder coating costs have dropped and it doesn’t make sense to ship a frame to Dallas. It would cost less to have it Powdered in LA than to pay for the shipping. So I looked around the area and was recommended to Foremost Powder Coating (877) We-Coat-it, 1608 W. 139th, Gardena, CA 90249. These people have their shit together and the girl who runs day-to-day operations, Esmeralda, is a delight on the eyes and to work with.
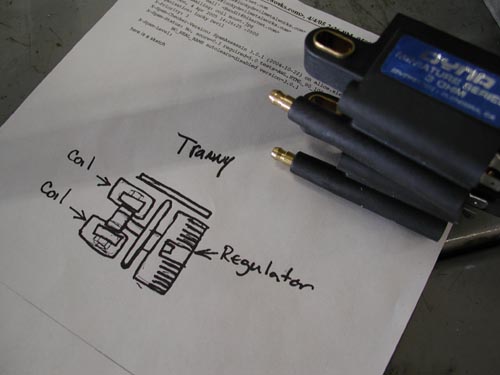
Let’s back up, though. Just before teardown for Powder I needed to think electrics. Kent from Lucky Devil Metal Works in Houston sent the above illustration for mounting the Compu-Fire voltage regulator under the tranny with the small Dyna Coils from Custom Chrome. I pondered that drawing and decided that I didn’t like the notion of putting my coils at ground level. What if I ran through a rain puddle? He’s built bikes using this technology several times and so has the guys at WCC, so it must work in most circumstances.
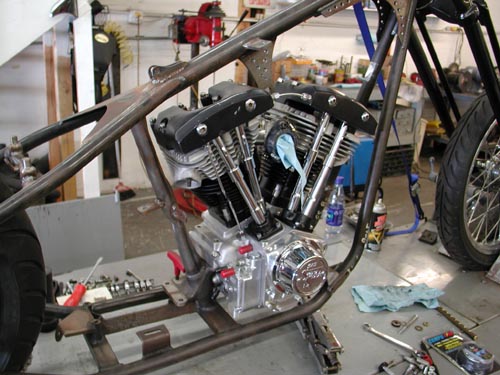
I decided that since I was going to run the Compu-Fire engine based electric starter that I had room under the oil bag for the coils. I still installed the sealed voltage regulator under the tranny on a 3/16 sheet of aluminum. But then welded brackets under the Craft Tech Oil bag to hold the two coils apart.
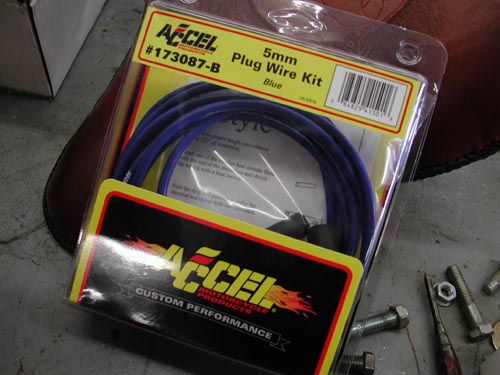
This was a delicate operation and ultimately the new Accell Sparkplug wires run right across the top of the RevTech Tranny. I also had just enough room behind the coils to house the wiring for the single-fire Compu-Fire ignition system. I thought through most every aspect of this motorcycle right up to the wiring business, then came up with a nuts notion, which I will explain during the final assembly process. It actually worked out fine with a handful of scary moments.
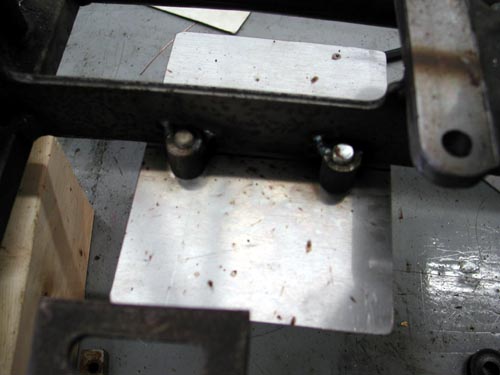
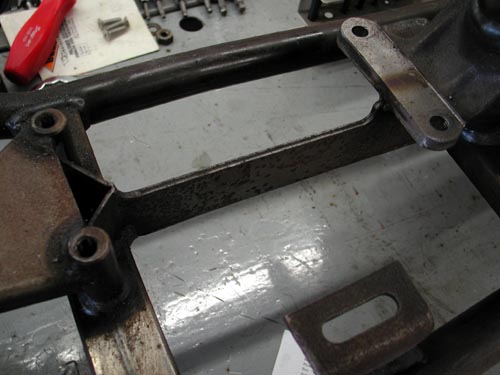
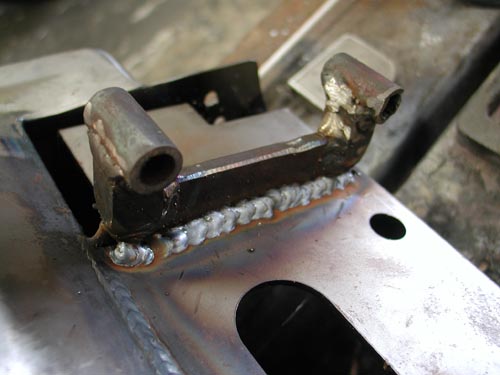
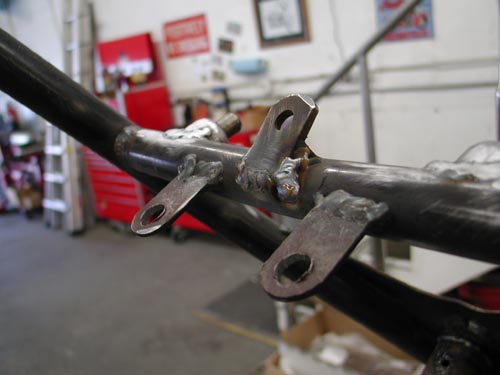
I welded four bungs that housed 3/8 fine threads to the frame with my Miller MIG welder. Ultimately I mounted the Compu-Fire voltage regulator to the pipe side (right) and it worked out fine.
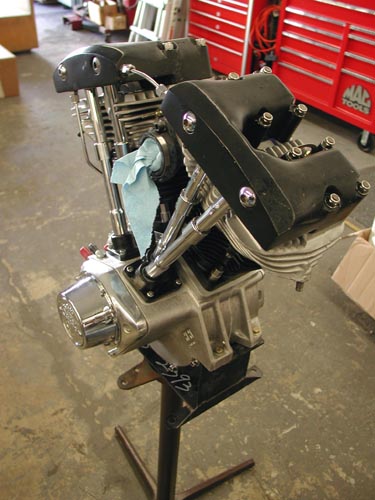
It was time to strip the Engine out of the frame, complete final welds, grind the welds and ship the parts to Foremost Powder. I needed to create a temporary engine stand to hold the S&S 93-inch Shovel in place. I used a RevTech engine stand and mounted it to a junk metal table leg. It worked perfectly and I shoved it in a corner for future use.
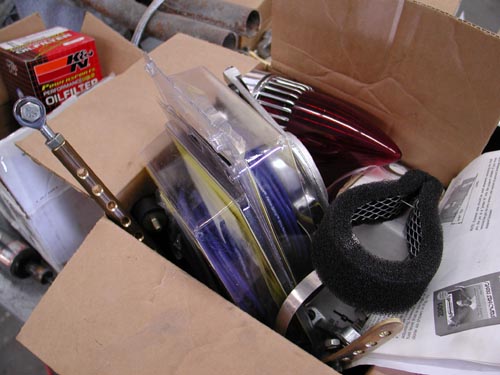
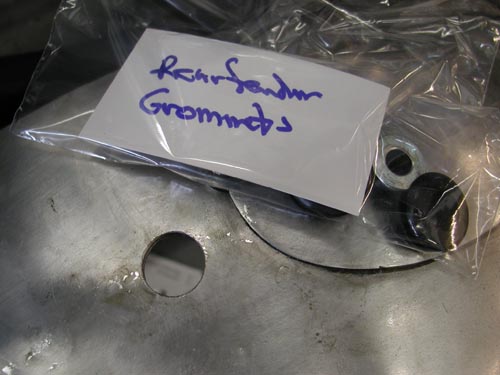
As I tore portions of the bike down I formed zip-lock bags with labels to hold the fasteners. You’d be surprised how fast you forget which spacer fit what, unless you organize. Mike Egan told me years ago that he takes photos of every part and organizes his assembly with photographs to demonstrate how components matched or were fastened. Since I try to take shots constantly I had an archive of various aspects. Hell, I just need to turn on Bikernet and look up the tech.
The next move was to finish welding any tab or bracket that had been tacked or partially welded. MIG welding is a breeze, but not as dead certain as TIG and I’m after a Lincoln TIG welder.
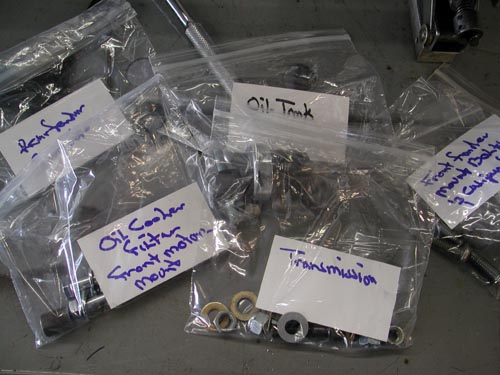
Here’s all the fasteners, grommets and spacers in bags with biz card labels. It works like a champ although I replaced some of these fasteners with stainless Allens wherever possible.

Next I dug out all my tools for grinding welds and went to work. This level takes a great deal of patience and artistic style, which I don’t have. The more time and patience, the better each weld will look. There is actually a process for bondo filling powder now, but it’s more costly. If you don’t want welds to show ask about it. If you don’t mind the look of a clean weld, just powder. I wanted the look of a machine, nothing slick.
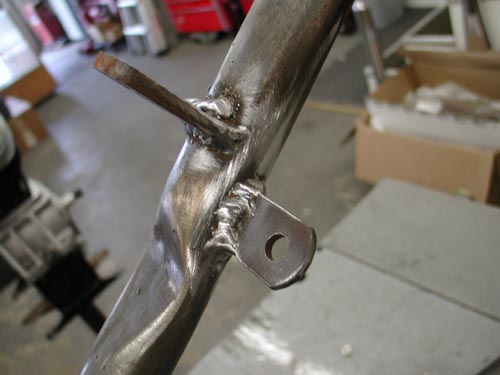
There’s one more consideration. Try to make each weld look the same as the next one for consistency. In my case that was tough. Some of my welds were decent, others sucked. I did my best, but my welds didn’t compete with the Paughco paid professional beads.
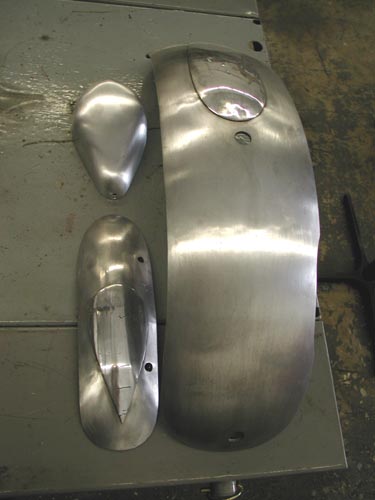
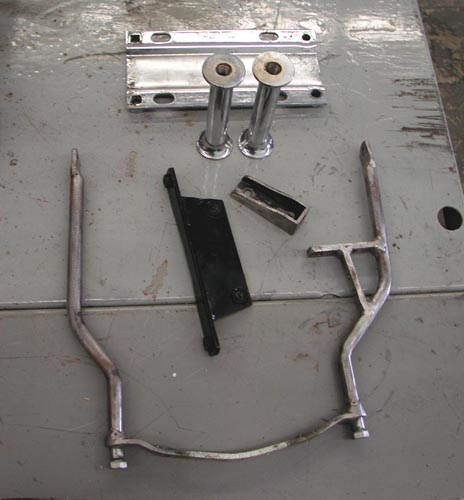
As I finished grinding and drilling holes in the frame for wiring I separated each group of powder finish parts and took a shot for the Powder guys at Foremost. It was a lifesaver to be able to hand them a shot of each group of parts since some had to be sand blasted before the finish was applied.

One more comment on drilling holes for wiring. This was one of the first times I drilled plenty of wiring holes. Remember Frank Kaisler’s rule? Drill the hole. Ream it out on a taper to prevent cutting your wires. Then with emery cones make sure there are no razor-sharp burrs in the tubing. Frank ran the emery paper then he’s twisted a Kleenex and shoved it in the hole. If it caught he’d sand the edges more. If not it was good to go. Let’s hit it to the next chapter, we’re burnin' daylight.
