I'm in a daze this morning. Too much Quervo Gold last night and too many discussions about the sinking economy. It's a bastard when they lay off port crane operators. What does that tell you? I don't want to go there on this dank gray morning. It's warm outside, but even the dogs, Tank and Cash, feel the gray skies. They look hung-over, droopy and drained. I haven't shaved in a couple of days, need a shower and a kick-my-butt workout.
All the women left me and ran off to the mountains this weekend. I know why Sin Wu needed a break. Have you ever tried to maintain a 10,000 square-foot, old dilapidated building, clean and care for two lumbering, sloppy dogs, two house cats, and a stray that wanders through and bitches if the food supply isn't consistent with her desires? The Macaw needs to be fed and moved into and out of the sun at the end of the day and now we have a fuckin' fish.

There are also construction workers, electricians and plumbers to deal with. It's never a dull moment around here. I'm a big proponent of running off all the costly pets, who can't do except shit and care for a half dozen concrete gargoyles. At least they keep the evil spirits at bay and involve zero upkeep.
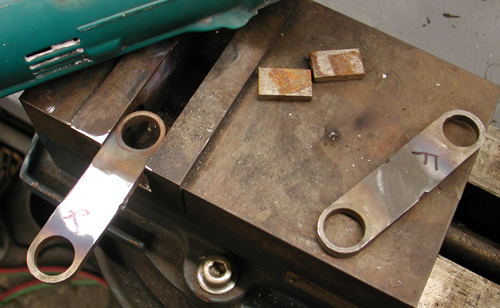
Okay, I'll get to the tech. I was on a hunt for a vintage seat and Duane Ballard stopped by with this vintage BMW seat. I used chunks of wood to hold it in place while I pondered the little Hispanic girl who works at Shamrocks, the Mexican fish market two blocks away. Since the seat was made with a number of springs incorporated in the structure, I didn't feel additional springs were necessary. I played with my options, but nothing – graceful, stylish, art deco or vintage – came to mind. Then I grabbed the springs that came with the prototype Paugho frame and voila, it all came together using the existing frame bungs, the mini-seat shocks and a slight modification to the BMW seat.
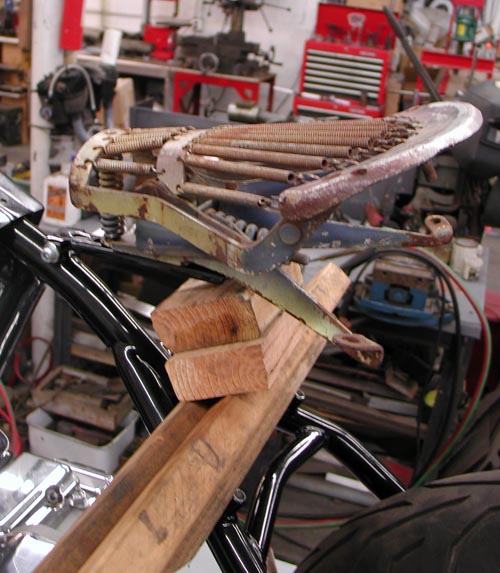
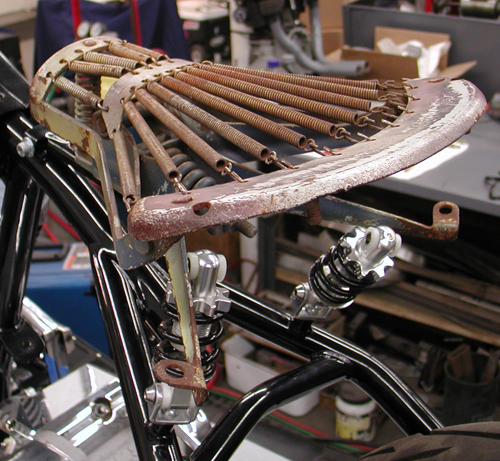
I drilled new holes in the brackets and cut about 4 inches off the arms. The front of the seat bolted directly to the Paughco seat hinge and I was good to go. Duane stopped by again, blessed my creation, and took the seat for top-notch leather upholstery action. He's the best.
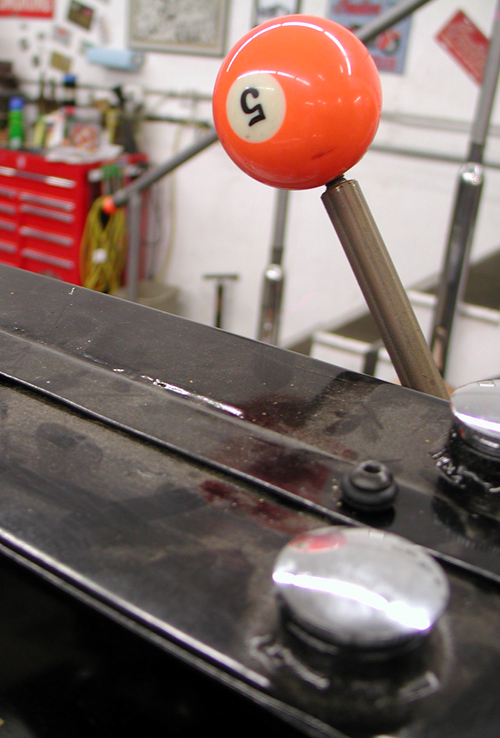
I shifted to my shift linkage system and called Jeremiah for the mathematical configuration from the system we build for his bobber. I wanted a tank shift and had several strange components, plus heavy, solid cloverleaf brass rod to use. I don't have any idea how I come up with this shit, but what the hell. It has class.
According to Jeremiah, from the pivot point down, the shift arm was about 6 inches in length, and the distance to the shift knob up was almost three times that length. That made for a vast throw and I needed to make sure I was clear, fore and aft, for shifting without smacking the bars or anything else. I checked my '48 Panhead with stock jockey shifting and the ratio was closer to two to one. In addition, jockey shifting is a different animal. There's no back and forth spring action on vintage tank-shifted bikes. The shifter banged through one gear after another from first to fourth, done deal.
That's the reason jockey-shifted bikes are best with jockey top transmissions. If you need neutral, just pop it out of any gear and you're back in neutral. Ratchet tops force you to bang through one gear after another down to the only neutral between first and second, often missing it. In our next tech, we will install a Baker 5-and-1 drum in this transmission to afford neutral at the bottom for easy reach.
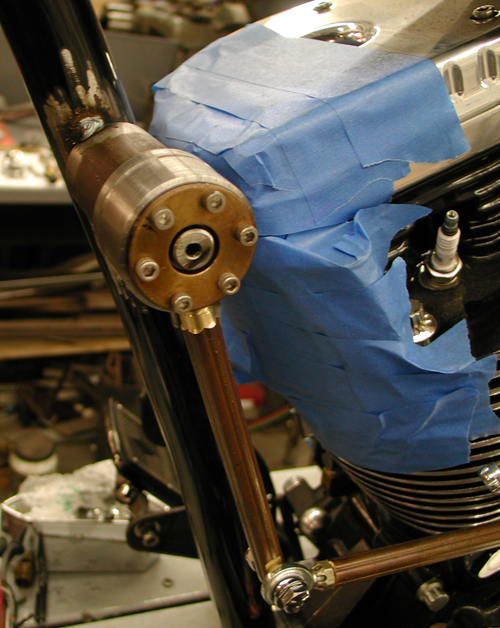
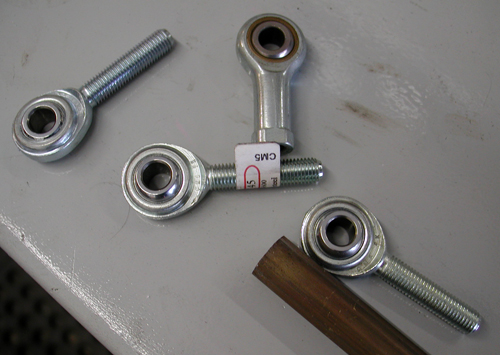
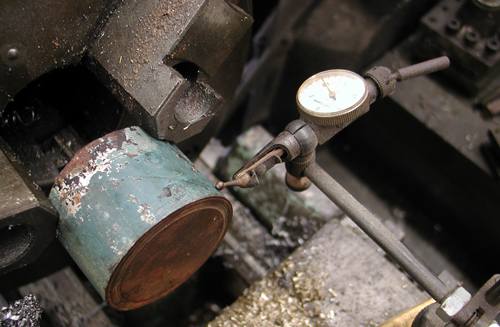
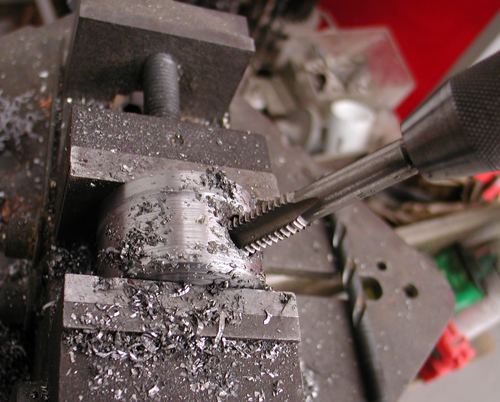
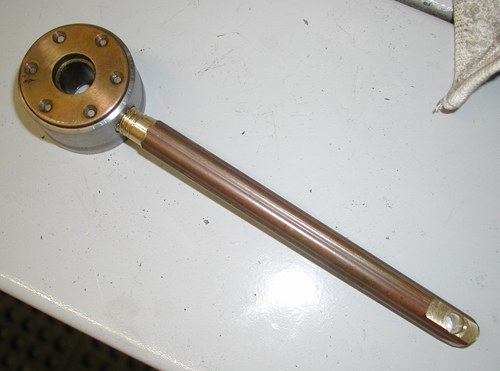
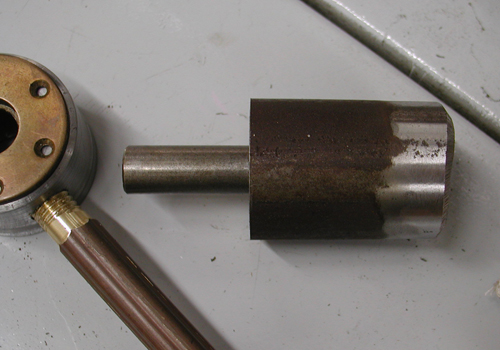
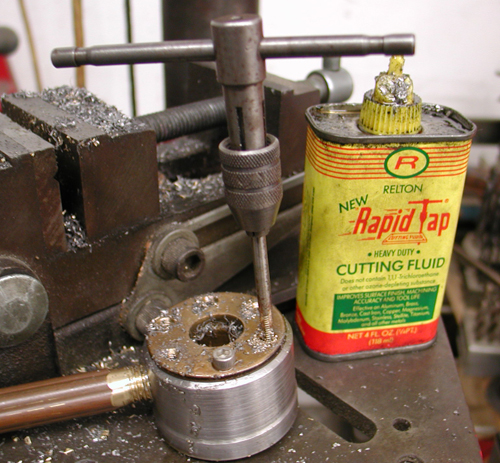
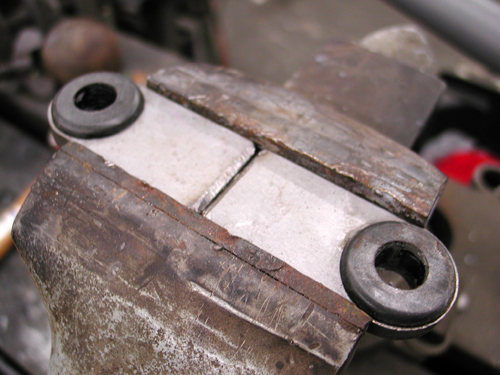
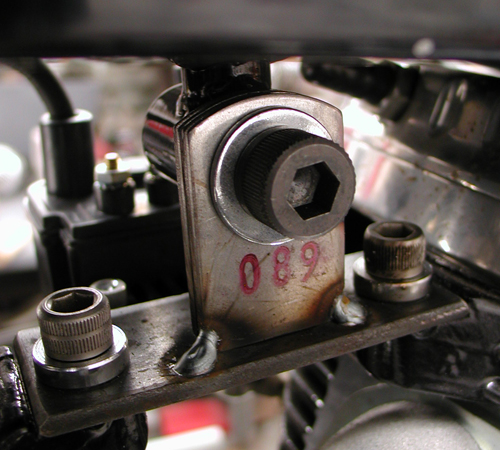
Okay, so back to the job at hand. I'm trying to use as much brass on this bike as possible, so I dug through drawers and boxes of old machined parts and trinkets and came up with these brass-bearing supports. Then I machined a piece to fit these, then the axle piece to mount to the frame. Then I had to bore and tap the pivot, drill and tap to anchor the brass bushing, drill and tap to create a pivot stop and machine and thread the brass rods, plus machine an end to fit a heim joint connection to the transmission shift linkage. I spent hours tinkering and figuring, drilling, tapping and testing, and I'm reasonable sure I have a tough, working shifting system.
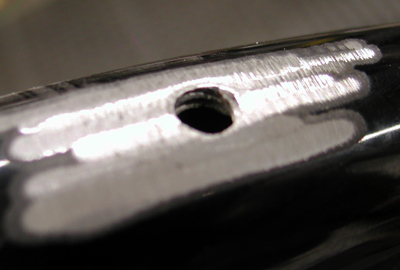
Then I shifted to the dreaded tanks. The tanks are fine, but more involved than normal one-piece, bolt-on tanks, ready with bungs for rubber mounting. Since this was a prototype Paughco Factory Racer frame, the first one of the batch, they bolted the tanks to the frame by drilling and tapping the top frame tube. Problem is, that afforded each 5/16 coarse bolt about three threads in mild steel tubing. In just a matter of time, those threads would fail, the tanks would rattle and come loose.
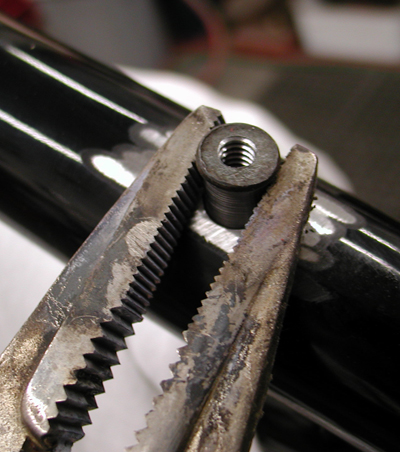
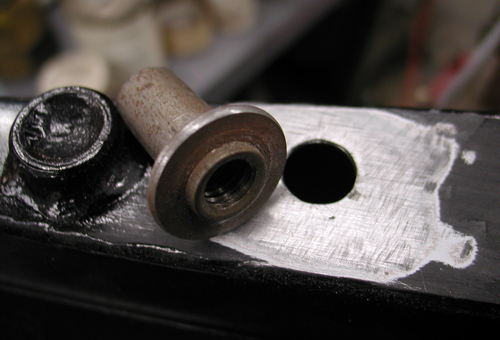
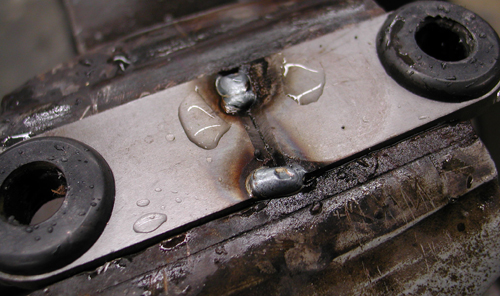
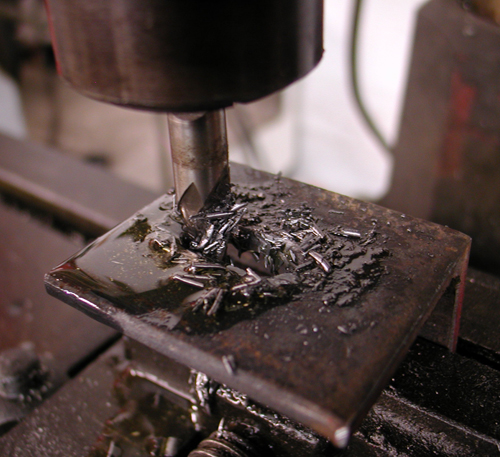
I decided I wanted to strengthen the tank mounting for the long road. I ordered some ¼-inch bungs, ¾-inch deep for a lasting hold. Later, I discovered that since the mainframe strut was 1.5 inch tubing, I could have used the 1.5-inch deep bungs from the Bung King (check their site for all available variations). I needed to re-drill the holes to a larger diameter for the bungs to slip into the frame. Adding the bungs and welding them enhanced the strength of the frame. At first, I though about machining a bung with a lip on it, but the tanks didn't have the clearance above the frame for a lip.
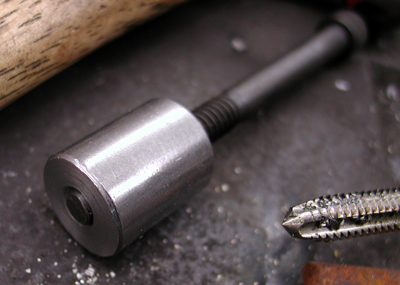

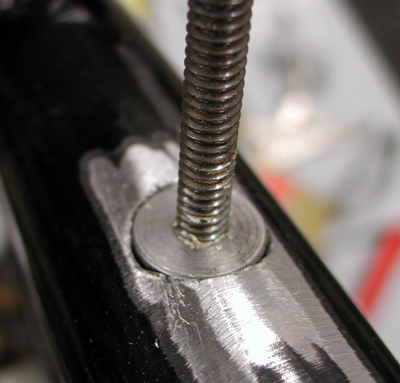
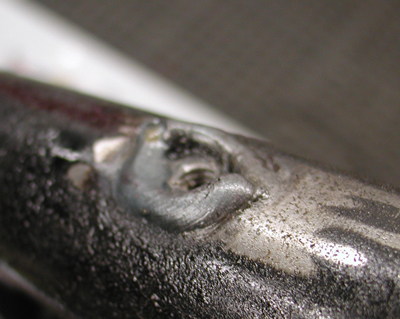
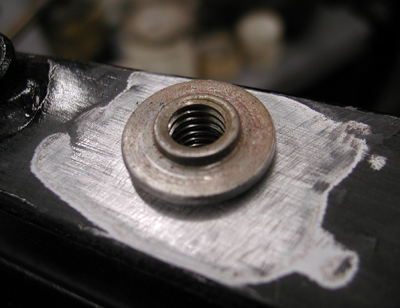
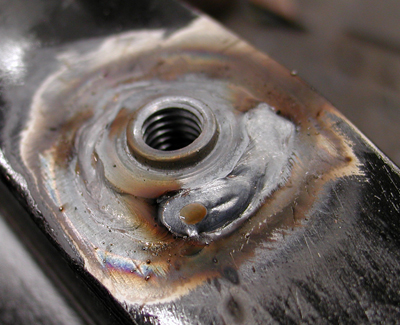
After drilling the frame holes, I tapped the bungs into the hole and as far below the surface as possible for the strongest, deepest weld. I would also need to grind off any protruding weld so the tanks would fit again. One tank protruded into the frame and rubbed at the back, so I moved it as far forward as possible for clearance, which amounted to about ¼ inch.
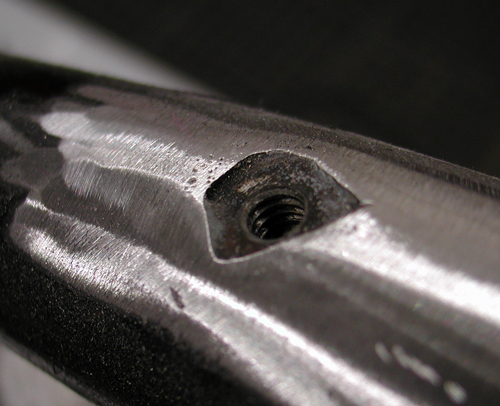
With the bungs in place, welded and ground, I grappled with the tank mounting holes. I thought I had it made, since I was dropping from 5/16-inch bolts to ¼-inch, but not so. Only one hole lined up. I grappled with these bastards for hours. Then I gas-welded the hole slots, refilled them and ground them to a reasonable size.
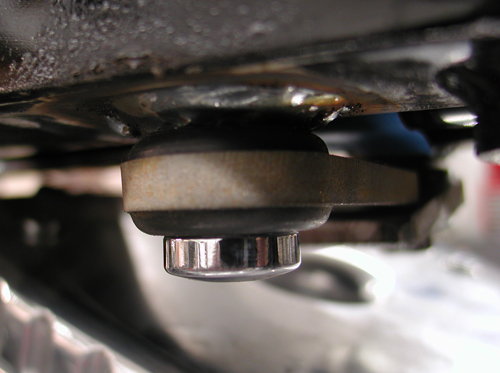
Next, I welded bungs, I believe from Lucky Devil, into the bottom of the tanks and used the Bung King’s rubber mount kits with straps and rubbers to attach it to the frame. In a sense, this was overkill, but I've experienced leaky tanks and poorly mounted tanks on my way to Sturgis a couple of times. One time, Randy Aaron from Cycle Visions saved my ass and my tank paint job. Later on, Paul Yaffe replaced my piece-of-shit Blue Flame tank with a properly rubber mounted Independent tank. So, goddamnit, this needs to be right the first time. I ran rubber mounts front and rear.
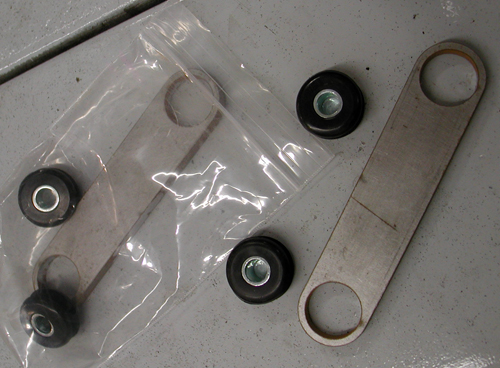
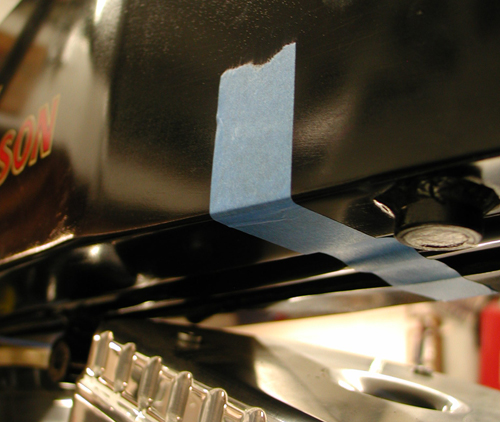
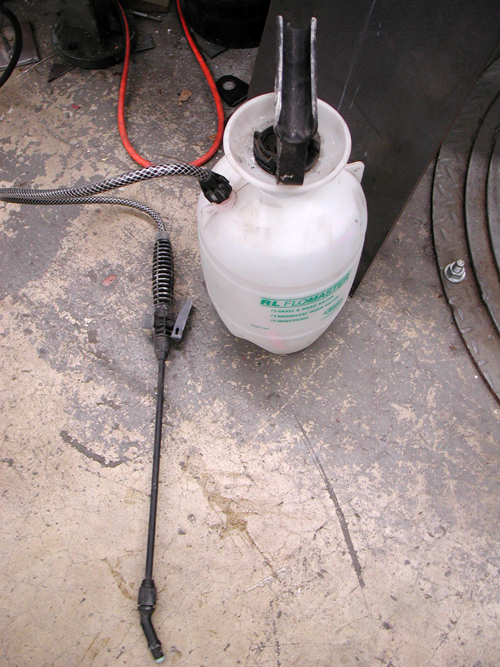
There's a trick to this operation. You need the rubbers in place to make proper measurements, cuts and tack welds. Ah but, too much heat will destroy your rubbers and sink the process. I've done it during mad welding spurts. This time I kept my Bonneville salt sprayer handy, so I could tack near the rubber insert and cool the strap before I damaged the insert. I removed the inserts before final welds.

With the tanks securely mounted, I was confident, except for one aspect: capacity and turning radius. I needed to pull the bike away from the lift clamp and flop the Paughco taper-leg springer from side to side. As I suspected, it was going to hit the tanks. Over the next couple of weeks, I will operate again, slicing the tanks for turning.
I shifted to making a top motor mount, which worked out like a champ. I made a strap from one Crazy Horse head to the other, then discovered a couple of tabs that would give me the strength and position I needed to hook up with the frame. Top motor mounts are also tricky. They need to be flexible and somewhat adjustable. I made sure the engine was positioned correctly with my BDL primary backing plate, but you never know if something might shift slightly during final assembly, and the top motor mount must be flexible and iron strong.
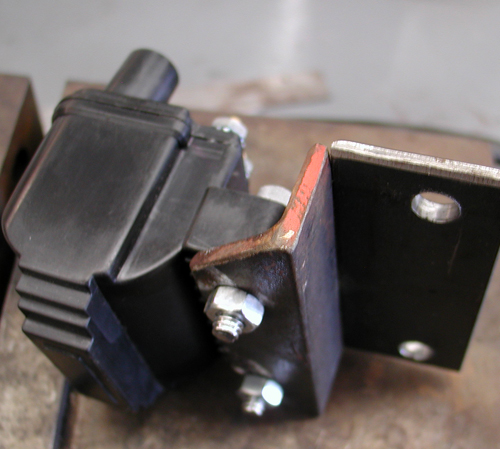
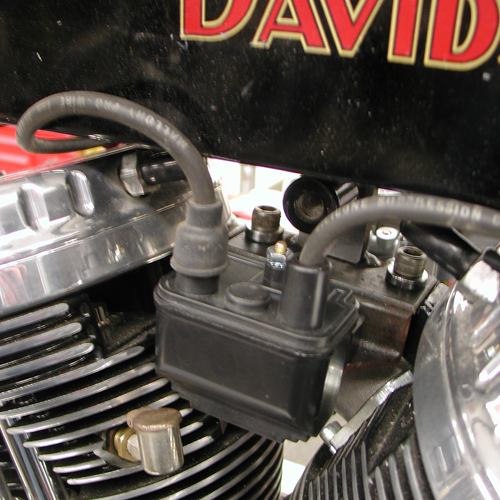
Without too much fanfare, I attached a piece of modified angle iron to the right side of the motor mount for a coil hanger. I angled it slightly so the spark plug wires wouldn’t bang or rub against the tank.
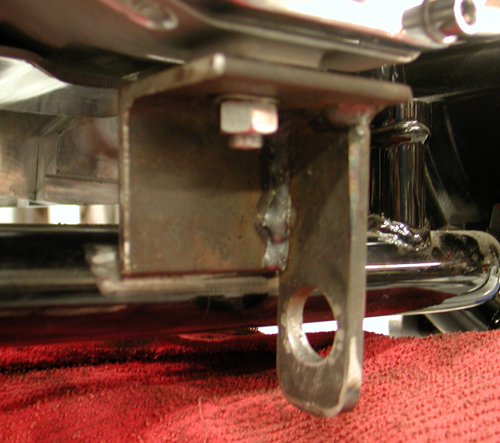
It just happened that I'm building a railing for my mom's house. She's getting feeble, in her old age and needed some additional support. That meant a trip to the local steel supply house, where I stumbled onto some small chunks of angle iron. I didn't like my original number 5 transmission mount, so I decided to remanufacture it with a heftier piece of angle iron that also reached the frame without a problem. It also allowed me a tad more positioning flexibility for the master cylinder and pedal adjustment.
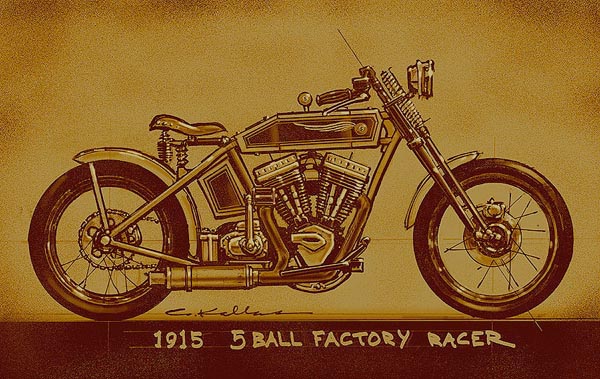
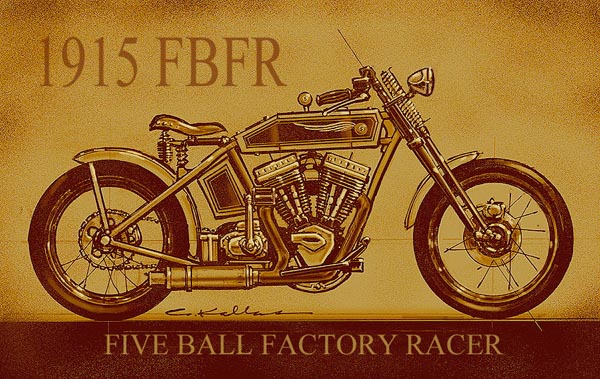
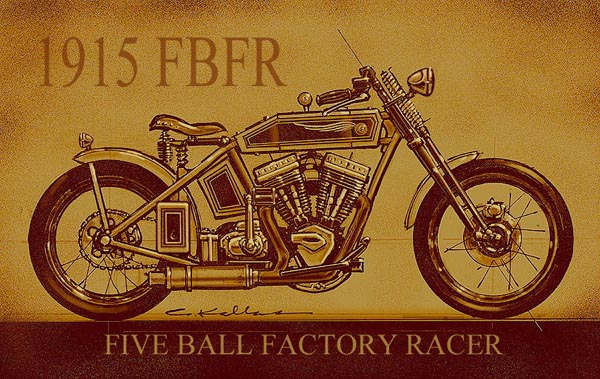
In the next segment, I'll run the progression of Dick Allen illustrations, so you can see the progress. It's as if I'm building the motorcycle, while Dick and Chris Kallas develop the visual story.
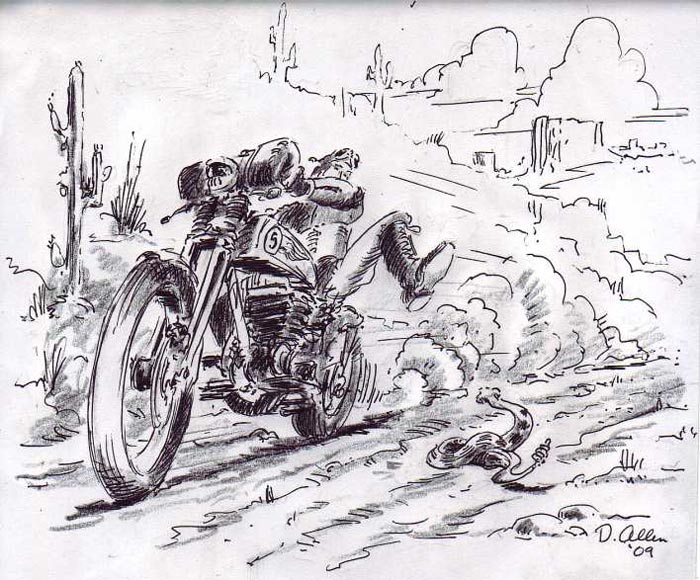
I don't know about you, but these illustrations give me hope and inspiration throughout the build process. Next, I will modify the tanks once more for enhanced Paughco Springer turning radius, then we'll mount the Phil's Speed shop ignition and wiring system to a plate I'll make that will bolt to the top of the tanks behind the gas caps.
Also mounted to same plate of steel will be a manual, vintage Sportster replacement, Bikers Choice speedo driven off the rear Black Bike wheel. Hopefully, the wheels will roll in, I'll find some 23-inch tubes and Larry Settle will mount and balance the Avon tires. I'll set up the wheels in the frame and springer, and then haul the bike to Chica in Huntington Beach. He's going to help me with fender design and mounting. In the meantime, I'll watch the inauguration unfold and stay away from tequila. There's more coming, though. I'm going to modify the trans with a 5-1 Baker drum, and build a set of exhaust with D&D bends and pieces. Hang on for the next installment.