This is strange. I’m writing several Sturgis Chop Techs after I returned from Sturgis. I’ll try to remedy that in the future, but we were so damn busy trying to complete the bike and run Bikernet, we didn’t keep up on the techs. Many apologies.
This piece covers the installation of the hot Speedster cap from Crime Scene Choppers in the modified stock XR 750 factory tank. Later, you’ll discover, that this highly modified, strengthened and extra rubber mounted beast was my Sturgis nemesis. But more on that later.
We added rubber-mounted bungs to the back of the tank. I moved the petcock to the rear and filled the center for a 2.76-gallon gas capacity before it hit reserve. I doubt that it contained more than a quarter tank of reserve, so I’ll toss it a 3-gallon total gas capacity.

Oh, I need to thank Cyril Huze, who designs beautiful steel tanks for the opportunity to experience an aluminum tank once more. He suggested this classic for the Sturgis effort.
I’m not holding it against Cyril. He’s a master and I’m the bungler for attempting aluminum on a 93-inch rigid S&S hot rod. As you’ll see the vibration aspects came from several sources that I could have remedied. It’s all just a roll of the dice.
When I received the Speedster cap I drug the cap and tank down the street, about three doors, to Bill Hall’s Welding. He handles my aluminum welding, since I don’t have a TIG welding system. I’ve got the rest, but not TIG. I would highly suggest a TIG system for quality welding capacity and good looking welds. It’s much like welding with a torch, so you’re certain of the bead and depth of penetration.
Bill’s a retired designer who enjoys welding and fuckin’ with his customers. “How are you going to drill the hole for the bung,” he asked?
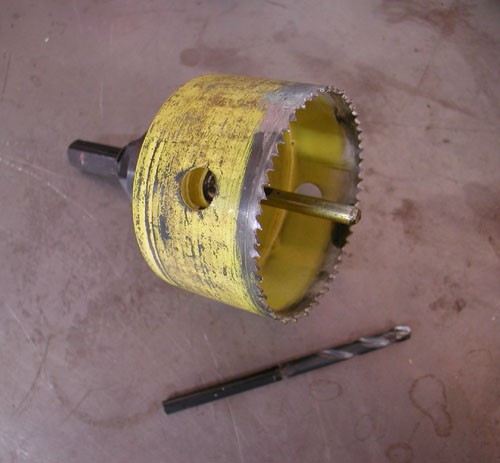
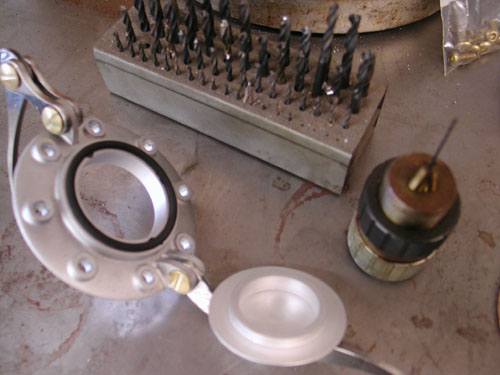
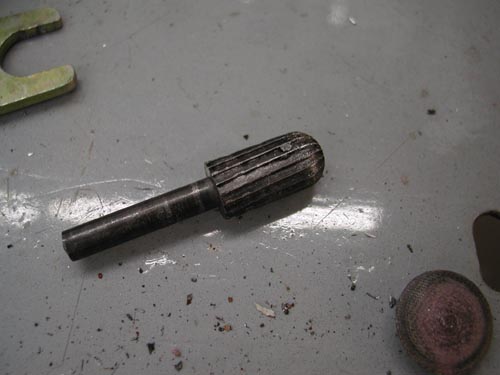
I was thinking about die-grinders and files. I knew it would make a mess. Bill hooked me up with a 3-inch hole saw. He suggested that we hit a marine store for a tapered dowel pin (used for plugging holes in the leaking hulls).
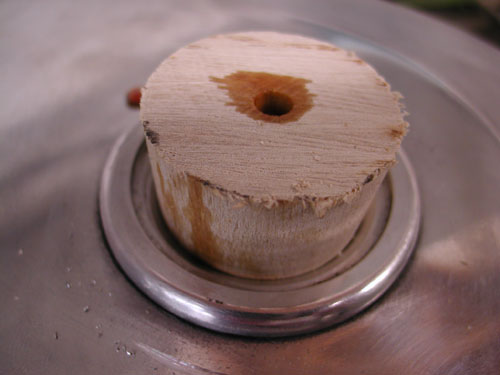
The key was to drill a perfectly centered ¼-inch hole to maintain a center approach to the cap bunghole. I drilled it and then ran the tapered wood dowel into the tank.
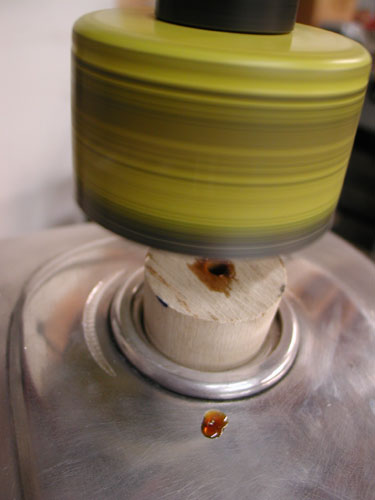
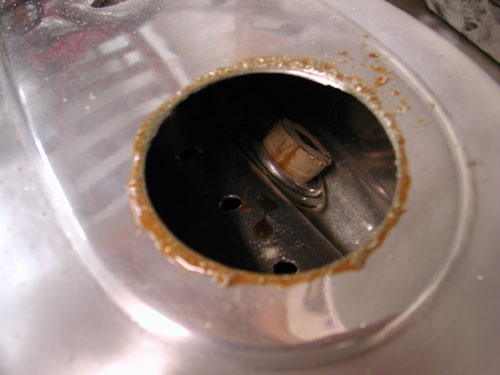
Then we set the tank on a pad on the drill press platform and lined up the hole saw. I used plenty of cutting oil on the edge of the blade and aluminum face to prevent the tank from snagging or catching. I knew how tender the surface of the tank was. We oiled the hole in the tapered wooden plug and carefully went to work. Bill’s formula worked like a charm.
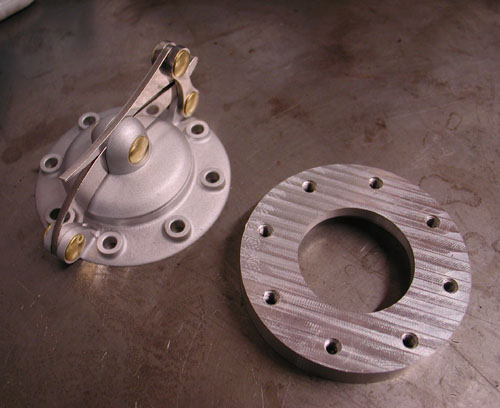
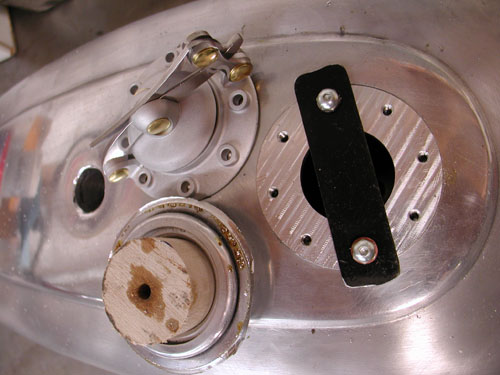
Next, we needed a tool to hold the Crime Scene Speedster bung in place. I grabbed a piece of strap, drilled a hole or two and mounted it with the supplied hardware, which was brass. You can order the cap with several styles of fasteners for your application.
It was off to Bill’s for welding. While the gaping 3-inch hole was available I could have made a tapping tool and tapped out any imperfections in the tank walls. I dinged it way back in the beginning and never got around to fixing it. I left her be, as if it was the first injury and she needed to stay. I know it’s one of those wild superstitions.
Okay, so during the “read the directions” phase, I noticed the bit about a non-vented tank. I would need to drill a tiny, cunt-hair hole in the cap of the tank. I discovered that I actually had such a tiny fuckin’ drill and dug it out. I had to find a chuck that pinched down to that size. Then I had a wise ass notion to drill the initial hole about 1/8 inch in diameter, since drilling with hair-thin bits causes easy drill bit breaks. The thinner the surface the better.
So, I initially drilled the inside of the cap with a 1/8-inch drill and drilled right through—Bummer. Ultimately I tapped the cap with a 10-32 then drilled the stainless Allen stud with the tiny drill bit. Then I screwed the stud into place and the job was finished.
After Bill welded the bung into place it was my job to grind the welds down and ship the tank to Foremost Powder for a clear coat. I hit the big spots with a grinding tool. I tried my damnest to take only meat off the welds and not off the surrounding tanks surface.
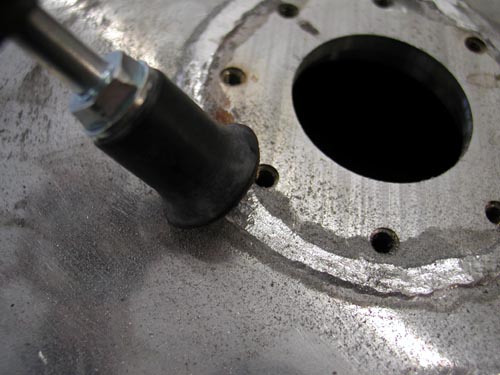
Next I used small emery discs to carve at the aluminum bead. I also smoothed some of the welds on the front of the tank where we filled the tunnel for additional gas capacity.

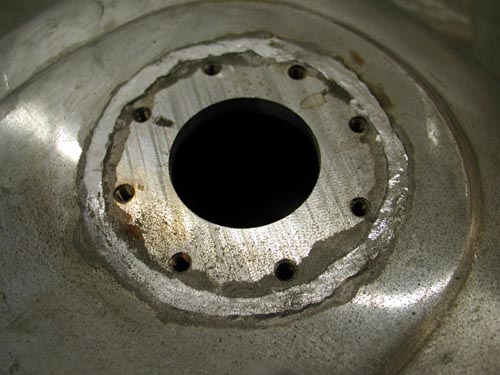
This shows the different grinding phases to reach a level that’s still strong with weld bead but handsome enough to live with. This was an interesting effort, since no bondo or thick urethane would be applied, covering a myriad of mistakes. This was the final stage before clear powder from Foremost in Gardenia, California.
After this stage I polished the panels of the tank and hauled it off to the powder masters. There’s one other process I need to explain. I made every effort to clean the tank of debris and shavings. I also made sure to run a gas filter. I still had problems, which I will explain in my Sturgis Saga. They were easily remedied through Lee Chaffin at Mikuni. Just needed to dial the right number.
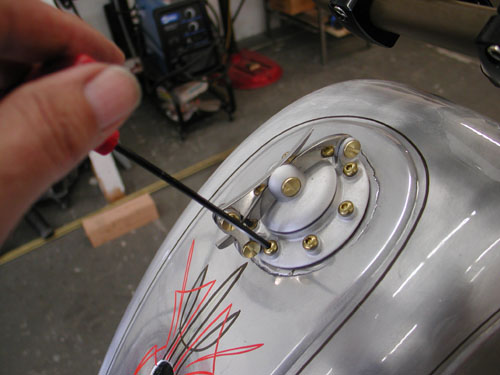
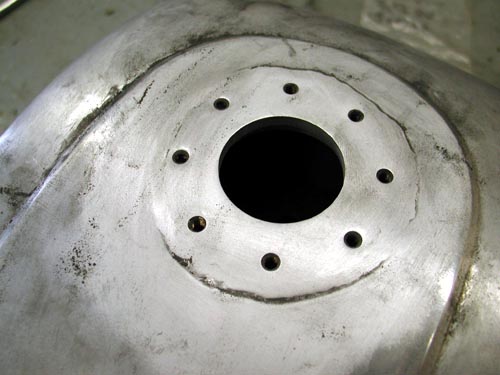
This shot was taken after powder and pin striping when I installed the gasket, decided which direction I wanted the cap to face and screwed the brass fasteners down. The cap worked flawlessly all the way to the Black Hills.
