
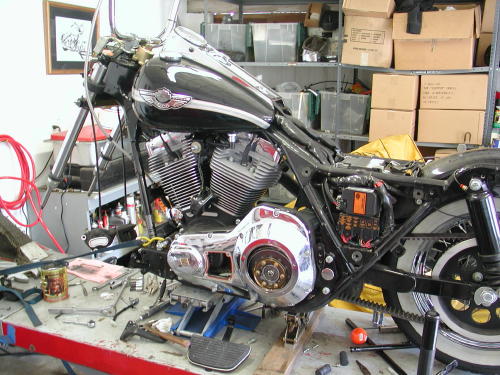
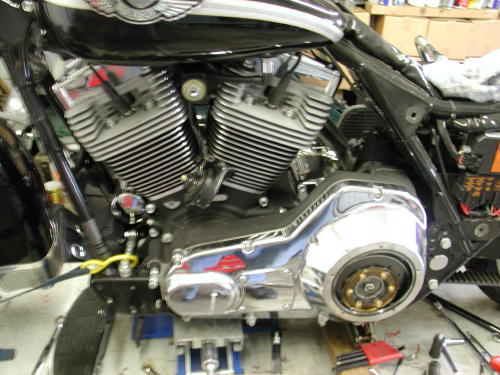
The King stripped for powder coating.
The plan was to strip the bike of all the brackets, tabs and accessories we could get our hands on and have them black powder coated by Custom Powder Coating in Dallas a Bikernet Sponsor.
We ordered additional accessories to enhance the clean black effect. First we ordered the Harley-Davidson black mag wheels and floating rotors with black centers. We pondered the front fender and trying to black out all the trim. During research we discovered, in the Winter P&A catalog, brackets to allow a Fatboy fender to be bolted in the King front end. The Fatboy fender is a cleaner unit, but it still has rivets and ribs. We opted for a solid black Street Stalker fender that’s clean as a whistle and light as a feather.
We also decided to switch the rear turnsignals out for the new Screamin’ Eagle teardrops and the narrower light bar. When they arrived we had to tear the lights down. We cut the two plug wires in a staggered fashion. The light bulb was then removed and we used a coat hanger tool to hook the plastic base and pull it out of the shell. Lastly we ordered the Harley-Davidson fender, license plate mount.
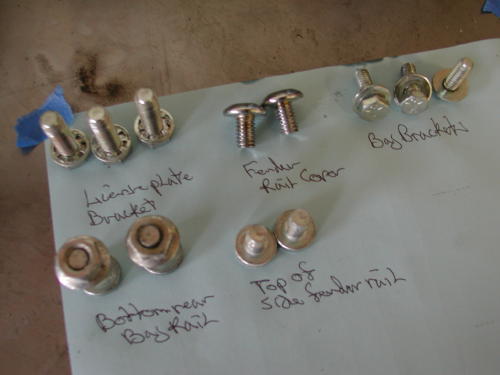
The first thing we did was to clear off our bench and tape down a couple of large sheets of paper. We organized every nut and bolt, screw and spring.
I ordered the billet seat tab from the catalog in the Multi-fit area. When I ordered a slim seat it didn’t come with a tab so I had to move the tab each time I switched seats. I powder coated both for more simple assembly in the future.
Nuttboy and I started the process removing the bags. I began the process of removing all the bag brackets and roll bars. Each time we removed a fastener we set it on the sheet of paper and wrote a description.
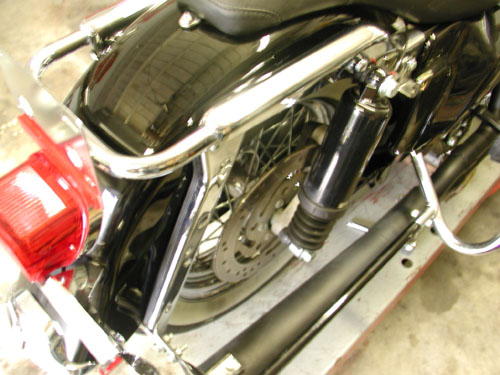

We had to pop the plastic side panel loose and take the seat off to get at the roll bar fasteners.

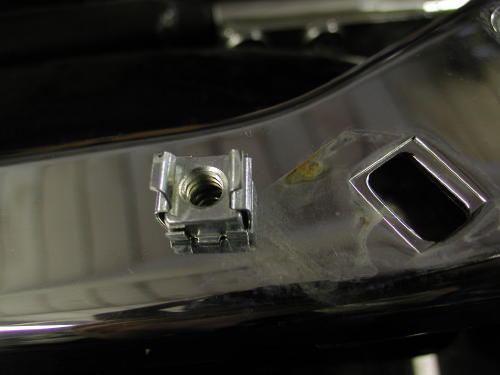
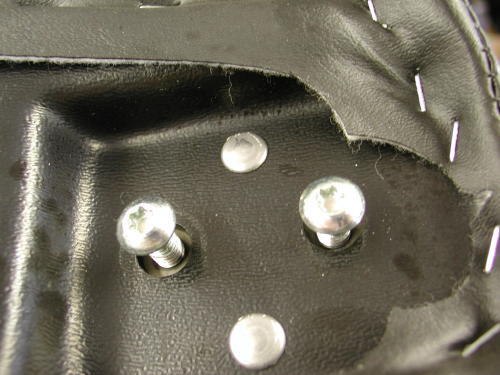
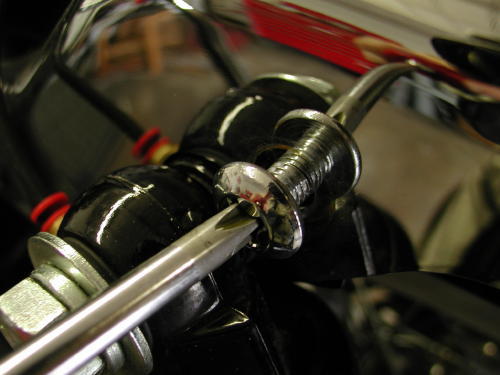
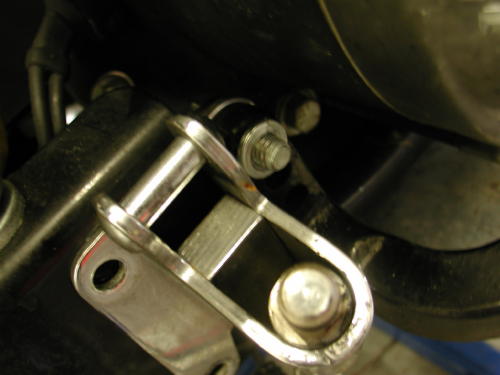
This shows one of the bag bracket fasteners that are inserted into the bag rails. I thought about pulling them for fear that the heat from the powder coating process would weaken the spring tension. We tested the theory by leaving some in place. We didn’t have a problem, either way.
On the left side I had to remove the passenger footboard to take the derby cover off. With each note on the sheet of paper we listed the number of fasteners for each application. The more information the better. I had to remove the seat and the King side panels to take the bag roll bars off. Many of these items were held on with Torx bolts. It’s a good notion to buy a set.
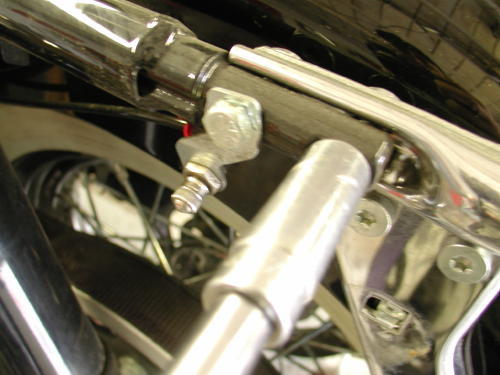
This footboard had to go to reach the derby fastener.
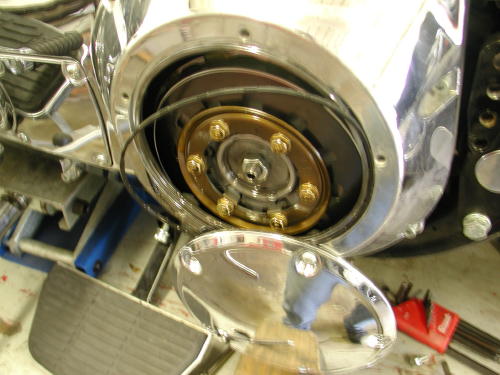
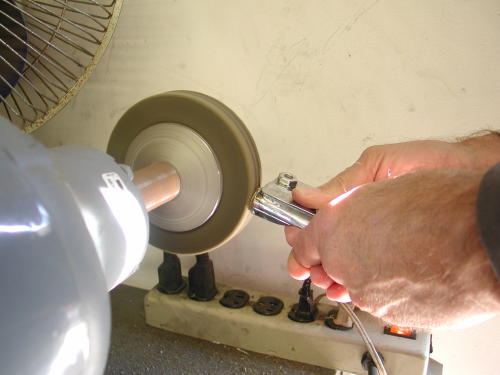
I started to remove the shift levers and discovered that I had to remove the footboard to reach the inspection cover Torx fasteners. I wasn’t sure if the footboards would have black in their future. At first I reviewed the area of the black board that would show, just the rim. Then we turned the board over and studied the way the rubber suspended pads were installed. We discovered that the pads are removed easily with a punch to the edges of the bottom protruding rubber lips. The boards went into the box for powder.
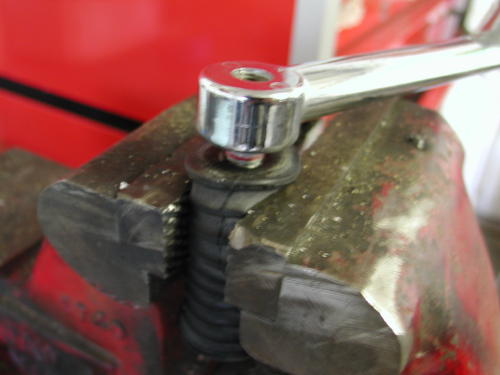
This was a simple process to tapping the edges of the rubber with a large tap and rubber hammer. We tried driving them out with the tap first, through the center. That didn’t work.
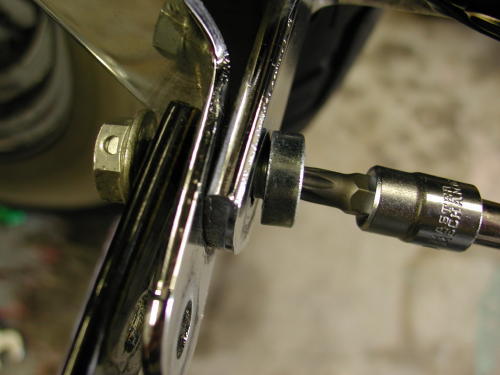
The mechanic’s law calls for one screw or fastener to seize every time. We had to drill out one of the inspection cover screws.
I tried to take off the kickstand the old fashioned way by removing the tooth then pivoting the arm forward. The spring wouldn’t come loose. I had to remove all the fasteners.
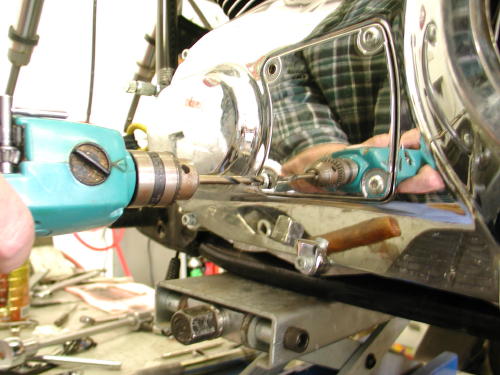
Metric fasteners haunted me from time to time, including the red Loctite touched horn fasteners which were #10 metric sockets. The Showa front end was covered with metric 12 point fasteners. It forced us to hit a commercial tool shop for 12-point metric sockets.
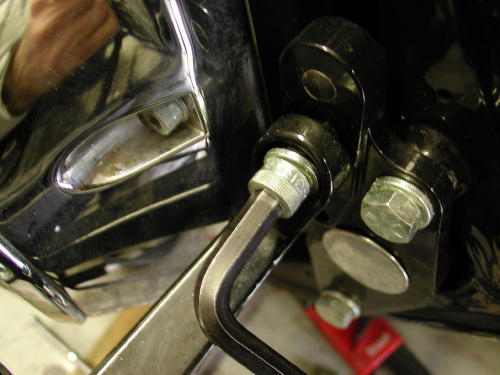
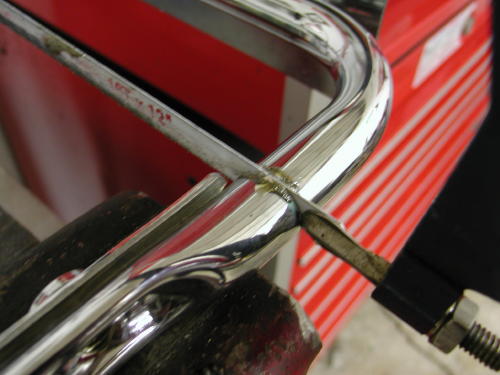
As the last of the fender rail parts came off we marked the loop that carried the license plate. We planned to replace the license plate holder with a fender-mounted job that attached below the taillight. We cut off the existing license plate loop, then I brazed washers and nuts so we could screw small orange reflectors in place.
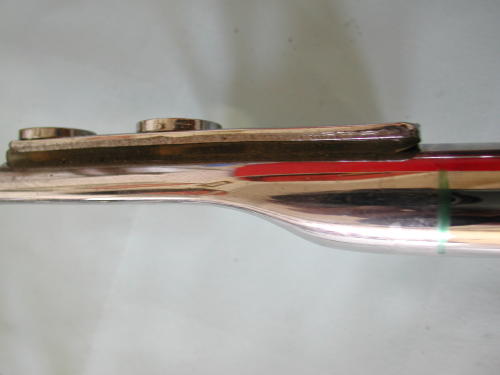
We marked the old license plate rail with a felt pen so the cut would fall just under the fender rail cover.

We didn’t use these reflectors. We were looking for Harley orange reflectors with steel backs.
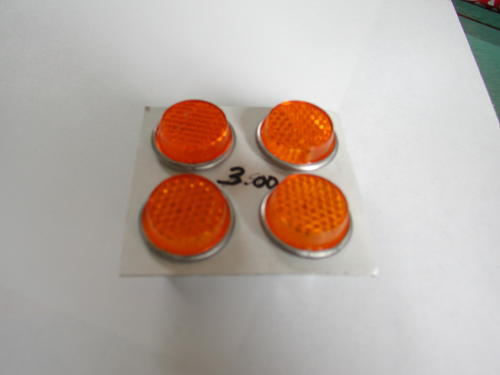
After a swapmeet run we had the right stuff for the job.

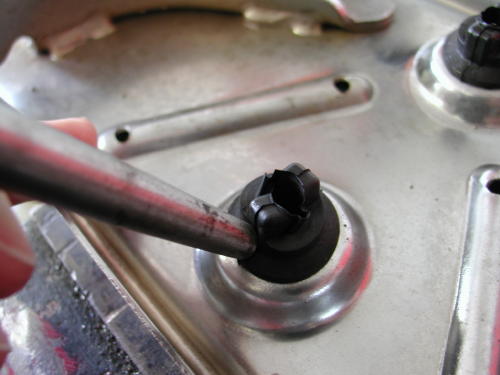
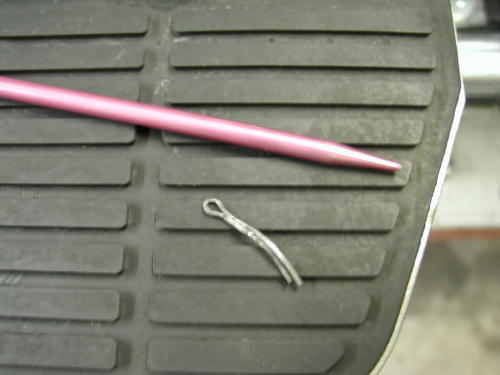
Sin Wu wandered into the garage just as I turned off the torch. She shuts down productive activity wherever she goes. She had a couple of alloy knitting needles that she offered us. I discovered in short order that the long alloy knitting needle worked perfectly for removing the hard-to-reach cotter key behind the brake pedal.
I had the toughest time retracting the clevis pin from of the pedal that hinged on the master cylinder piston. Finally it was removed with a punch from under the frame. The brake pedal caused me so much pain it didn’t make it into the powdercoating box. We painted it with a rattle can after prepping.

Continued On Page 2