
The stock tranny linkage cut to work as our brake linkage.
A week ago I worked on the brake controls with some success. After fabricating a mastercylinder bracket and actually drilling the holes in the proper location, it wouldn’t work. I needed to turn the master cylinder upside down. I called Frank Kaisler to confirm that it was a remote possibility, it was. I cut another chunk of steel plate, drilled the holes again and dug through drawers to find a pushrod. Nothing.
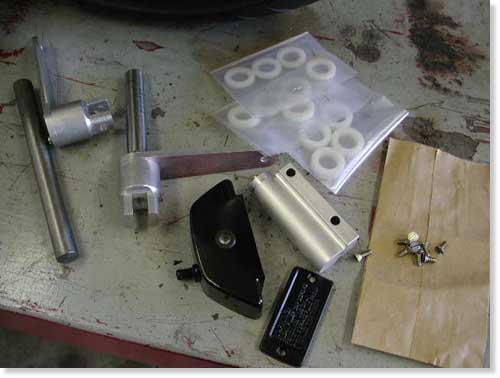
Parts and pieces we used to cobble together brake linkage.
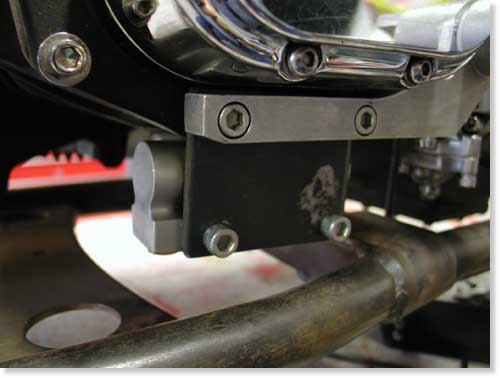
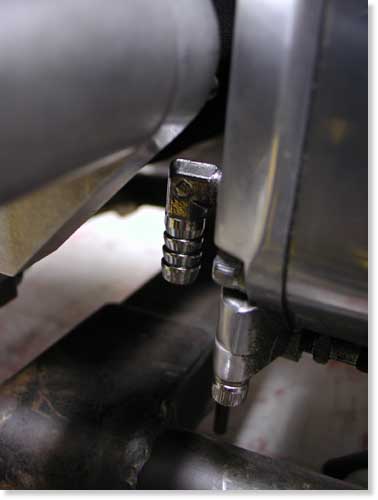
The master cylinder in place upside down under the tranny.
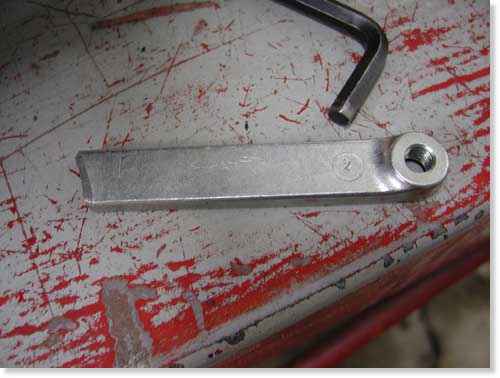
The stock stainless shift rod cut for a master cylinder pushrod.
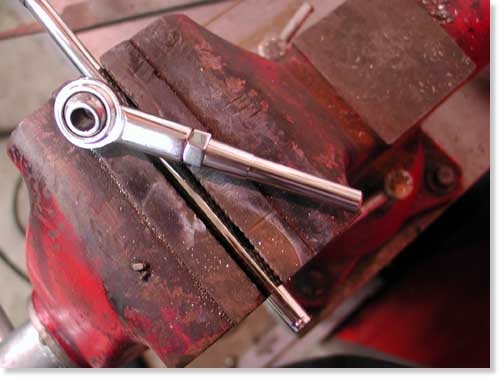
I used a stainless steel shift rod unit for lots of adjustment, but had to grind/taper the end to fit. I also used the transmission shift lever for the connection. I cut Giggie’s brake axle to length and sliced the tranny shift linkage. Then I welded the linkage to the axle. That was a mistake. I should have machined the pieces to fit together, but it will work. The other end of the linkage was the perfect mate for the shift rod I cut and fashioned for the handmade master cylinder push rod. I lucked out. I think it’s cool.
The inlet oil fitting had to be moved to make room for the brake linkage.
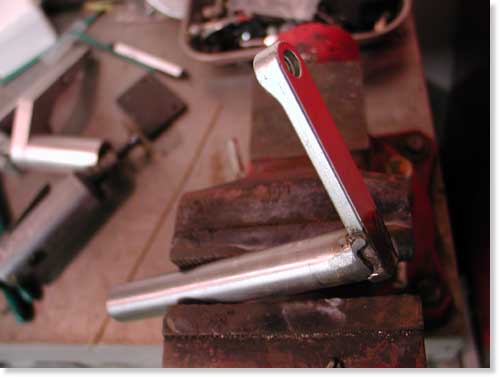
Here’s the tranny-gone-brake linkage welded to the brake axle.
That was last weeks endeavor. This week I stumbled. It all began with a set of exhaust I fabricated, from bits and pieces of other exhaust, for the Amazing Shrunken FXR. They worked out all right until my humble associate, Nuttboy, was assigned to grind the welds. Ya see, I held one piece of pipe against another and tacked them. The mating surfaces were not aligned perfectly, so when Nuttboy unleashed the Makita grinder to round off the welds he cut right through the pipes forming cavern-like gaps.
Kustom fab uses pipe inserts to hold pipes aligned securely for welding.
I had to enlarge the slot to make the insert fit.
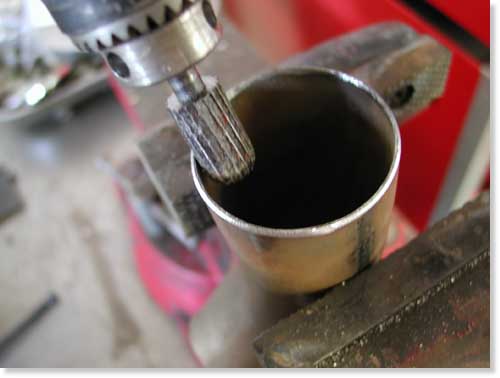
The insert won’t slip into place with burrs in the pipes. I had to grind them clean.
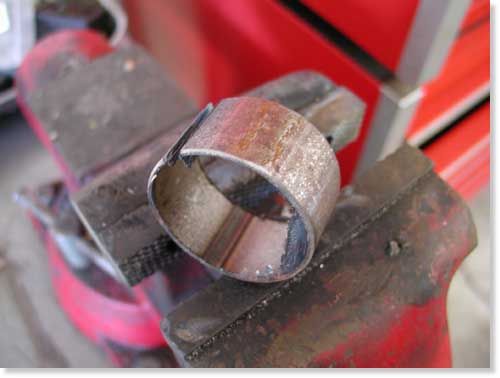
Lots of builders in the industry make their own one-off custom exhaust, so I started asking around about tools. Most don’t have tube benders, so they follow the same strict regime I did. They piece exhaust systems together using bits and chunks of other systems. One company will ship you a kit of various bends to work with. I inquired as to how shops held two chunks of tubing together in order to MIG, TIG or even gas weld pipes. The information highway opened up to me. Roger from Kustom Fab in highway takes a 1-inch section of like pipe, slices it (so the O.D. shrinks) and shoves it in one section of pipe then in the other. Simple system that adds strength but reduces the I.D.

Here’s the insert in place. It works well and adds strength but will restrict exhaust flow.
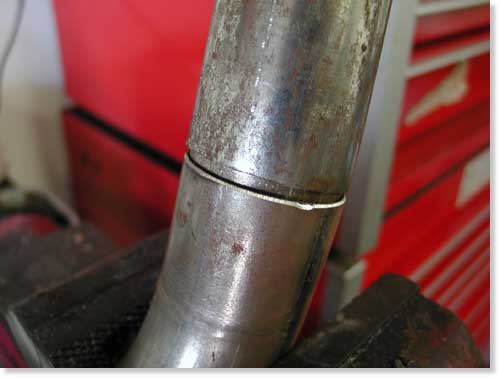
This system also makes welding easy.
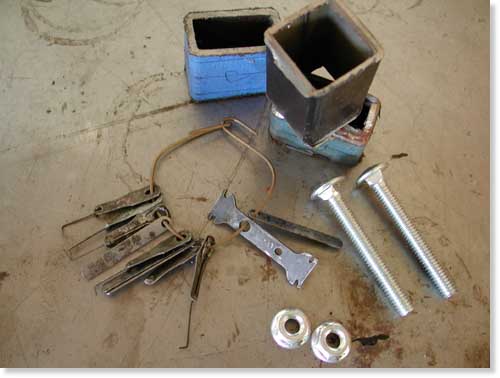
Some of the junk I dug up to kick-off my pipe clamp tool experiment.
Another builder told me of a C-Clamp arrangement using angle iron to lock chunks of pipe in-line. Scott from Chica’s explained a small unique tool that pulls the segments of pipe together using feeler gauge thin material. After tack welding the pipe segment, the clamp is loosened and the feeler gauge material slips out. Irish Rich pointed out that large hose clamps and chunks of angle iron work fine to hold pipes for tacking.
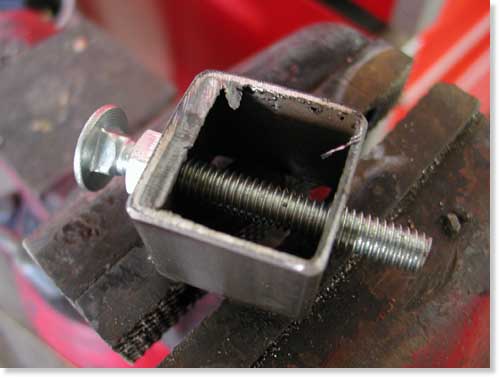
This was my bullshit attempt at building this tool.
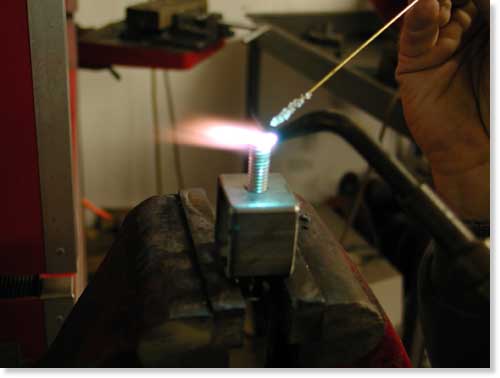
I brazed the feeler gauge to a nail and the nail to the end of the bolt.
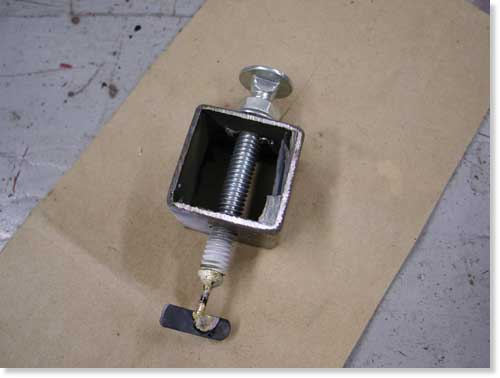
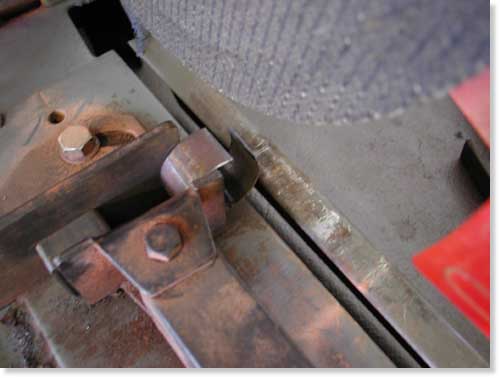
Here’s the completed tool. It looks better than it works.
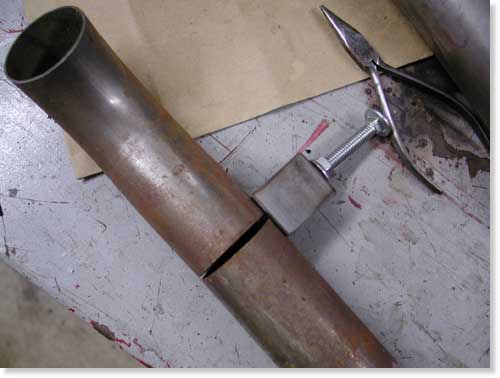
This shows the clamp in place. In order for it to work properly a notch needs to be ground in the pipe for the nail shaft, which is thicker than the feeler gauge.
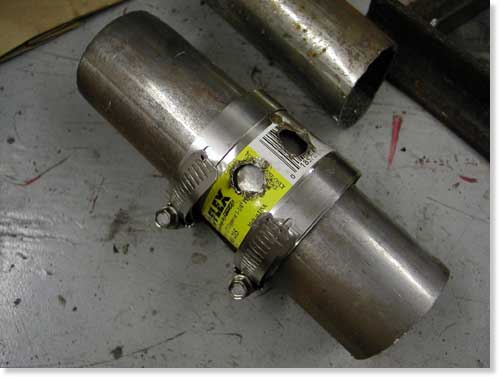
The guys at Chica’s also told me about a wide stainless hose clamp with slots or holes that can be used to hold two tubes together during the tacking stage.
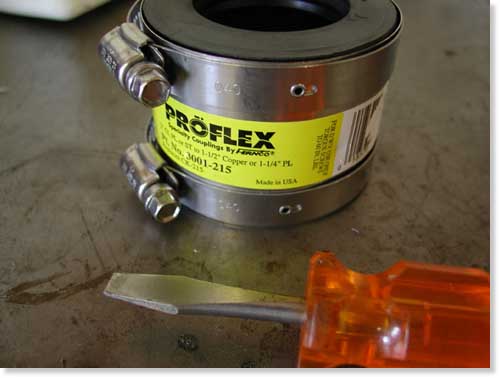
I found this puppy at Home Depot and thought I had hit gold.
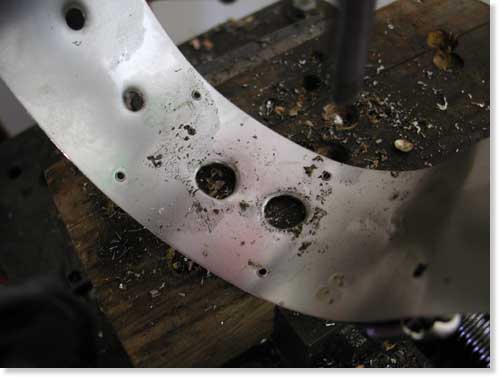
I drilled the stainless strap with a small drill then 1/2-inch for tacking room.
Then Fab Kevin clued me into Holley, the hot rod car part builder, who makes a sleeve that holds two pipes in alignment for tacking. I looked them up on the Internet.
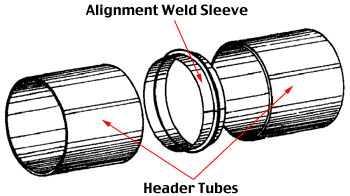
Our “Alignment Weld Sleeve” allows the fabricator to align, hold and weld two pieces of mild steel tube without help. Because no rod is needed, the welder has a free hand. The “Alignment Sleeve” assures a perfectly aligned joint with no weld slag inside to reduce the tube diameter and restrict air flow. Perfect alignment and just the right amount of welding material results in a very professional looking weld. Weld Sleeves are packaged 20 sleeves per bag.
See, I couldn’t find a hose clamp to do the job. I need another hardware store run.
This is where the story runs astray. I followed each veteran’s suggestion and began to fabricated every exhaust pipe alignment device known to man. I cut, brazed, hit Home Depot, bought clamps, hoses, sliced my only .013-inch feeler gauge, dug through drawers and took photos along the way. No shit, I fucked up every tool design suggested.
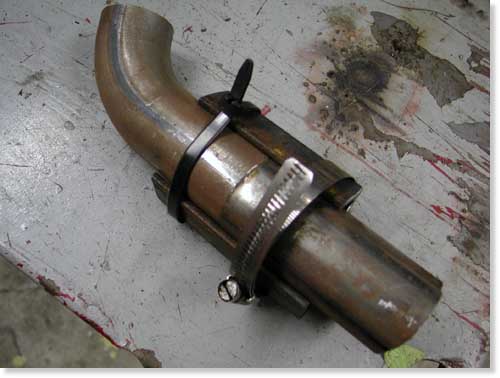
This is how it’s supposed to work. Unfortunately the clamp I bought was too large.
I didn’t have two hose clamps that would pull the angle iron hard against the tubing. The wide stainless clamp notion was golden, but I bought the wrong size at Home Depot. The feeler gauge routine was followed to the finish, but my tool doesn’t work without a notch snipped in the pipe. The C-clamp notion is too involved for my thinking so I decided to buy two clamps and modify them. Of course I didn’t have two spares to screw with. And finally the perfect solution from Holley was unavailable from my local auto parts store. I’m forced to buy their catalog.

This is the C-clamp notion. I’ll build it after I hit Home Depot again.
If tonight you called and offered me a cool million to build an exhaust system, I still don’t have the tools. I need to hit Home Depot again. I almost fired myself last night, but you get the idea.
–Bandit
