Moving right along, I overcame the Wilmington Mung and slipped back into the shop. It’s like self-induced Christmas for the homebuilder each week when UPS arrives or I score something at the bike swap meet. Ya plan, save small bags of gold and reach out to vendors to make deals, then wait.

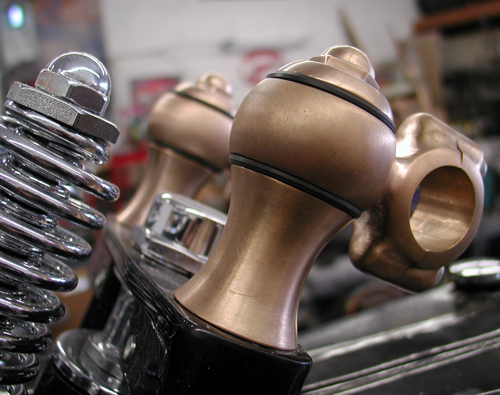
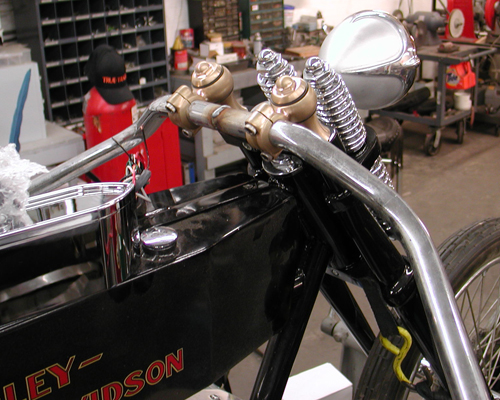
I got all pumped when the bronze risers drifted in from DPPB in Europe, and I immediately tackled the mounting and handlebars. I hit two hardware stores looking for the proper length hardened studs and the second score was doubtful, but I rolled the dice and bought them anyway. As it turned out, 3-inch ½-inch studs with coarse threads on one end and fine on the other worked perfectly.
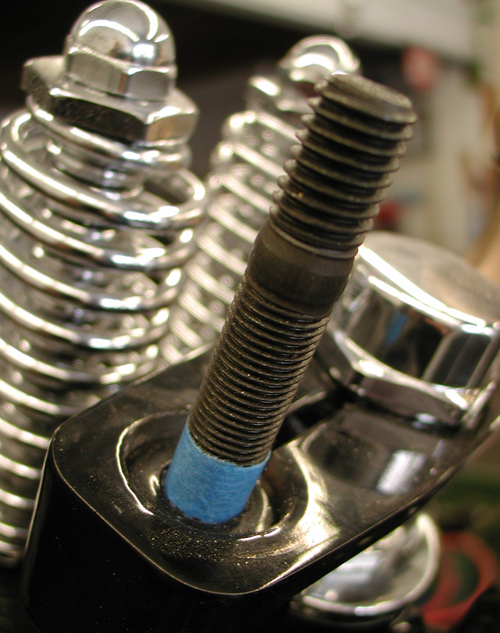
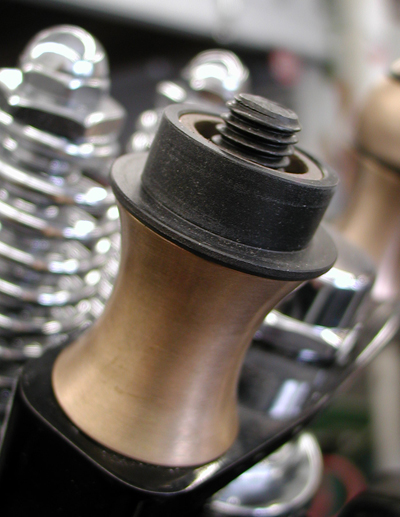

I tested the fitment by wrapping masking tape around the fine end 3/8-inch up from the bottom. I screwed them into the narrow Paughco leg, and then installed the riser components to see if I had enough length to reach the top bronze nut. I had plenty of threads, so I move the tape to 5/8 inches of securing fine threads and installed all the components. It all fit like a dream.
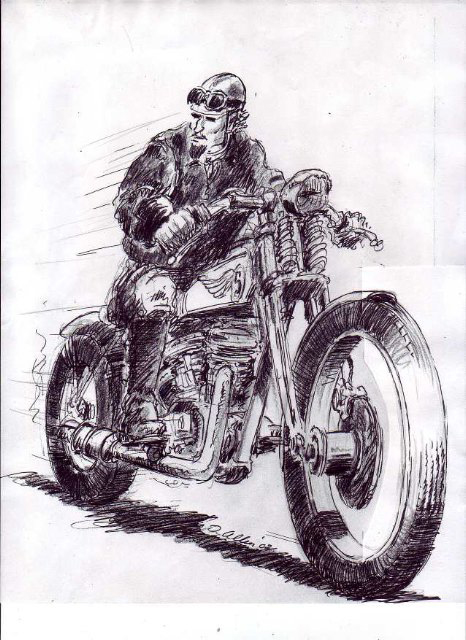
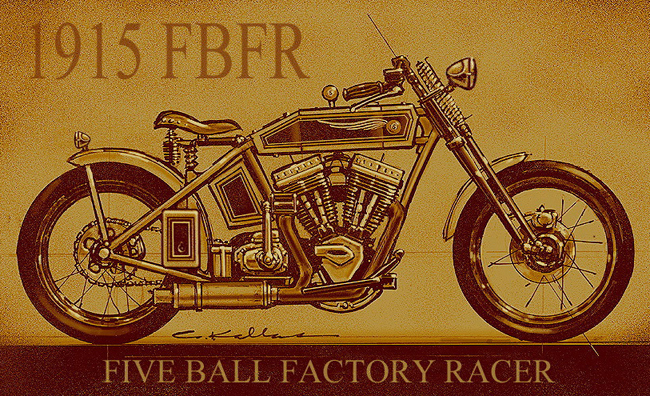
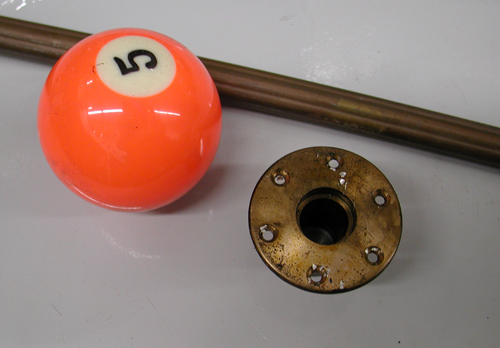
Then I went to work searching the shop for a set of bars that would give me the look and be reasonably comfortable. I’m shooting for that 5-Ball Factory Racer look, but a bike comfortable enough to ride to Sturgis. That’s always the acid test, and the road-test adventure. I found a set of sorta TT 1-inch bars sans the dimples, since I was going to turn them upside down. I mounted them to the risers, and then determined that I could cut almost three inches out of the center.
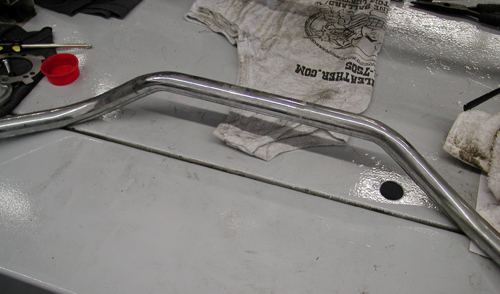
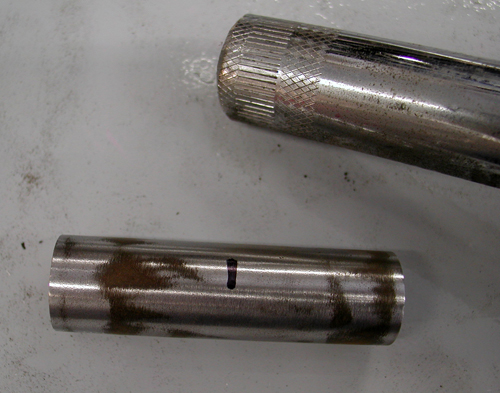
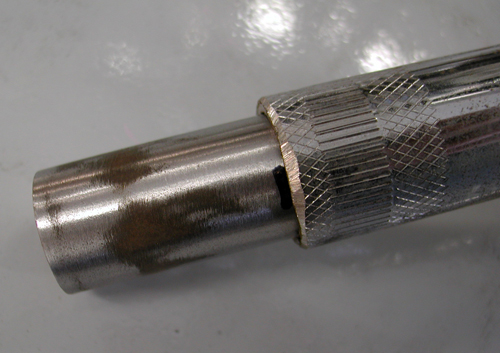
I searched the shop for a chunk of mild steel rod that would make the perfect alignment, strengthening slug for the bars. I removed the burrs from the split tubing and marked the slug center. I tapped it into place, strapped the bars down, so they were perfectly aligned, and MIG-welded them. Just having the bars and risers in place was a rush.
I finally muscled enough cash to have all my welding tanks filled. I took the opportunity to have one tank filled with pure Argon for welding stainless or aluminum. I’ve never welded aluminum, so I broke out my welding book and read the appropriate chapter. I needed twice the gas pressure and almost twice the rod speed and power.
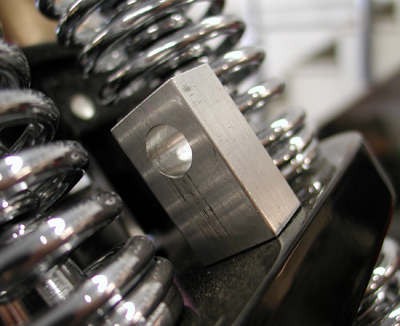

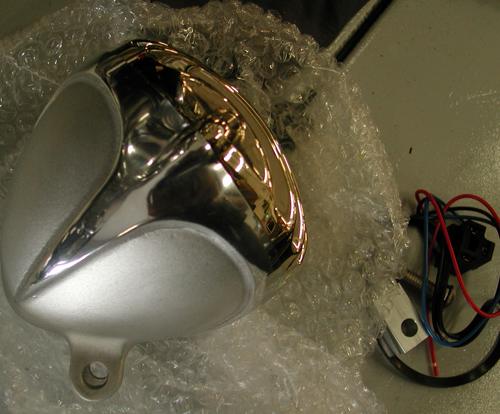
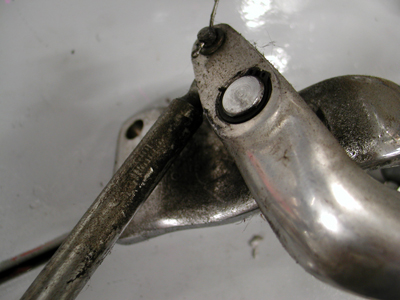
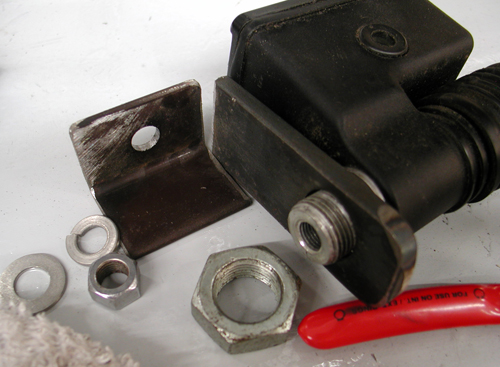
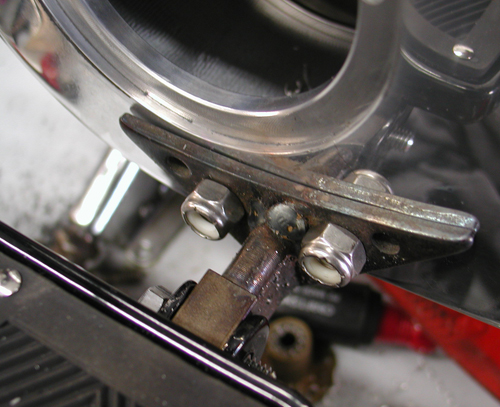
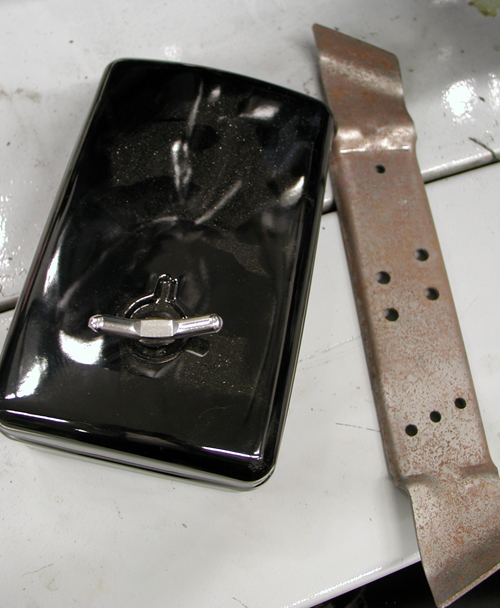
Let me back up for a second. The project was mounting the Crime Scene Rapide headlight. It was a bolt-on procedure, except for the simple aluminum-mounting bung. Once in place, it was impossible to remove the headlight-mounting fastener. I reviewed my options. The fastener would actually touch the top Paughco springs. I looked for an option and found one, but it required welding the existing square bung to the fine-threaded round spacer. I tapped the spacer for clean threads, and then proceeded to weld the two together.


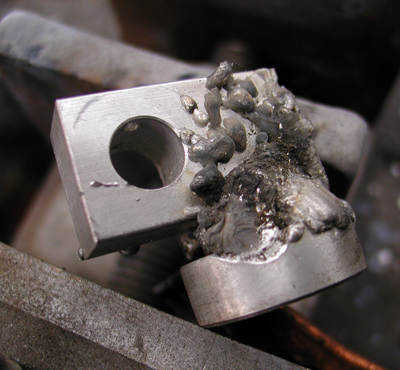
This was a trick. Aluminum must be extremely clean before welding. And since this piece was very small, it could heat up and melt like butter before one pass was completed. I also had some problems with the welder. Since aluminum heats and expands faster that steel, I needed to bore out the tip or run a larger welding tip. The tips come in various sizes, and natch, I didn’t have a slightly larger tip. So Jeremiah grabbed a micrometer and all my tiny drill bits, and started to study the sizes and attempted to drill the tips out. Interesting procedure. We broke bits and jammed them into the bronze MIG welding tips. Finally we succeeded in boring out a tip and the welding moved along.
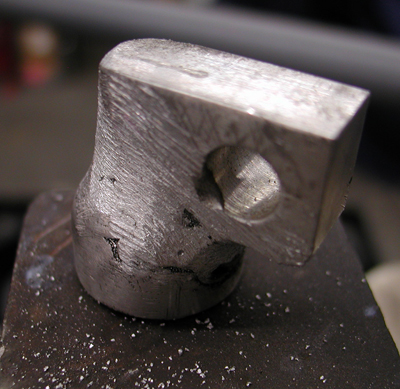
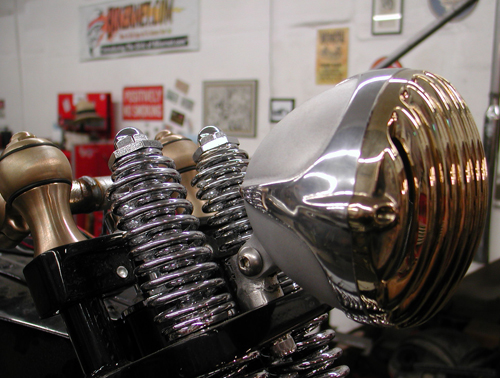
Then I took to grinding, filing, and rewelding until this headlight bracket was completed. Not bad. I need Jeremiah, the master shaper, to return and give it his final touch.
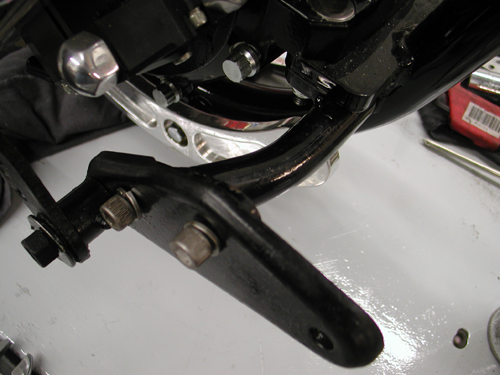
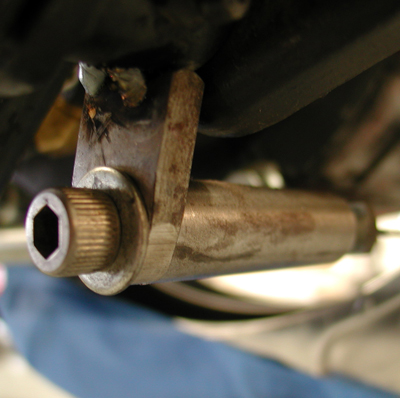
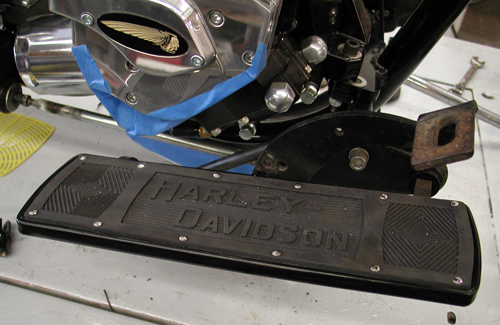
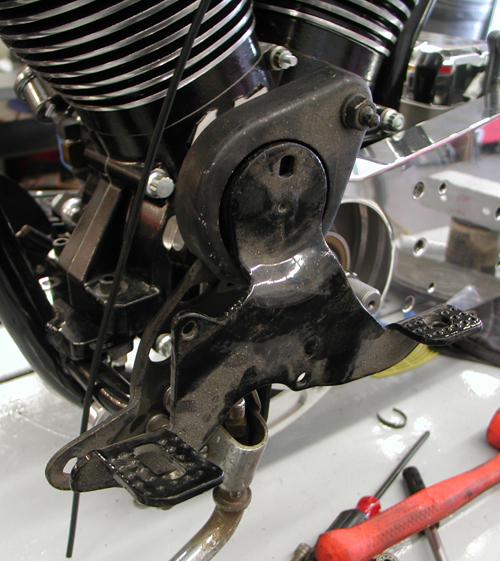
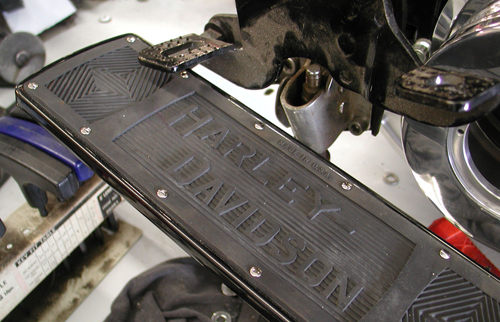
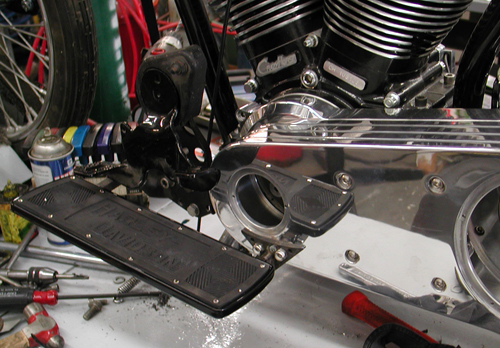
Next, I had a plan to use as many vintage H-D parts as possible. I snatched a stock 1936-1957 mechanical brake pedal and mounting plate, which also acted as the front peg or footboard mount. Paughco already made a bracket that bolts under the front motor mount. It makes the stock mounting bosses available for these components.
This effort placed me eyeball-to-eyeball with a couple of challenges. I needed to make the old mechanical brake pedal operate a hidden hydraulic master cylinder and somehow I had to create a mounting bracket for the rear of the footboard.
There was one more element rearing its ugly head at this point, but yet we turned it into an opportunity. There was no fifth stud mounting plate on the frame, so I started to tinker with a chunk of angle iron. Then I discovered a complete ’98 Dyna rear brake set-up with linkage and the master cylinder. Suddenly, lots of answers were available using the fifth stud-mounting placement.
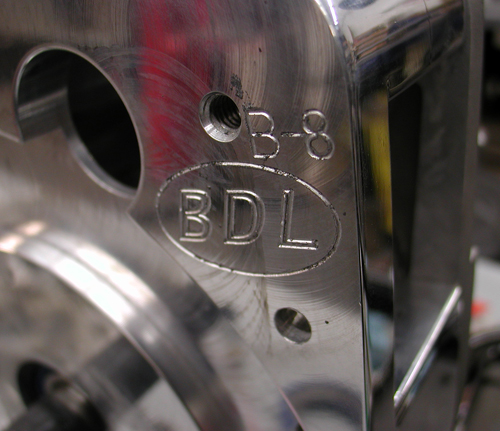
I had to stop dead in my tracks right there. I needed to make sure the transmission was aligned properly for the whole system to work. The brown Santa arrived with a new BDL Softail, 2-inch enclosed belt drive system I’d ordered just a couple of days ago. I pulled out the inner primary, loosened all the mounting bolts for the engine and trans and started my historic alignment procedure. First, I bolted down the rear of the engine and looked for any gaps at the front motor mount. It had a .020 gap. I found a shim and slipped it into place.
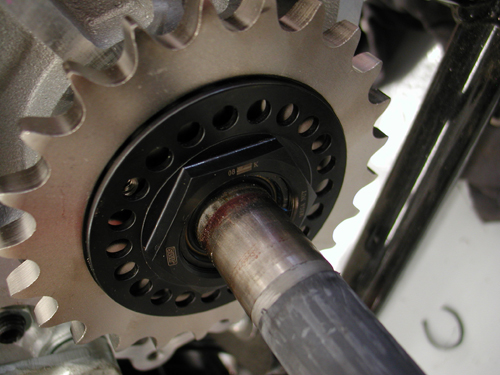
Next, I attached the BDL inner primary and pulled the JIMS tranny into alignment with the Crazy Horse V-Plus engine. Then I started on the fifth tranny stud-mounting bracket. I planned to run a kicker, and since this power plant is 100 inches strong, the additional mounting element will strengthen the entire driveline.
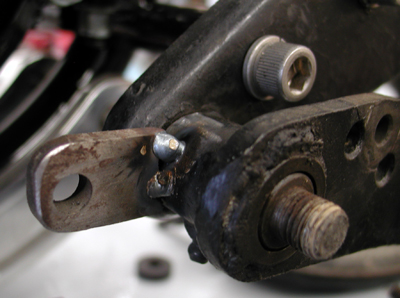


No, this system didn’t fall into place. I had oil lines to contend with and the brake pedal and master cylinder didn’t align. At first, I had a grand plan to bend the linkage rod into a jog-over to reach the tab I had welded onto the brake pedal pivot tube. That would have created more problems, specifically with the rear footboard mounting. I needed to straighten it out and machine a 2-inch offset link from the pedal over, which kept the entire system in alignment. The critical aspect will be my tab welding. There will be considerable strain on that puppy, but I think it will work.
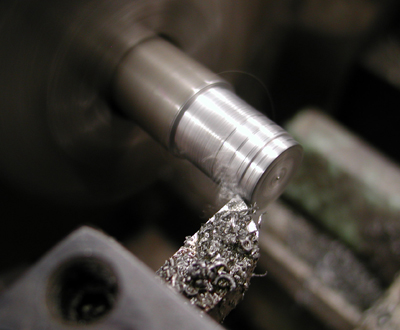
Then I ran a ½-inch rod off the top of the pedal bracket and machined a spacer that would catch an original classic footboard-mounting arm. I’m trying to tack-weld everything so I can make final adjustments or catch mistakes before it’s too late. I like welding and sometimes can’t stop myself. I tack my handiwork, step back, eyeball it, check it twice and weld the shit outta it. The next morning I discover something I forgot and I’m fucked.
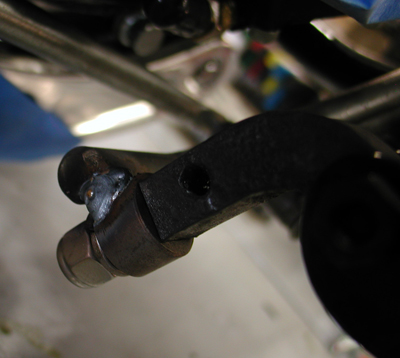
Since I was into footboards, I moved onto the left one. With the help of Sin Wu on her knees, we checked the angle of my 2003 Road King footboards and attempted to match that angle on the 5-Ball Factory Racer. Again, I used a stock mounting plate with foot clutch pedals. I’m going to make the racer a tank shift, so I bolted up the mounting plate and a vintage kicker arm and bracket, but I needed to drill and tap the Paughco bracket for the lower left 5/16 kickstand mount.
I tried to handle a few moves at once and failed. I broke off the tape in the kickstand mounting hole and I’m still pondering my options. I shifted back to floorboard mounting. I was burnin’ daylight trying to remove the tap. I mounted the front of the footboard and snugged it down at the Sin Wu estimated floorboard angle, then pondered how to mount the rear to the BDL outer primary.
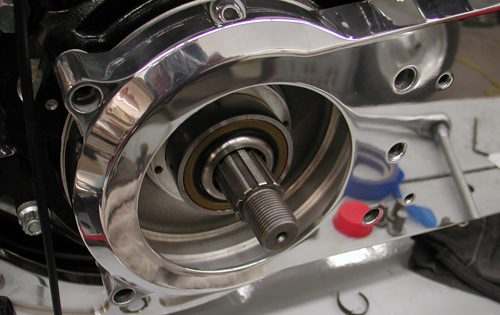
I had to insert the BDL mounting studs into the inner primary with red Loctite first, then the aluminum stud arms, and finally the cool, clean outer primary cover. This turned out to be a breeze. I took a vintage footboard mount, cut it off, and welded it to a Bandit-made bracket. It had to carry my weight, so I added a strengthening gusset to the bottom and believed I was good to go.
In the next segment, we will start to tackle the shift linkage system. Duane Ballard’s wife, Lisa, a contributor for the Cycle Source magazine, delivered this vintage tractor seat assembly for us to test and you’ll see our wacky test next issue. We might also start to tackle mounting the Paughco/U.S. Choppers tanks, Phil’s Shop wiring system and the Biker’s Choice Speedometer, which we hope to mount in the tradition of rear-wheel driven speedometers of the ’20s.

It’s all headed your way in the next couple of weeks.