I recently rambled about never giving up. This tech is an example in not giving up, and looking for opportunities for success. James Simonelli recently went to work for Biker’s Choice and it’s a company constantly looking for opportunities to succeed. They continue to expand and James is working hard on the Twin Power line of products.
I built this bike a few years ago and enjoyed each element of the build. It was my first opportunity to work with Black Bike Wheels and installed the new 23s at the time. I also worked with Rick Krost and the Paughco team, who were building his US Choppers frames and several components. I also worked with Chica for the first time to build my rear fender. This bike slipped together like a dream.

I was digging the old board track notion from the ‘20s, although I wasn’t the first. Arlen Ness built vintage-styled bikes with sidecars around Sportster drivetrains. The master, Don Hotop build a Silent Gray Fellow more refined than any the Davidson and Harley team built — it was beautiful. The Shadley brothers built another example with a sidecar, which I proudly featured recently.
I was just one in a long line of masterful Hamster builders to take on the challenge. When the bike was completed and I slipped the key into Phil’s Speed Shop ignition box and fired it to life, it purred like a kitten. It was a beautiful thing and I appreciated all the help and guidance slipped my way to see this project through to fruition, including the hand-tooled seat by Glen Priddle in Australia. Some of my welds were not handsome, but I was proud to see this puppy finished, and then I went for a ride.
My first challenge was the handling and the two, seemingly giant Black Bike spoked 23-inch wheels and Avon Tyres. It felt odd, but then it popped and coughed at just about 30 mph and I thought it had to be jetting. I carefully tuned and ran an S&S super E for the classic styling and shorter reach sticking out the left side of the bike.
That’s one of the distinct reasons for a Crazy Horse, now American V-Plus engine. It fit in the realm of making a bike look truly old, especially with the carb leaning out between the cylinders on the left, like old flatheads. No matter how I jetted it, it wouldn’t run past 30 mph. Ultimately, I changed the carb for a Mikuni, and I switched out the original Crazy Horse Ignition for a reliable Compu-Fire. I switched coils. I changed the exhaust by removing the muffler. Nothing changed how it ran, and I moved on to the next project.

But obviously it bugged me and recently, when James pointed out the new Twin Power ignition product from Biker’s Choice and suggested an install, I jumped at one more chance to make this beauty come to life. James suggested I install it with Primo-Rivera advance weights, although Twin Power sells a kit.

“Try it in the dual fire mode,” James suggested. “You’ll like the exhaust note and the old school thumping idle.”
Back to the initial problem, I heard strange rumors regarding Crazy Horse engines, and struggles to make them run. John White bought a bunch of the Bottlecap engines when the Indian effort failed in Morgan Hill, California. With the engines in hand, he started Crazy Horse Engines. He was a big construction guy and hoped to build something from the stylized engines, and I agreed with his philosophy. The engines were magnificent, classic, 100-inch, and different.
The company is now American V-Plus and Irma Martin, out of Auburn, Washington, owns it. She is working with Frank Aliano to reintroduce these puppies to the aftermarket and custom world.
As a rider, Frank spent over ten years racing motorcycles in all types of environments, including motorcross, cross-country, scrambles, enduro, hill climb, TT, flat track, ice, and drag racing. As a builder, Frank’s custom and high power creations continue to be trophy winners around the country, with several featured in national magazines.
As a designer, Frank spent decades in engineering, fabrication, machining and product development for Indian Motorcycles, American Quantum Cycles, Big Dog Motorcycles, A&A Performance, Double Services, and more.

Frank designed the billet system to plug more tuneable and flexible Evo ignition systems onto a Crazy Horse and now V-Plus engine. I reached out to Frank, because my investigation steered me to Micah McCloskey and then to Keith Ruxton, who designed the Worlds Fastest motorcycle engines in 1990, two Shovelheads built by Micah. They took the Easyriders streamliner to 321 mph and the record for 16 years. I was a member of the team.
Keith suggested, since I have switched out the carb and ignition, that the breather gear was out of time. “It could be flooding the engine with oil and causing it to fail,” Keith said. And so I dug in during the process of switching out the ignition system to Biker’s Choice Twin Power.

The Twin Power electronic ignition from Biker’s Choice fits ‘70 – ‘99 Big Twin models and ‘71 – ‘03. The unit is entirely self-contained and fits under the original points cover. It can be wired single- or dual-fire, and the built-in timing light allows for easy timing.
Front to rear timing is accurate to 1-2 degrees. It is delivered with a one-year manufacturer’s limited warranty, and they are made in the USA.

Twin Power coils are high-quality direct fit with at least 20% more voltage than stock.
These coils improve starting, stop high-speed misfires, and increase mileage and overall performance.
They are available in black or chrome and carry a one-year manufacturer’s warranty.

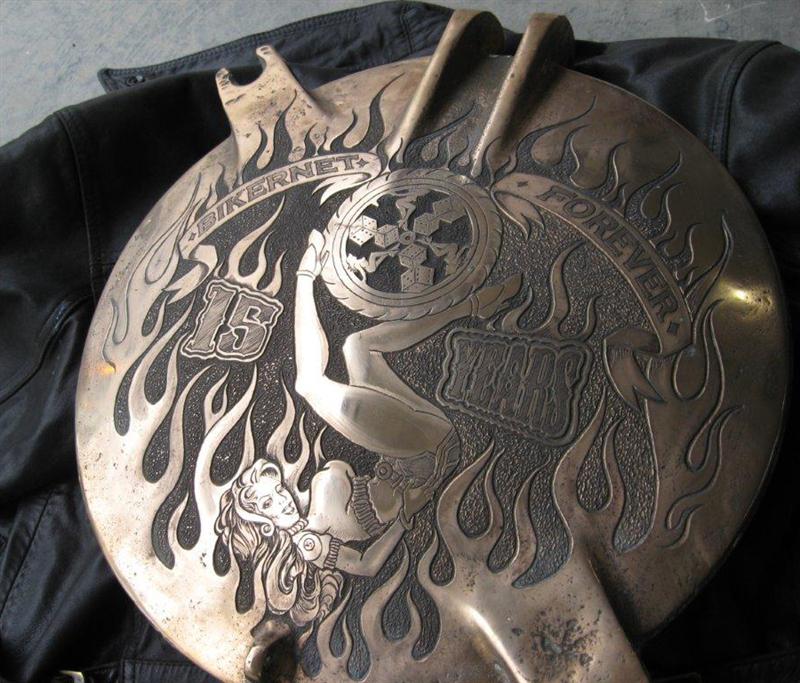
I went to work digging into the cam cover of the V-Plus 100-inch engine. I removed the point cover, hand-engraved by Heather New in Canada, with the 5-Ball Racing mascot, and then I removed the Compu-Fire ignition system, the ignition cap and the first level of cam cover. Frank coached me on removing the final billet aluminum cover.


“You may not need to back off the pushrods,” Frank said, but I ended up backing them off for a couple of reasons, including ease of replacing the cap. It can be a bastard if you don’t.

“This plate has a gasket and is held in place with steel dowel pins,” Frank said and he was right. “Take a claw hammer and install a quarter/20 bolt with a couple of washers into the plate. Use the threaded hole closest to the cam. With the claw hammer, leverage against the cam and hook the bolt.”


I readjusted the valves and looked for top dead center on the front cylinder with a massive tie-wrap. The tie-wrap cannot damage the sparkplug threads or any internal parts. Dominick, another master builder here in LA, suggested the tie-wrap.

“Once you have it at TDC, back it down 7/16-inch for about 30 degrees before top dead center, and your timing mark should show in the timing hole,” Dominick said. He was dead right. Worked like a champ. I grabbed a silver felt pen and was able to make marks to indicate TDC and 7/16-inch down. The timing mark popped right into the hole and I centered it by jacking up the bike and using the massive Black Bike wheel to move the engine in 4th gear.


Here are the Twin Power T/R #21-6500 ignition guidelines. They wanted me to rotate the motor until the front cylinder showed the fully advanced mark in the center of the timing hole, during the front cylinder compression stroke. Note: The compression stroke is evident when the both front valves are closed and you can rotate the pushrods with your fingers.
I installed the new ignition, keeping the rotor index hole in line with the light on the ignition, basically at 9:00. This system automatically runs in the single- or dual-fire mode, depending on how you wire the coil or coils. If it’s not in the 9:00 position, you’re on the wrong compression stroke. Rotate the engine again.

James recommended the dual-fire mode so I wired the Twin Power mini coil with the red wire heading to one lead and the black and white wires going to the other lead (it doesn’t matter which lead you chose on these coils). For single-fire coils, you need to run your hot wire and the red wire from the ignition system to the positive side of the coil, the white wire to one coil and finally, the black wire to the other coil.

This mini coil will afford more cooling space around it while it’s stashed between the heads. This coil doesn’t indicate a positive or negative lead position.

I ran the gray tube insulated wires out of the bottom of the cone cover and basically around the engine and up to the coil between the heads where many coils are located. I wish the insulation was black, and in hindsight I would have run shrink tubing over the gray sleeve for additional protection. I ended up extending the wires about a foot.
I also soldered a length of 14- or 16-gauge wire to pull the new wires through my existing loom. It worked like a champ to hide the new wires. I extended the wires, soldered them in place, using the Frank Kaisler soldering tool and his system for connecting wires, which can be a pain in the ass. He basically cuts and strips his wires and feeds one into the other for a direct connection, which also does not cause a lump in the wiring. It’s almost like shoving a key into a lock and it sometimes takes some maneuvering. That’s where his handy-dandy tool comes in.

Don’t forget to install the hot wire from your ignition switch to the hot side of the coil. You will need that power. I installed a new Twin Power Lithium Ion Battery while I was at it. What an amazing puppy.

This battery fit like it was meant to be. Most of these Twin Power Lithium Ion batteries were designed for stock applications, but we found just the right one for my situation.
Note: Use this ignition system with 3 to 5-Ohm coils.


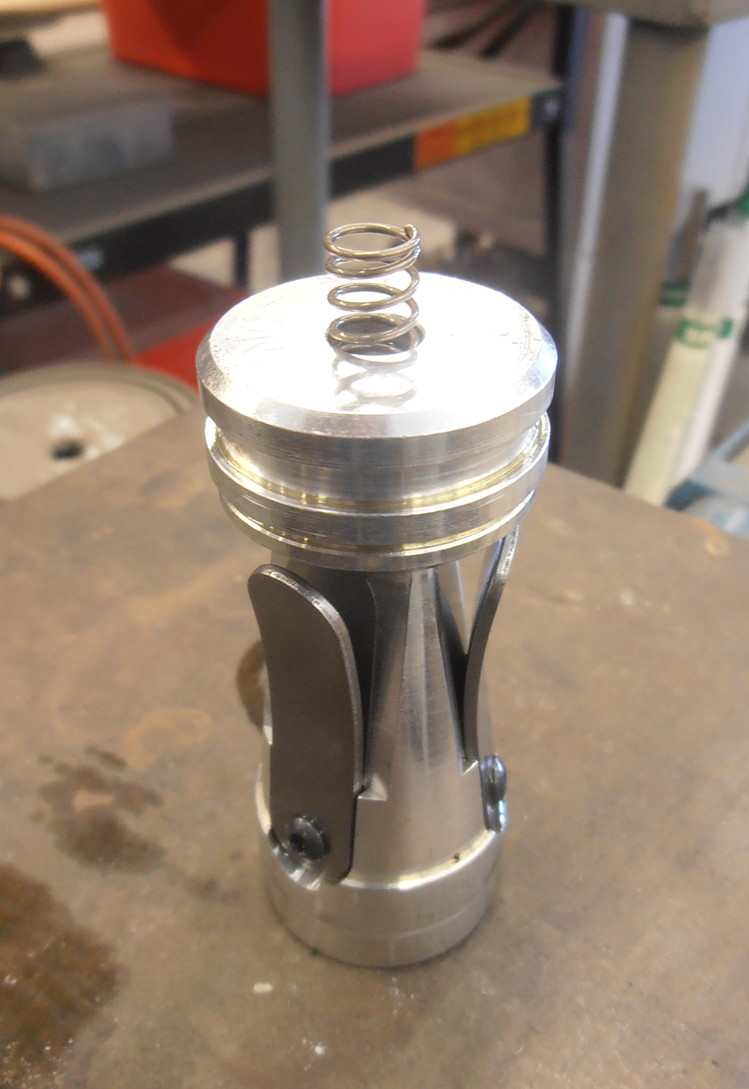
After the coil was wired and actually before I completely installed the Twin Power ignition system, I installed the magnificent Rivera/Primo mechanical advance weights. I lubed the weight axles with some engine oil and slipped them into place over the cam and then slipped the billet aluminum rotor in place with timing magnets embedded into the cylinder. Be careful, the rotor only fits over the stem in one way. Note the position of the flat.


I repositioned the ignition plate and turned on the ignition switch. The red LED light lit up, and with a right angle punch I was able to push the rotor into the advanced position. It only moved about 20 degrees, if that. The light came on, indicating power to the coil and the ignition system. The key is to rotate the rotor counter-clockwise to the fully advanced position and have the light go out. As soon as you release the rotor, the light should come back on.
I always shoot for the exact link. I want it to light up at the exact point that the rotor moves. The coil and the spark plug fires the moment the LED light shuts off.
The timing procedure is exactly the same for both single- and dual-fire operations. The front and rear cylinders are internally timed and accurate to 1 degree.

That’s when life got interesting. The Redhead loaded up my 5-gallon gas can with premium and I poured a couple of cups in the tank and turned on the petcock. Nothing. I monkeyed with the carb. Nothing. Sometimes there can be a vacuum. I almost filled the tanks; still, nothing passed through the clear glass filter. I started at the carb and removed the line. Still nothing. I removed the line to the brass, inline petcock. No joy.
I could even looked down the mouth of the petcock and saw the large ball valve. I could see it turn and open. Nothing. If it had worked, my face would have been covered in gas. Then I attempted to remove the petcock.

I moved a large crescent wrench into position to back up turning the brass petcock and was immediately sprayed with gas. It was one of those strange moments in the life of a mechanic. Sure, it was a pain in the ass, but it always seems that stuff shows up at just the right time. The trick was to get all the fuel out of the tank so I could replace the split line, plus the petcock was clogged.

With the Redhead wearing protective purple gloves, we maneuvered large old fuel lines, funnels and the gas can to carefully remove all the fuel. I replace the split line (I have never, ever seen a line split like that). We removed the petcock and discovered what appeared to be a glazed layer above the ball valve. The redhead cleared it out with a short piece of brass rod and the fuel delivery system was replaced and fuel added. The 5-Ball factory racer fired right to life.
I spoke to Keith Ruxton the day before, and he told me that top end breathing engines, especially high performance engines don’t need breather valves, or even reed valves. I started looking at fuel delivery from the gas tank, which makes a lot of sense. I need to check to see that my fuel line will deliver 16 ounces of fuel in one minute, according to Dr. Ruxton. I removed the fuel line from the carb, stuck it in a measuring cup, checked my watch and turned on the petcock. It filled it to the 16-ounce mark in about 20 seconds. It wasn’t fuel delivery. So, I’m still not sure if my sputtering problem is solved.

I noticed one more item that needed to be addressed. When tightening the advance bolt, the rotator rubbed against the ignition plate, which would mess with the advance weight mechanism. First I took out the plate, because this cone was removable and if the Allens were loose it shifted around. I loosened them, shifted the system and retightened them. It was substantially better, but not perfect. This wouldn’t happen with a stock cone motor.
“The weights and the rotor have to be completely free to be able to advance,” said Ben Kudon, the Executive Director of Rivera-Primo

I reached out to James. “Here’s what you can do to Auto Advance units. Put a drop of blue Loctite on the advancer bolt and do not over-tighten. Spin the motor without the ignition in place and watch the rotation. If it is eccentric, take a small punch and give a tap on the flat of the hex head screw that will shift it to best center it, until it runs true. Please let me know, nothing should need to be modified. Occasionally, a shim is needed between the advance unit and the cam to shift the mechanism outward.”

“I am not familiar with the Indian cam cover, might be a little different from H-D. Does the plate fit nicely and rotate easily in the recess or is it tight? If this is tight, you may have to slightly sand or file the plate O.D.” That’s what I did until the rotor was centered. I also noticed the hex rubbing on the gasket. Again, this wouldn’t happen in stock applications. I cut a hole in the gasket and rotated the gasket to allow the 5-Ball Racing cap to set out slightly more. Done deal. James also suggest thin washers under the stand-outs, which would accomplish the same thing.

I took the bike for a ride. Over and over it fired right to life and hummed, but again is sputtered. I called Phil at Phil’s Speed shop late at night. He was still working. “It could be the cam timing,” said Phil. “They may have switched the gear for a better pinion shaft mesh and since there is no direct key-way to align the cam, it could have shifted.”
I’ll pull the cam today and take it to Bennitt’s Performance or Branch Flowmetrics to have it checked. Never give up!

Biker’s Choice
Paughco
Rivera/Primo
Black Bike Wheels
Chica
US Choppers
Rick@USChoppers.com
Phil’s Speed Shop
941 West Collins, Orange CA 92867
Appointment (714) 771-6727![]()
Avon Tyres
New Line Engraving