Latest Articles
Launch of Parallel Twin Engine of Enfield motorcycle
Royal Enfield has revealed the all-new Interceptor 650 and Continental 650 at the EICMA 2017 ...
ABATE OF Wisconsin Storms the Capitol
ABATE of Wisconsin was concerned about the number of motorcyclists injured by negligent motorists, and ...
Indian Scout FTR1200 Custom
Indian Motorcycle celebrates its American Flat Track race team with a custom-built Scout FTR1200 street ...
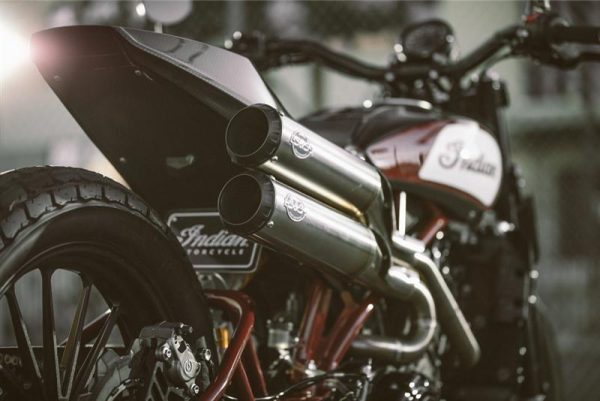
Indian Scout FTR1200 Custom
The Scout FTR1200 Custom takes inspiration from the Scout FTR750’s purpose-built flat track race bike ...


New in the Cantina
Weekly News

THE FIGHTERS’ BIKERNET WEEKLY NEWS for June 26, 2025
Hey, Did you know there’s an ongoing fight to save the Sturgis Rally? Did you ...
THE CHANGING TIMES WEEKLY NEWS for June 19, 2025
Hey, We are living in truly strange times. There’s a bleak side of society trying ...

THE WHATEVER BIKERNET WEEKLY NEWS for June 12, 2025
Hey, Is life nuts or what. While 2 percent want to destroy everything, 98 percent ...
THE TOUGH BIKERNET WEEKLY NEWS for June 5, 2025
Half-Way Through the Year and Questions Continue... Hey, We are half-way through the year and ...
Tech Articles
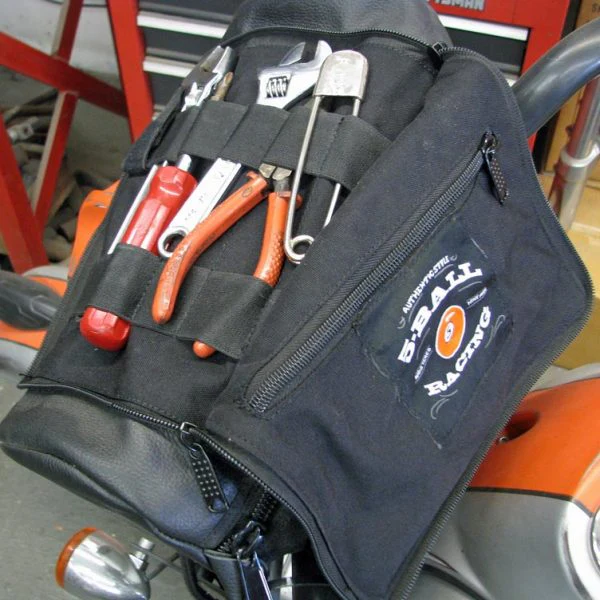
Emergency Tire Repairs And Balancing Tires
Imagine this: You are out on the road, in the “middle of nowhere” and suddenly ...
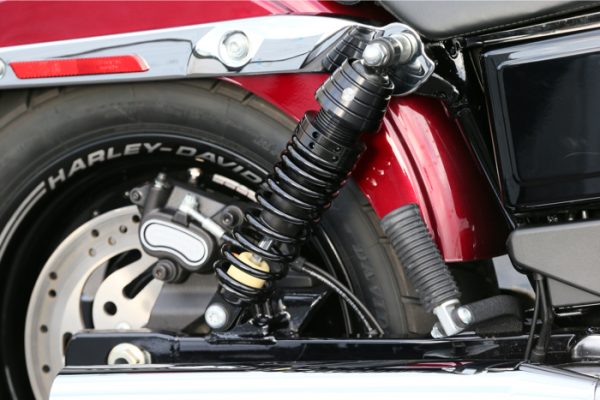
Harley-Davidson’s New Dyna Premium Ride Suspension
Photos: Harley-Davidson and Brian J. Nelson In early December, yours truly was invited to test ...
Tips For Prepping Your Bike for Storage
•Enjoy One Last Ride - This may sound like a no-brainer, but putting the bike ...
Bike Features
First Ever Speed King
"My wife wanted something legal," said Todd Silicato of Todd's Cycle. Todd is a nondescript ...

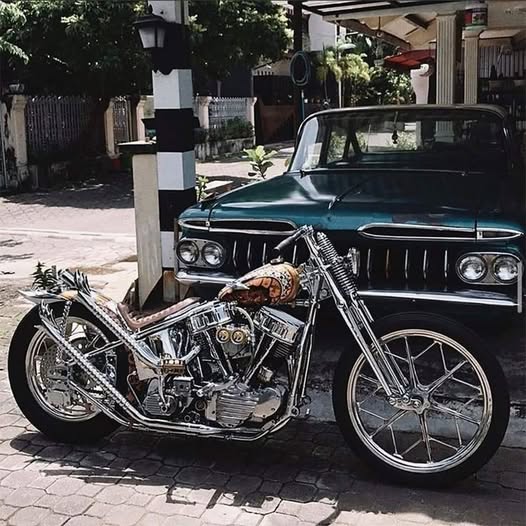
The Black Hills Beast
Basedon a new 2015 Indian Scout and customized to emulate thepurpose-built nature of historic hill ...
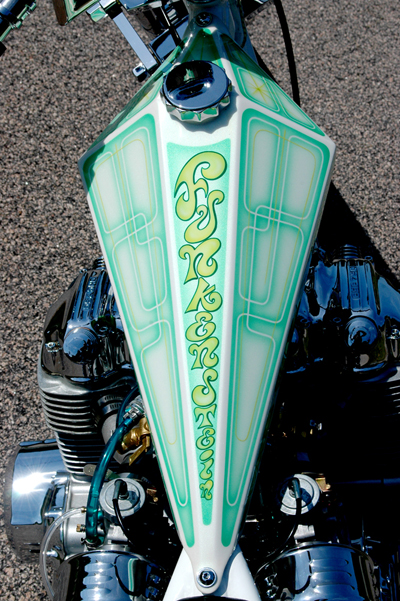
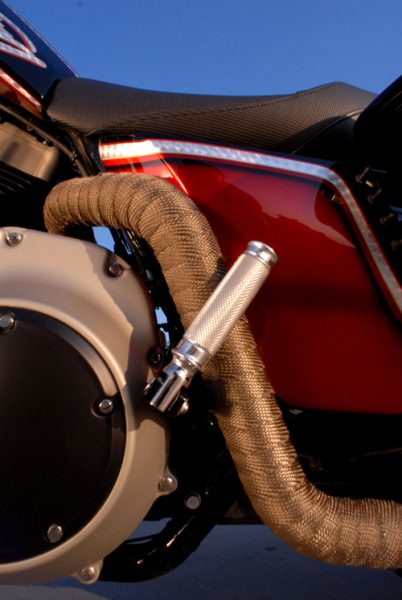
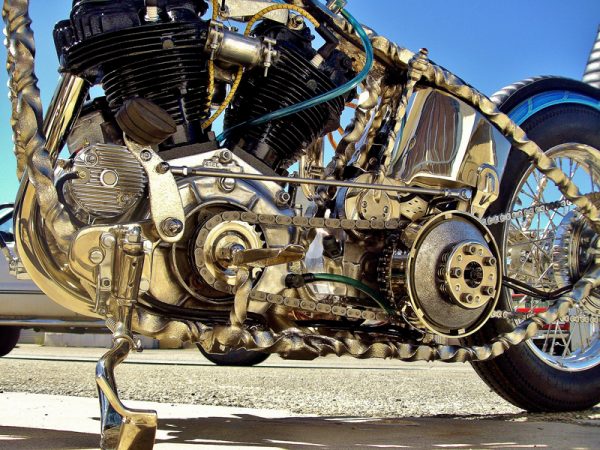
FUNKENSTEIN LIVES!
Duane Ballard is no stranger to the custom bike scene.Having made custom hand tooled seats ...
The Twisted World of Seth Slagiel
In a world gone insane with new tech and import parts, there are still builders ...
Event Features

WIN BY HARLEY-DAVIDSON RACERS JAKE LEWIS & CORY WEST
HARLEY-DAVIDSON® PAN AMERICA® ST RACERS JAKE LEWIS AND CORY WEST WIN IN MISSION SUPER HOOLIGAN ...
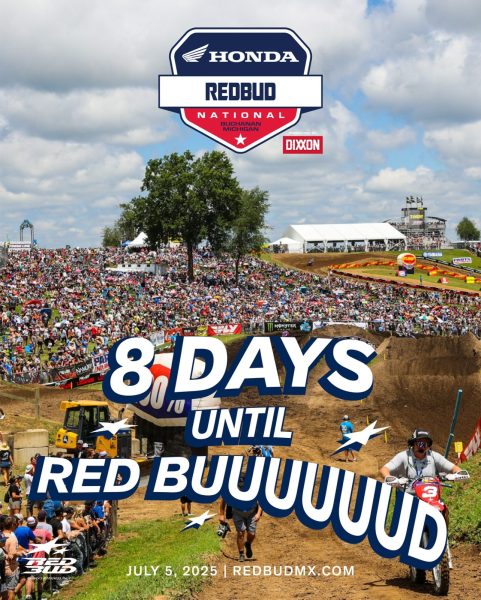
Roads to Redbud 2025
Hey all - anyone venturing to Buchanan Michigan on the 5th of July, for the ...
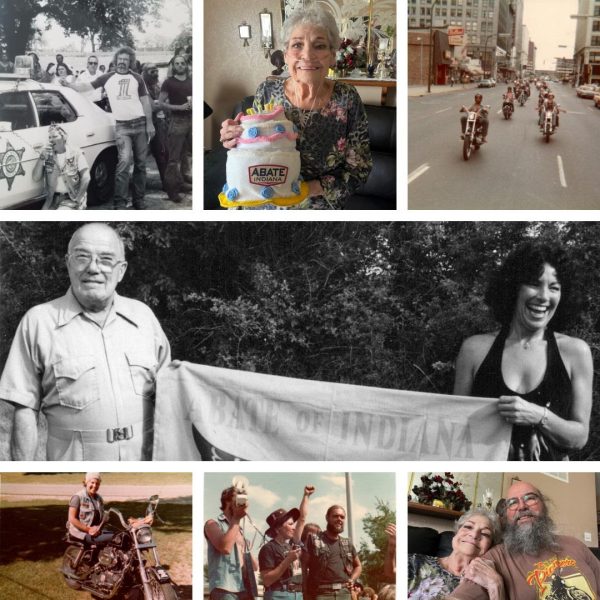
Happy Birthday ABATE Of Indiana
In the mid-seventies, the motorcycle rights movement really started in earnest. This is why many ...
AMA Motorcycle Hall of Fame Announces Class of 2025
Six distinguished motorcyclists to be inducted on Oct. 23 during the AMA Hall of Fame ...