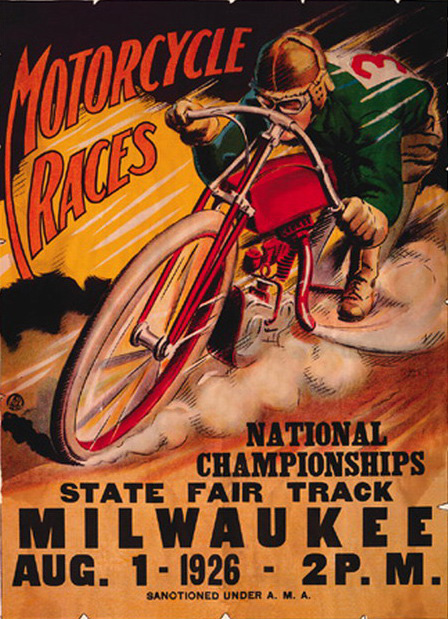

Last episode I was hit hard with life's bullshit obstacles to freedom and creative expression, but that's how it goes. I generally build at least one bike a year and each one represents a milestone of sorts. Or each one represents another year in the life and times of Bandit. I'm not unique. This notion applies to everyone and every project from building a new home, to building a boat or finishing a book. We're so damn lucky to have the freedom and resources to accomplish our goals, small and large. As you sit back and relish any accomplishment, you know it represents a moment in time–hopefully a good time.
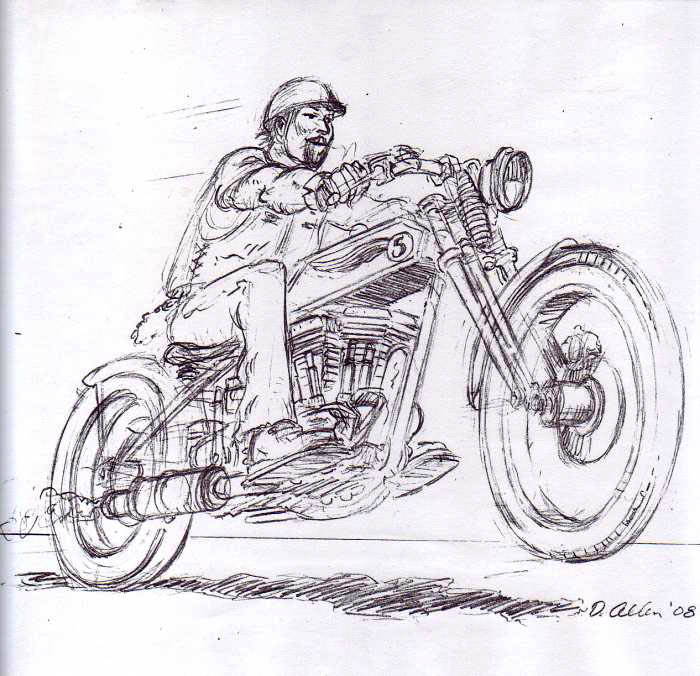
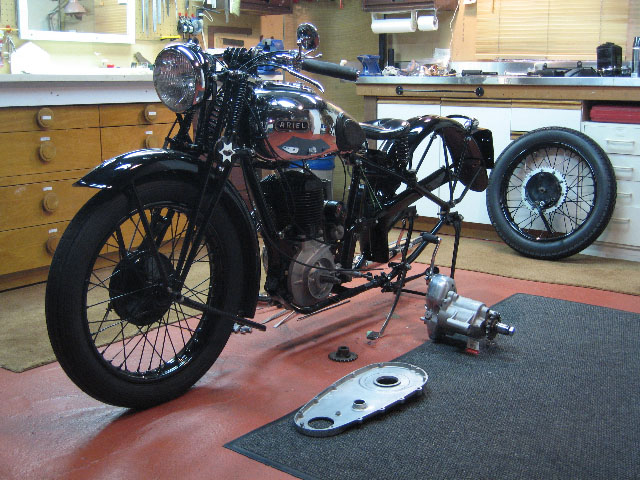
That's very kind of you to offer to runmy bio but honestly it makes me wantto take a nap just thinking about it.How about a pic instead of my stumppulling flathead single '40 Ariel? Wewere born in the same year and havebeen working together for about fifteenyears to keep my bank account drained.As the bike approaches completion itappears to be getting younger and youngerwhile I am definitely getting older and older!

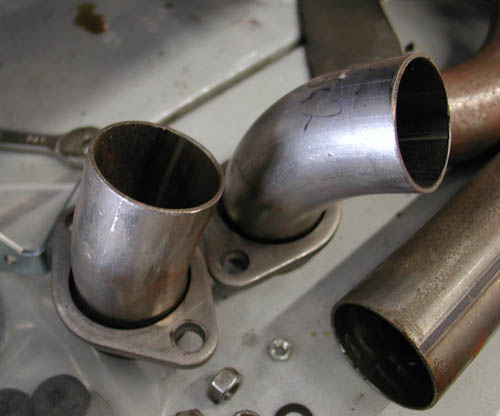
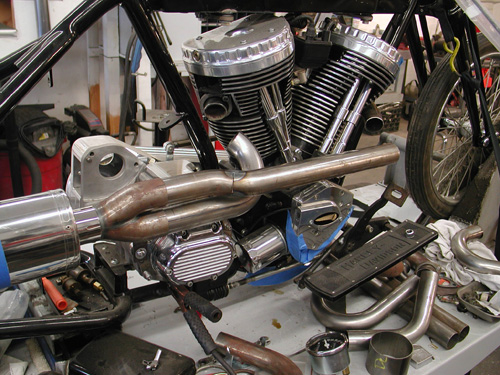
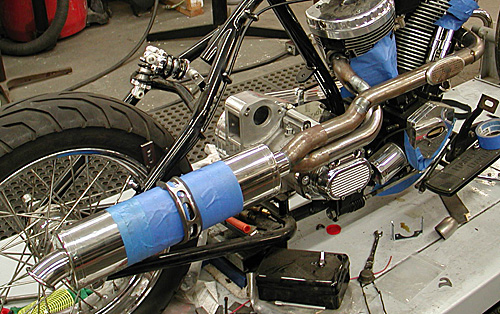
So, recently we tore the March page out of the Calendar and flew into April. A running Racer by the end of April–for the Smoke Out in May, is the goal. The pipes were a major obstacle, yet Jesse James, Illusion Cycles, and Roland Sands inspired me.
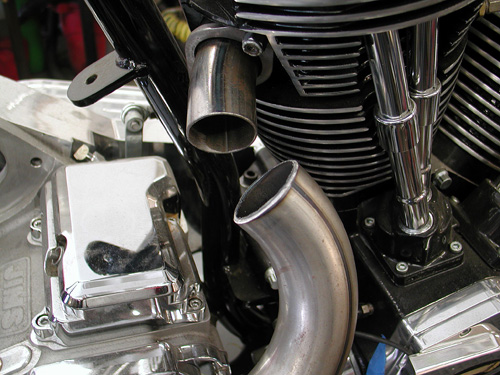
I spotted a tight shotgun system on one of Rusty Coones' Dyna Glide custom built in his Illusions shop. That's the direction I wanted to go for the racer look, not along the bottom of the frame in stock 1915 fashion. The muffler on Rusty's bike was a short/short Supertrapp developed with an exhaust guiding cone built by the Illusion team. The two-into-one pipe was designed at WCC, but I decided to give my own spin to the action for the Crazy Horse 100-inch engine.
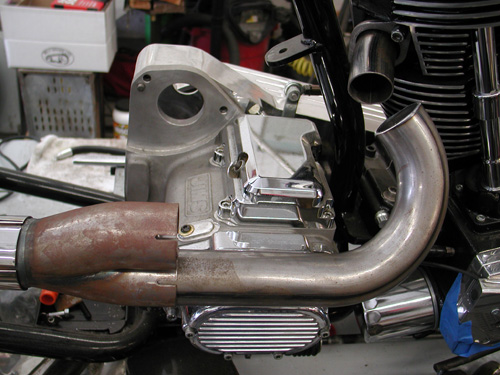
I also recently featured a bike built by Roland Sands with his own shotgun Vance and Hines system. Check it out. It also has a very short muffler system, but I had an all-stainless Scorpion sport bike muffler from the mad designer John reed.
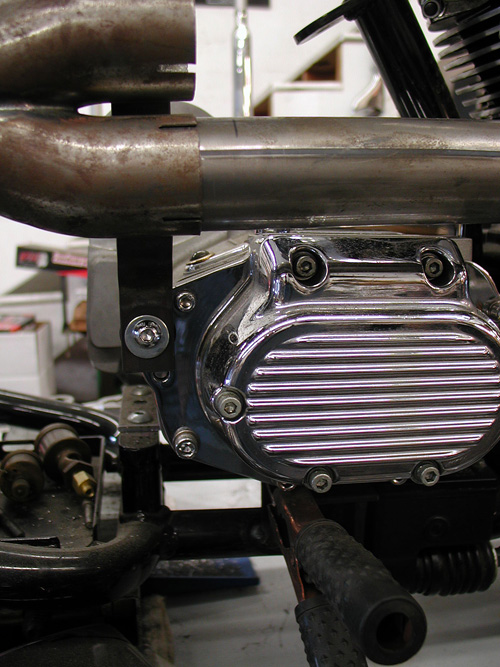
With Roland's design inspiration, I went to work. I had to make the system run tight to the bike, so ultimately I could install a Baker Drive kicker system to the JIMS 5-speed transmission. It had to run high enough not to mess with the rear axle and not too high for leg burning threats. I had one break; the Crazy Horse engine was designed with the intake manifold running out the left side of the engine. That allowed me to manufacture pipes as high as I wanted–watch the legs, damnit.
Making pipes is a tricky business. This system is teamed with lots of exhaust manufacturers, so I initiated a phone conference with D&D, and they supplied me with various ends and bends to give me a head start. Vance and Hines and WCC were involved with the design and inspirational aspects, and the Boys from Bassani stopped over for lunch and brought a hand full of bends and a chunk of muffler tubing for my speedometer mounts, a very diverse team. Plus nowadays, when you mess with pipes, the diameter fluctuates from below stock diameters to over 2-inch Bonneville racing exhaust performance demands. I took a day dealing with various sizes and ultimately decided on a 1 ¾-inch system to the two-inch muffler opening.
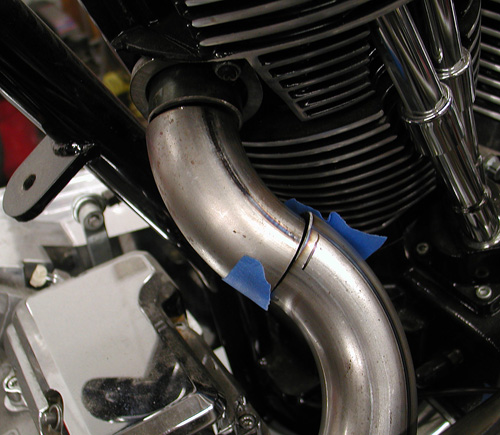
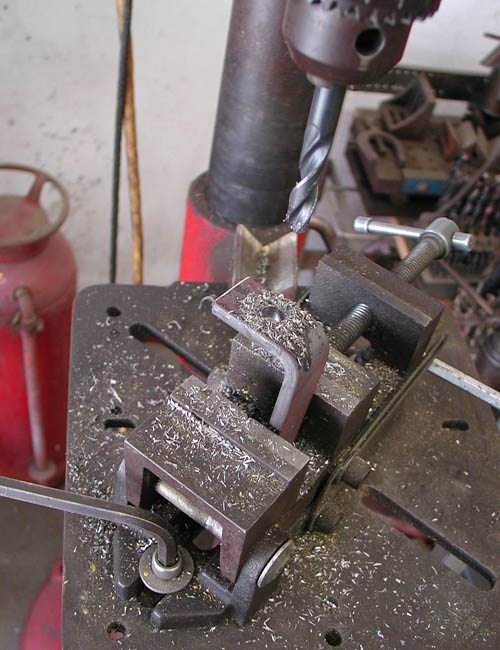
Then I had one of those calm and serene days in the shop–everything fit. It's a Zen thing, when the stars are aligned, and I drank just the correct carefully measured amount of Jack Daniels the night before. For some strange, inexplicable reason, I was tranquil with the dogs wrestling at my feet. The R&B Sirius station shop background music didn't spin any Michael Jackson tunes, and only the 4-tops and Jerry Butler lured me into a false sense of mechanical confidence. I patiently cut, ground chunks of pipes and brackets, then tacked them into place.
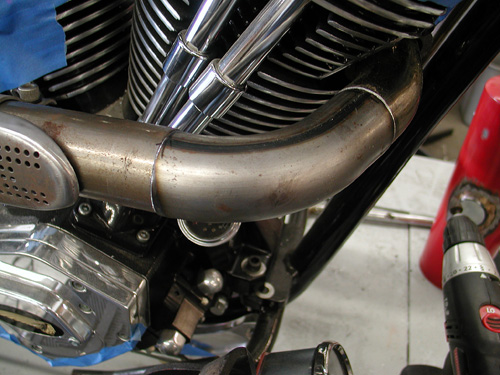
I've been making exhaust systems for about six or eight years, and each year I learn. For instance, I was through the roof to find Hooker Header alignment sleeves, only to discover they hinder performance. That meant I had to move more slowly, meticulously and make sure each segment fit perfectly. I also learned that exhaust wrap can also hinder ultimate performance, by being a heat transmitting barrier. Plus I'm still working on my MIG, pipe-segment welding skills. This year I'm going to clamp a bunch of pipe chunks together and weld them at different feed speeds and electrical settings. I'm determined to nail it down.
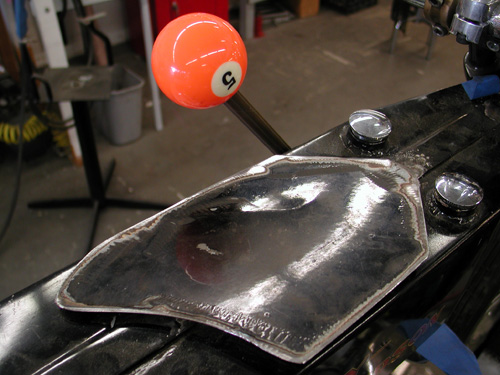


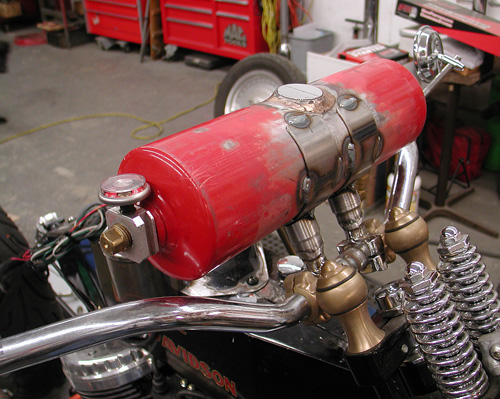
Next, I moved onto a dash plate, cut with a plasma cutter out of a chunk of 16 or 14 gauge sheet metal. My crazy thought was to install the Phil's Speed Shop ignition system onto this plate with the Bikers' Choice Speedometer. In 1915, Speedometers and the constant loss oil pumps were mounted to the top of the tanks, right out in the open, so I decided to follow suit.
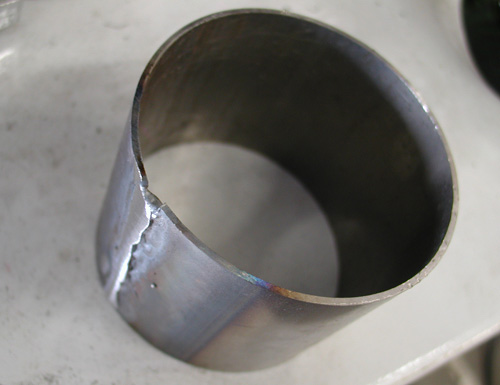
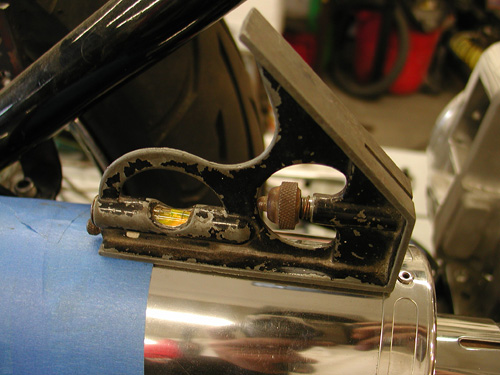
Bassini supplied the tubing for the Speedo, but I needed to be reduced the diameter a 1/2 -inch. I cut it with the Makita and pinched it down until the speedo fit in, and I could still wrap it with something to prevent vibration from beating it to death on the roads to the Badlands.
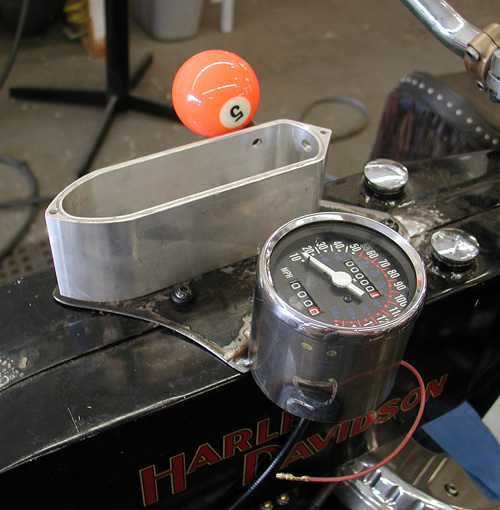

Phil's Speed Shop supplied me with a template so I could mark the holes and weld in studs to hold the ignition system down. It housed, circuit breakers, ignition switch, starter button, starter relay, neutral light and high/low beam switch.
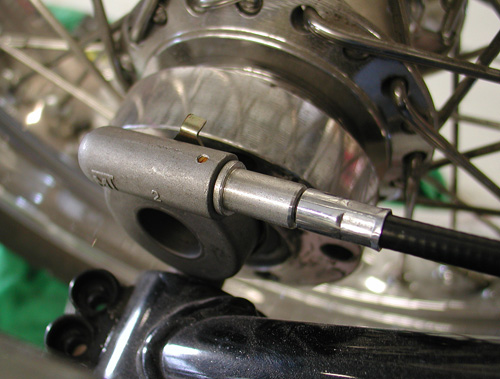
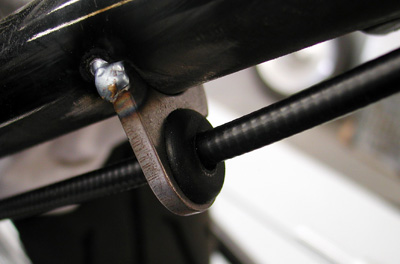
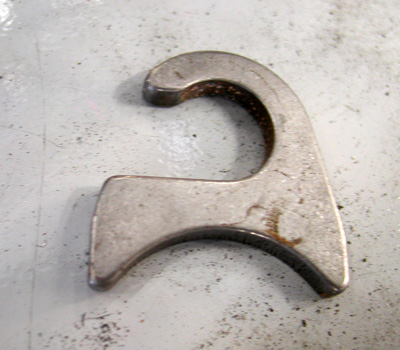
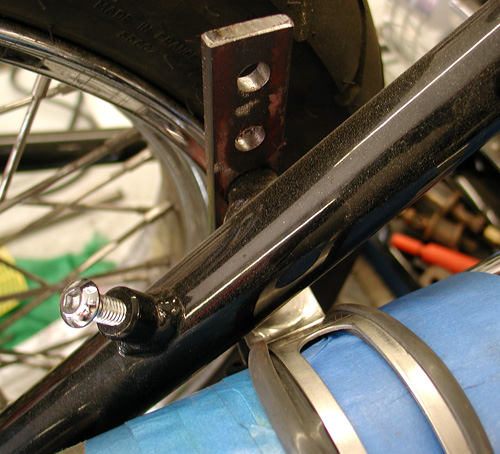
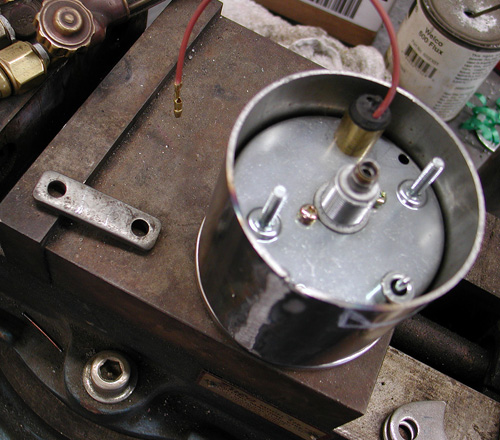
I ran the Biker's Choice speedo cable and drive off the rear wheel in 1915 fashion, but with late model components. I used LA Chop Rods cable guides and grommets tacked to the frame. I played with the plate and position for hours and hopefully got it right. I also cut a notch in the Bassani Speedo mount so I can hopefully reach the trip gauge adjuster. It's going to knat's ass close. In each perplexing case, I shot for functioning symmetrical positions, that don't interfere with other components, like turning the bars.
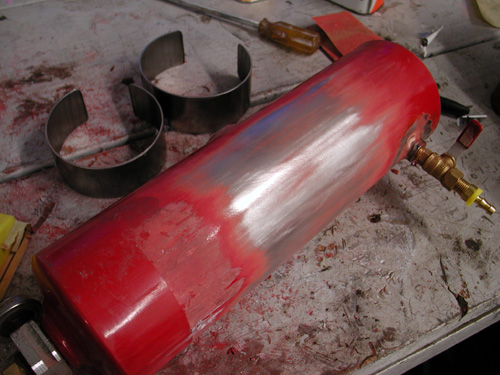
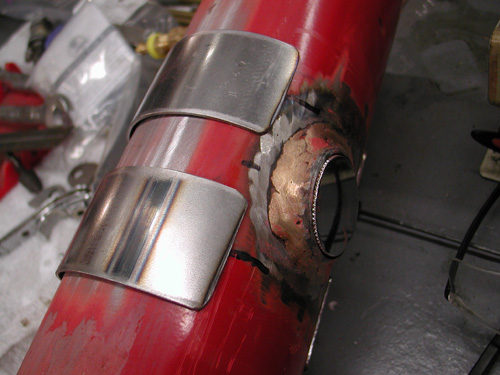
Next, I had the spare gas tank ready to rock, but needed to mount it above the bars. Talk about angst, I looked around for something to use for mounting, like other fire extinguisher clamps, then it dawned on me to use the an old set of handlebar risers, upside down. I found an old set of Jammer risers and bolted them to the bars between the DBBP bronze risers, so far so good. Then I cut them, estimating the height needed to clear the bars, but I was wrong. What happened with harbinger to my Zen aura?
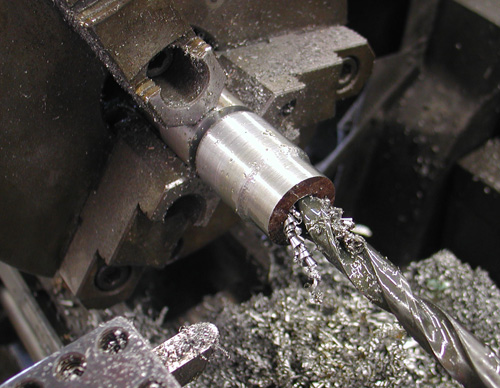
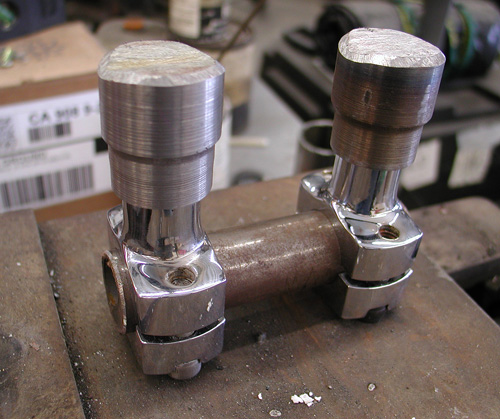
I don't know about other crazed builders, but often a glitch turns into an opportunity. I turned to my lathe to cut a couple of extensions. They widened the base for greater strength. I reached out to NICK Trumbo at Bassini exhaust for a couple of straps. My notion was to weld the brackets to the straps, so if something went wrong, it wouldn't crack the tank and create a dangerous gas leak. I've had my problems with gas leaks in the past.
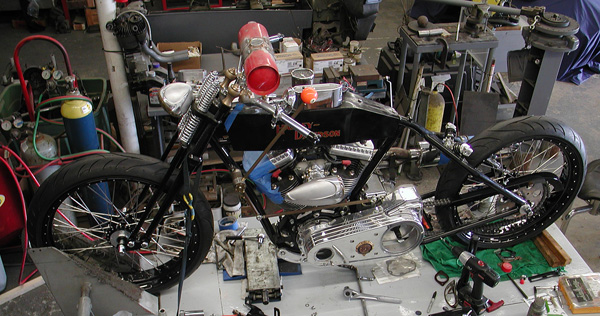
There you have it. Next, we'll mount the fantastic Black Bike Wheels (Avon Tyres), with GMA brakes from BDL, slice the Tanks for fork stops and Chica is going to build a Factory Racer ribbed fender. Rock and roll.