Sponsored By

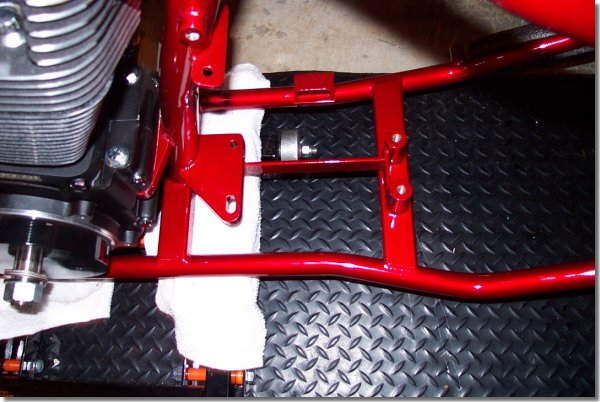
At this point I needed to make sure the front and rear pulleys were even at their outer edges. This was to make sure the belt does not rub on the pulley rim. A long level or other straight edge can be used to do this. If you need to move the front pulley out, Custom Chrome sells some hardened shims just for this purpose that range in thickness from .010 inch to .200 inch thick. Don’t be surprised if you have what you think is a “stock” application and you need shims. Depending on the rotor/stator setup on your motor, you will most likely need to shim the front pulley. Here’s a top view of a system that has been properly aligned.
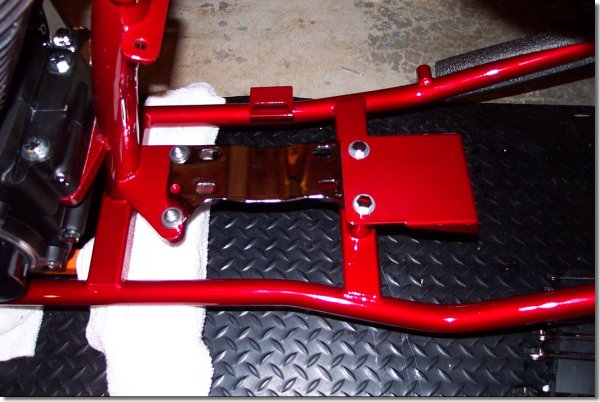
The spring plate on the clutch had to be removed to allow for bolting the rear pulley to the shaft. This was done by removing the six spring/bolt assemblies and the plate.
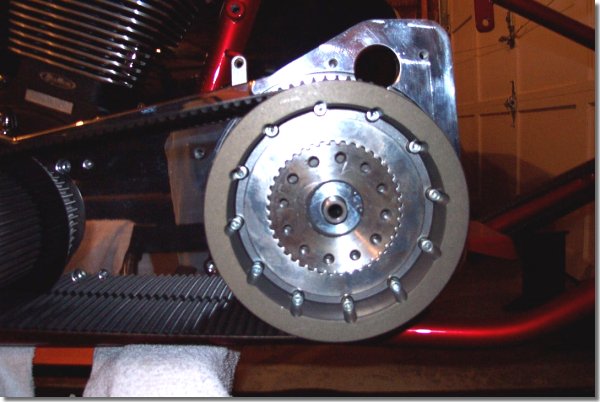
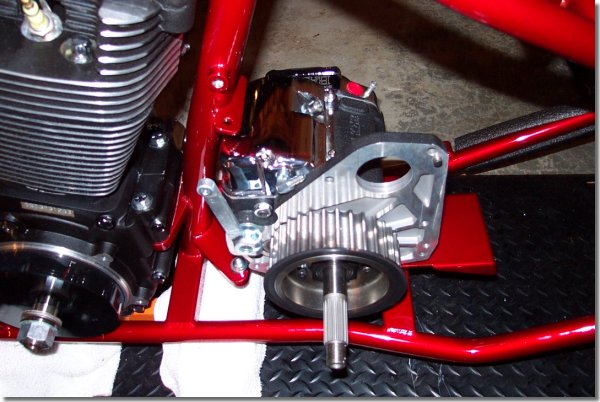
The bolt was torqued down to spec, along with the front pulley. I was then ready to turn the motor to make sure the belt tracked properly. To torque these down, an air compressor and an impact wrench was required. I would never have been able to torque against the motor or transmission using a regular torque wrench unless I had jammed the pulleys.
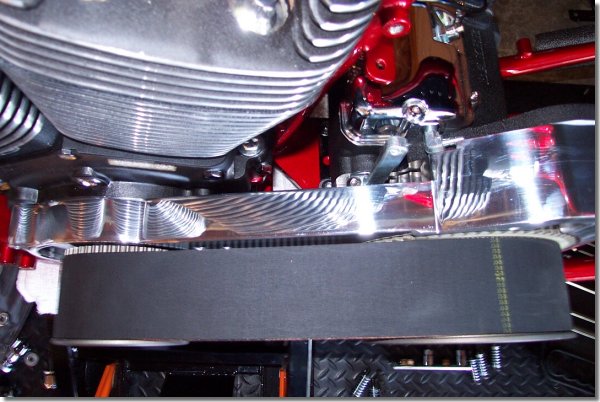
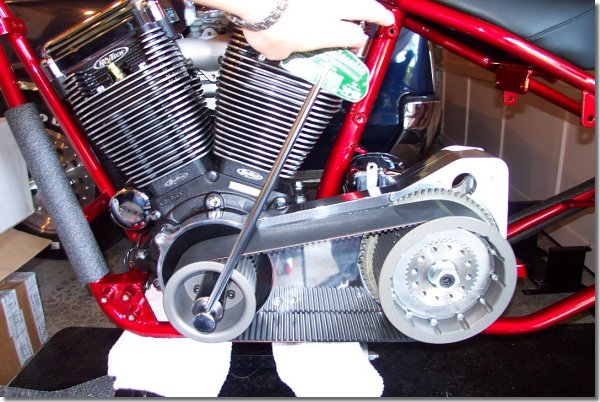
Using a large torque wrench, I turned the motor forward a few times to make sure the belt could make three revolutions and still track to the center of the two pulleys. If you use one of these set ups, it should track as assembled, but if it doesn’t, check the spacing on your front pulley. If you still have problems, you can call BDL and they will walk you through how to shim things up on your frame.
On to Part 4, Page 7….
Back to Part 4, Page 5….
Back to Custom Chrome on Bikernet….
Back to Belt Drives Limited on Bikernet….
Please follow and like us: